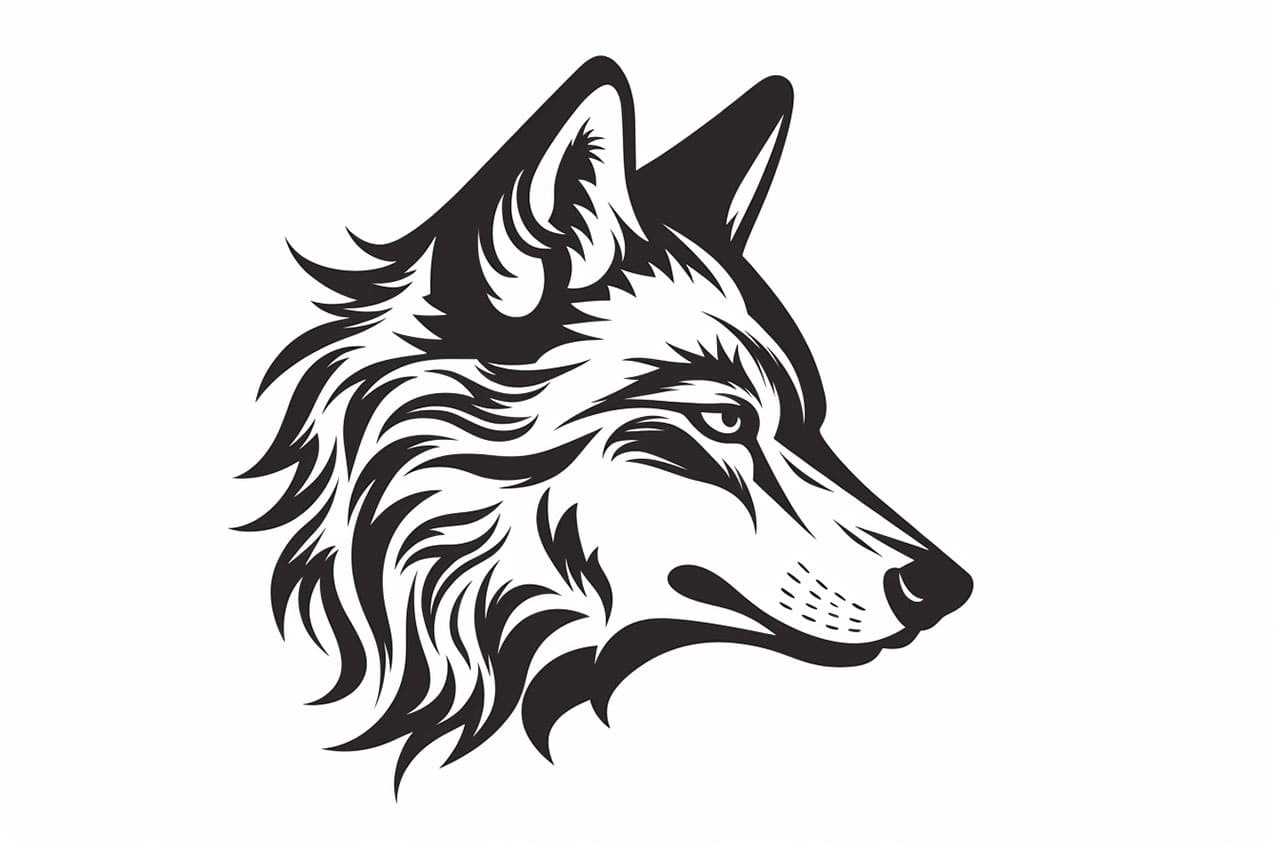
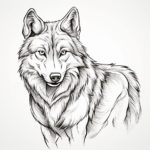
Welcome to this step-by-step guide on how to draw a wolf head! As an expert artist and drawing instructor, I will walk you through the process of creating a realistic and captivating wolf head drawing. By following these easy instructions, you will be able to bring out the essence and beauty of this majestic animal on paper. So let’s get started!
Materials Required:
Before we begin, gather the following materials:
- Drawing paper
- Pencils of various hardness (2H, HB, 2B, 4B)
- Eraser
- Blending stump
- Reference photo of a wolf head (optional but recommended)
Step 1: Basic Outline
Start by lightly sketching a circle that represents the wolf’s head. Place it towards the center of the paper to allow space for other details. Then, draw a straight horizontal line across the circle to define the direction the wolf is looking.
Step 2: Facial Features
Using the circle as a guide, add the basic shapes of the wolf’s facial features. Sketch the snout by drawing a rectangular shape extending from the bottom of the circle. Add triangles on top of the circle for the ears. Position the eyes on either side of the horizontal line, slightly curved towards the snout.
Step 3: Eye Details
Refine the eyes by adding the iris and pupil in the center. Draw a small highlight to make the eyes look more realistic and alive. Add some shading around the eyes to create depth and dimension, and to imply fur texture.
Step 4: Nose and Mouth
Now, draw the wolf’s nose by adding an oval shape at the tip of the snout. Within the nose, sketch two small ovals for the nostrils. Below the nose, draw a slightly curved line to form the mouth. For a more realistic look, add small details like the wolf’s whiskers and some texture to the fur around the mouth.
Step 5: Fur and Shading
Start adding details to the fur around the wolf’s head. Use short, curved lines to create the impression of fur texture. Pay attention to the direction of the fur, keeping it consistent throughout the drawing. Gradually build up shading using different pencil hardness, darker tones in areas with more shadow, and lighter tones where the light hits the wolf’s head. Use a blending stump or your finger to softly blend the shading and create a smoother transition between different tones.
Step 6: Ears and Details
Focus on detailing the wolf’s ears. Add fur texture by drawing short, jagged lines within the triangles. Pay attention to the direction of the fur and its flow. Create depth by shading the inner part of the ears and adding highlights on the edges to make them stand out.
Step 7: Final Touches
Evaluate your drawing as a whole and make any necessary adjustments. Refine the shapes, add more shading, or darken certain areas to create a balanced and realistic wolf head drawing. Take your time and remember that practice makes perfect. Keep experimenting with different techniques and approaches to further enhance your skills.
Conclusion
Congratulations on completing your wolf head drawing! By following these step-by-step instructions, you have learned how to capture the essence of a wolf’s head on paper. Remember to be patient, practice consistently, and don’t be afraid to make mistakes. With time and dedication, your drawing skills will continue to improve. Enjoy the process and embrace your artistic journey!

