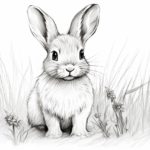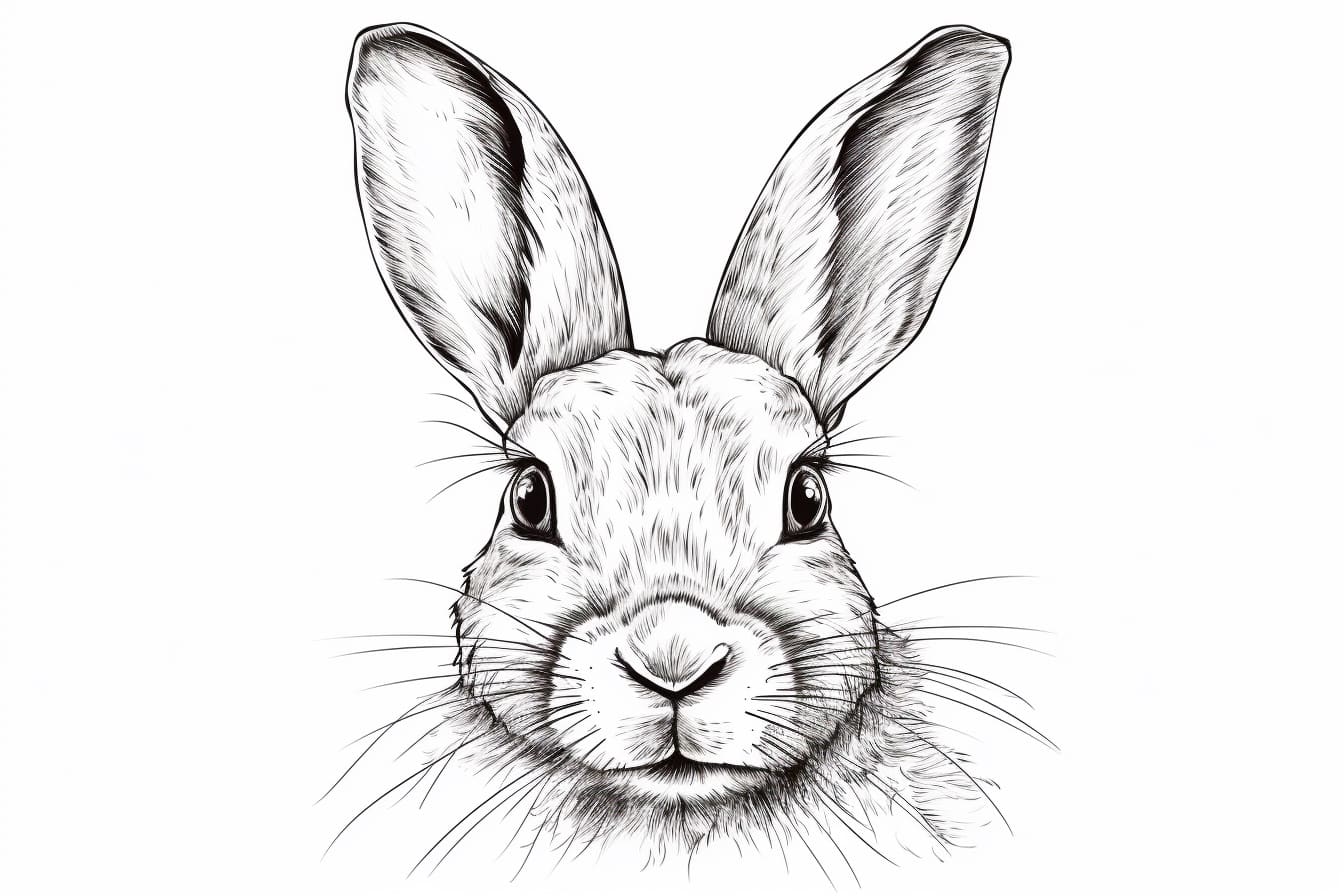
Welcome to this step-by-step tutorial on how to draw a bunny head! Whether you’re a beginner or an experienced artist, this guide will help you create a cute and realistic bunny head drawing. Grab your art supplies, follow the instructions, and let’s get started!
Materials Required:
To create your bunny head drawing, you will need the following materials:
- Drawing paper (preferably A4 size)
- Pencil (HB or 2B)
- Eraser
- Fine black pen or marker
- Colored pencils or markers (optional)
Now that you have your materials ready, let’s begin the drawing process.
Step 1: Basic Shape
Start by drawing a large oval shape slightly tilted to one side. This will be the basic shape of the bunny’s head. Don’t worry about making it perfect at this point, as we will be refining the details later on.
Step 2: Ears
On top of the oval shape, add two long and narrow bunny ears. The ears should start from the top of the head and curve slightly outward. You can make them as long or as short as you like, depending on the style you want to achieve.
Step 3: Facial Features
Now it’s time to focus on the bunny’s facial features. Begin by drawing two large circular eyes in the middle of the oval shape. Leave some space in between the eyes for the nose and mouth.
Step 4: Nose
Below the eyes, draw a small triangular shape for the bunny’s nose. The base of the triangle should be connected to the bottom of the eyes. This will give the bunny a cute and adorable look.
Step 5: Mouth
Draw a curved line below the nose to represent the bunny’s mouth. You can curve the line upward at the ends to create a smiley expression. If you prefer a more serious or neutral expression, draw a straight horizontal line instead.
Step 6: Whiskers
Add three small lines on each side of the bunny’s nose to represent the whiskers. These lines should be short and angled outward, giving the impression of furry whiskers.
Step 7: Eyes and Eyebrows
Inside each eye, draw a smaller circle to represent the pupil. Leave a small white highlight in each pupil to create a sense of light. Above the eyes, draw a pair of curved lines to represent the eyebrows. These lines should follow the shape of the head and give the bunny a more expressive look.
Step 8: Face Contour
To give the bunny’s face more definition, draw a curved line from one ear to the other, passing through the eyes. This line will outline the shape of the face and add dimension to the drawing.
Step 9: Fur Texture
Now that the basic structure is complete, it’s time to add some fur texture to the bunny’s head. Use short and gentle strokes to create a fluffy texture all over the head, paying attention to the direction of the fur. This will give the drawing a more realistic and tactile appearance.
Step 10: Finalize the Details
Take a moment to review your drawing and make any necessary adjustments. Erase any unnecessary guidelines and refine the details, such as the shape of the ears, the eyes, and the overall proportions. Use your fine black pen or marker to trace over the final lines of the drawing, making them more pronounced.
Conclusion
Congratulations on completing your bunny head drawing! By following these step-by-step instructions, you have learned how to create a cute and realistic bunny head. Remember to practice regularly to improve your drawing skills and explore different styles and techniques. Have fun and keep creating!