Welcome to this step-by-step guide on how to draw crystals! Crystals are beautiful and mesmerizing objects that can add a touch of elegance to your artwork. Whether you’re a beginner or an experienced artist, this tutorial will provide you with the techniques needed to create stunning crystal drawings. So grab your drawing materials and let’s get started!
Materials Required:
- Drawing paper
- Pencil
- Fine-tip markers or pens
- Eraser
- Ruler
- Compass (optional, for drawing perfect circles)
- Colored pencils or watercolor paints (optional, for adding color to your crystals)
Step 1: Sketch the Basic Shape
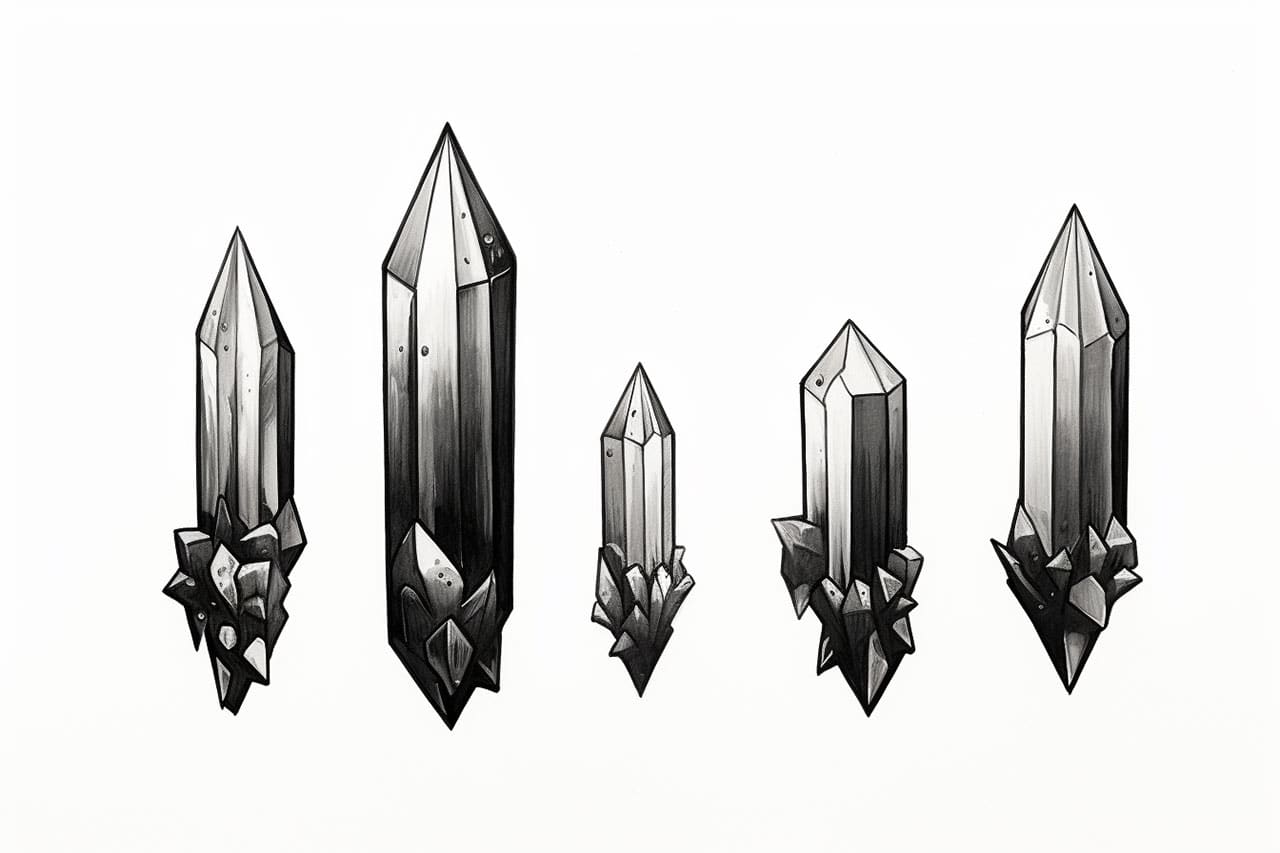
Every crystal has a unique shape, but most of them are composed of geometric facets. Start by sketching a rough outline of the crystal’s shape using a pencil. You can choose to draw a classic gemstone shape or experiment with more irregular shapes if you prefer.
Step 2: Define the Facets
Using your pencil, lightly draw straight lines to divide the crystal into different facets. These lines will serve as guides for adding depth and dimension to your drawing. Remember that crystals have sharp edges, so make sure the lines are relatively straight.
Step 3: Add Details
Now it’s time to add some details to your crystal drawing. Start by adding smaller facets within the larger ones to create a realistic effect. Pay attention to the angles at which the facets intersect and how they catch the light.
Step 4: Shade the Crystal
To give your crystal a three-dimensional look, add shading to the facets. Determine the light source in your drawing and imagine how it would hit the crystal’s surface. Darken the areas that would be in shadow and leave the areas that would catch the light lighter.
Step 5: Refine the Shape
Take a step back and assess the overall shape of your crystal drawing. Erase any unnecessary lines and refine the shape and proportions as needed. This is your opportunity to make adjustments and ensure that your crystal looks polished and well-defined.
Step 6: Outline the Drawing
Once you are satisfied with the shape and details of your crystal, it’s time to outline your drawing with a fine-tip marker or pen. This will give your artwork a clean and polished look. Be careful not to smudge the pencil lines as you go.
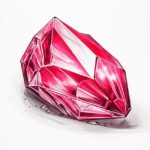
Step 7: Color the Crystal (Optional)
If you want to add some color to your crystal drawing, now is the time to do so. You can use colored pencils or watercolor paints to bring your crystal to life. Experiment with different hues and shading techniques to achieve the desired effect.
Step 8: Add Background
To make your crystal stand out even more, consider adding a background to your drawing. It can be a simple gradient, a textured pattern, or even a landscape if you’re feeling adventurous. Just make sure that the background complements the crystal and doesn’t overpower it.
Conclusion
Drawing crystals can be a rewarding and enjoyable artistic endeavor. By following these step-by-step instructions, you can create stunning crystal drawings that are sure to impress. Remember to start with a rough sketch, define the facets, add details and shading, refine the shape, outline the drawing, and consider adding color and background if desired. With practice and patience, you’ll be able to create intricate and realistic crystal drawings that showcase your artistic talent.
So grab your drawing materials and start exploring the mesmerizing world of crystals through your artwork. Happy drawing!