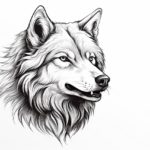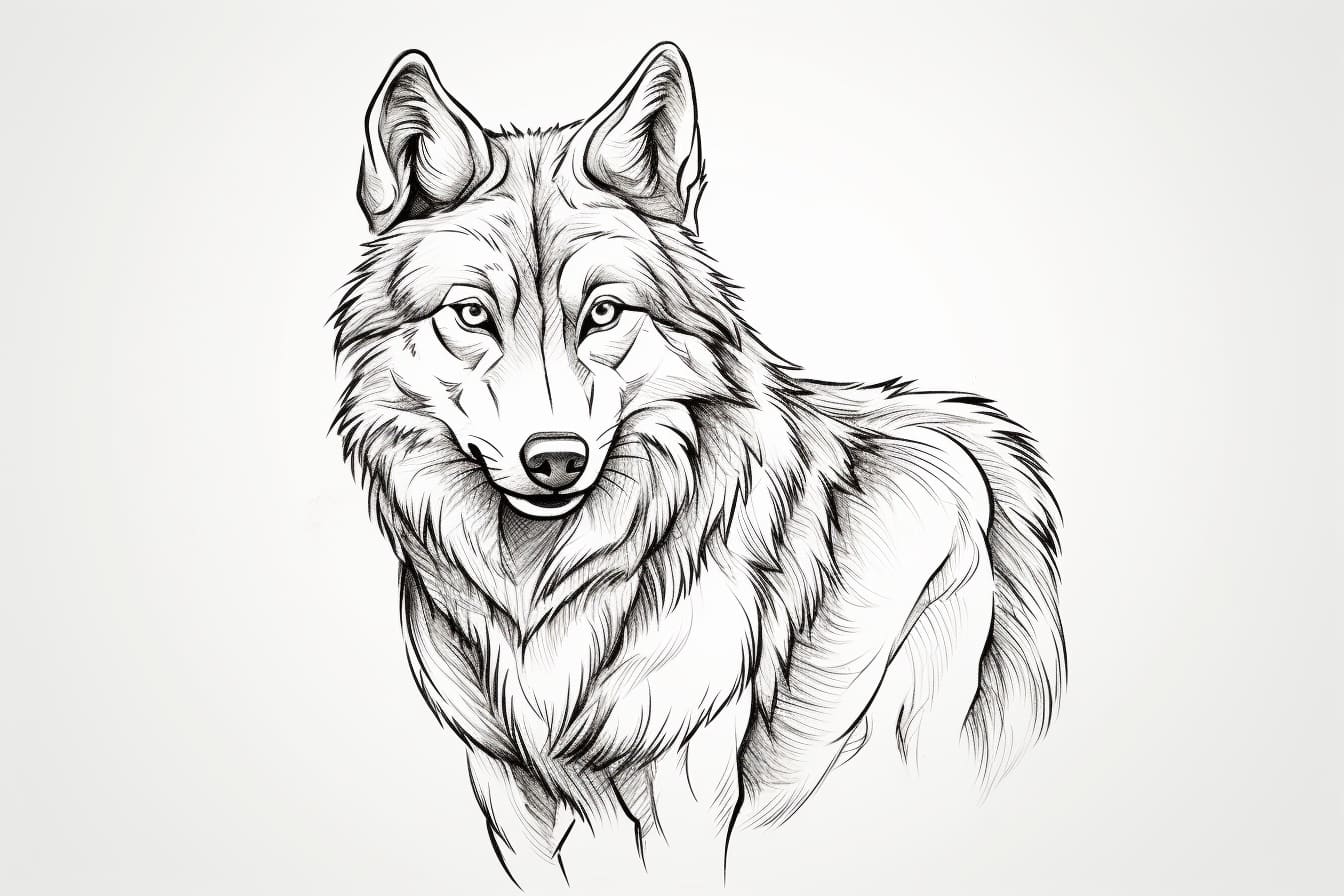
Welcome to this step-by-step guide on how to draw a red wolf. In this article, you will learn the techniques and tips needed to create a realistic and captivating representation of this majestic animal. So grab your drawing supplies and let’s get started!
Materials Required
Before we begin, make sure you have the following materials on hand:
- Drawing paper or sketchbook
- Pencils (preferably graphite or charcoal pencils with various hardness)
- Erasers (kneaded eraser and a regular eraser)
- Pencil sharpener
- Blending tools (such as tissue paper or blending stumps)
- Reference photo of a red wolf
Now that you have everything you need, let’s dive into the drawing process.
Step 1: Start with Basic Shapes
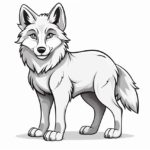
Begin by lightly sketching the basic shapes that form the foundation of the red wolf’s body. Start with an oval for the head and a larger circle for the body. Add two smaller circles for the shoulders and a curved line for the back.
Step 2: Outline the Body
Using light and loose strokes, outline the body of the red wolf, following the basic shapes you drew in the previous step. Pay close attention to the proportions and angles. Remember, it’s always better to start with lighter lines and gradually make them darker as you progress.
Step 3: Sketch the Facial Features
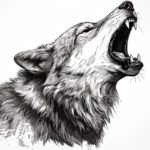
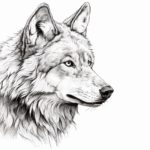
Focus on the head and sketch the facial features of the red wolf. Begin by lightly drawing the eyes using almond-shaped ovals. Add the nose, mouth, and ears, paying attention to the intricate details. Take your time to capture the essence of the red wolf’s expression.
Step 4: Add Fur and Texture
Now it’s time to add fur and texture to your drawing. Red wolves have thick, shaggy fur, so use short, overlapping strokes to create the illusion of fur. Start with the darker areas and gradually build up the lighter tones. Use a variety of pencils with different hardness to achieve a realistic texture.
Step 5: Define the Features
Refine the facial features of the red wolf, adding more details and shading. Darken the areas around the eyes and the snout. Use your eraser to create highlights and add depth to the eyes. Pay attention to the wolf’s expression, capturing its intensity and wild nature.
Step 6: Work on the Body
Continue adding fur and texture to the body of the red wolf. Use long, curving strokes to define the contours and shape of the body. Pay attention to the areas where the fur naturally appears thicker or shaggier, such as around the neck and shoulders. Remember to vary the pressure of your pencil to create a dynamic and realistic effect.
Step 7: Refine the Details
Take a step back and evaluate your drawing as a whole. Are there any areas that need refinement? Use this step to add more depth and detail to your drawing. Define the muscles, add highlights, and refine the texture of the fur. Keep referring to your reference photo to ensure accuracy.
Step 8: Final Touches
As you approach the final stages, focus on the smaller details that make the red wolf unique. Pay attention to the shape and position of the ears, the texture of the nose, and the whiskers. Spend time perfecting the eyes, as they are the windows to the soul of your drawing.
Conclusion
Drawing a red wolf can be a challenging but rewarding experience. By following these step-by-step instructions and practicing patience, you will be able to create a realistic depiction of this magnificent creature. Remember to have fun along the way and embrace any mistakes as opportunities to learn and grow as an artist. Happy drawing!