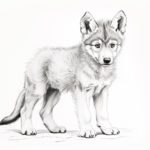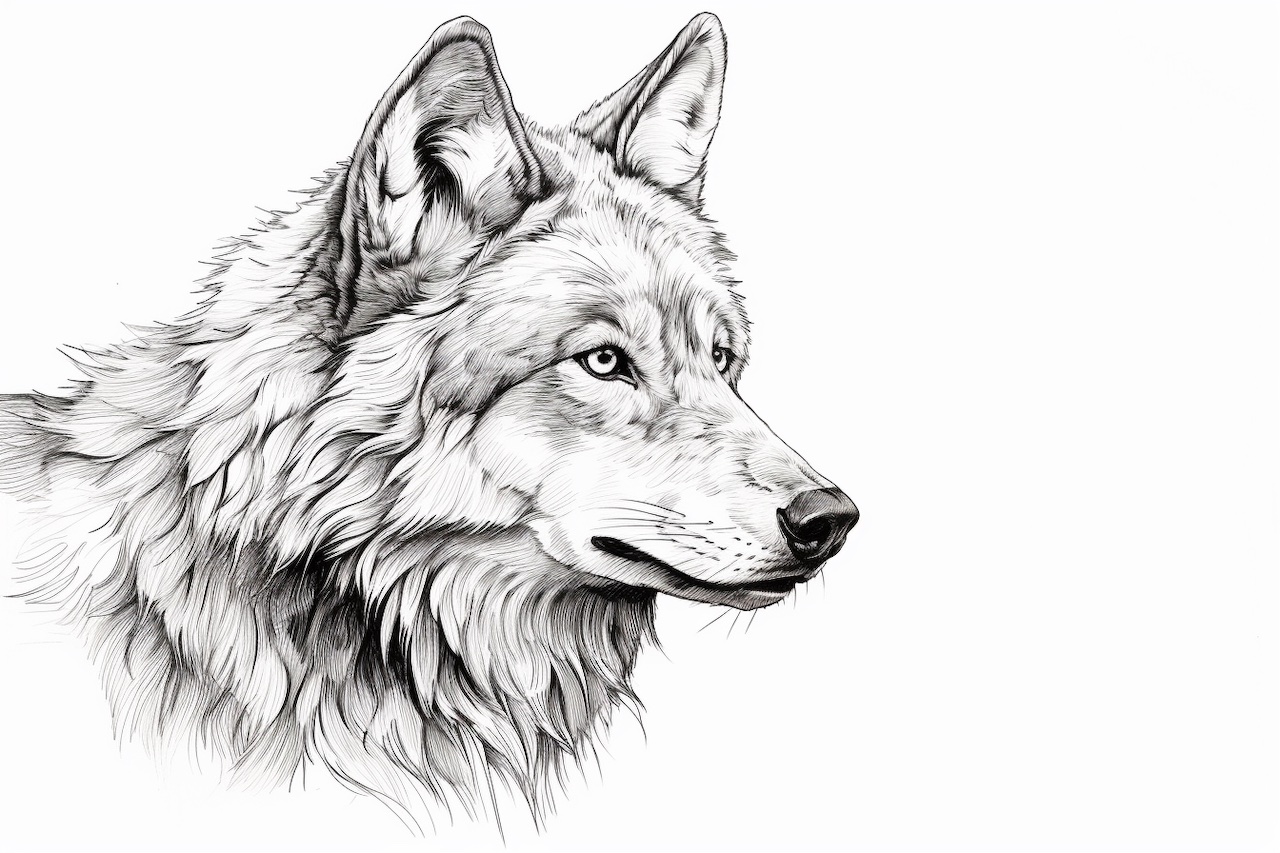
Welcome to this step-by-step guide on drawing a gray wolf. Whether you are a beginner or an experienced artist, this tutorial will help you create a stunning illustration of this majestic creature, a part of the wolf family. So grab your drawing materials and let’s get started!
Materials Required
Before we dive into the drawing process, let’s make sure we have all the necessary materials at hand. Here’s a list of what you’ll need:
- Drawing paper
- Pencil (preferably a set of graphite pencils with different degrees of hardness)
- Eraser (a kneaded eraser works best)
- Blending stump (optional, but helpful for shading)
- Reference image of a gray wolf (you can find one online or use a photo you took yourself)
Now that we have everything we need, let’s move on to the drawing process.
Step 1: Start with Basic Shapes
Begin by lightly sketching the basic shapes that make up the wolf’s head and body. Start with an oval for the head and add a smaller circle overlapping it for the muzzle. Then, draw a larger oval beneath the head for the body. These shapes will serve as the framework for your drawing.
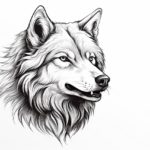
Step 2: Add Facial Features
Using the basic shapes as a guide, start adding the wolf’s facial features. Sketch the eyes, nose, and mouth, paying attention to the placement and proportions. Take your time with this step to ensure accuracy.
Step 3: Define the Ears and Fur
Next, draw the wolf’s ears on top of the head. Pay attention to the shape and positioning of the ears, as they play a significant role in capturing the wolf’s likeness. Once the ears are in place, start adding some fur details around the face and neck using light, short strokes.
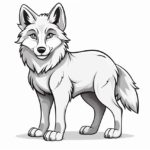
Step 4: Outline the Body
Now that the head is taking shape, it’s time to outline the body. Use long, flowing lines to define the wolf’s back, chest, and legs. Take note of the wolf’s proportions and the way the body tapers towards the tail. Remember to keep your lines light at this stage, as you’ll be refining them later.
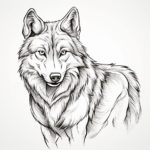
Step 5: Add Details and Shading
With the basic outline in place, it’s time to add more details to your wolf drawing. Start by adding the wolf’s fur texture, using short, directional strokes to create the appearance of individual hairs. Pay attention to the direction in which the fur lies, as it varies on different parts of the body.
As you add details, also focus on shading to give your drawing depth and dimension. Use a range of pencils with different degrees of hardness to achieve various tones. Start with light shading and gradually build up the darker areas, paying attention to the contours of the wolf’s body.
Step 6: Refine and Adjust
Take a step back and evaluate your drawing so far. Look for any areas that need adjustment or refinement. It’s common for proportions or shapes to be slightly off at this stage, so don’t be afraid to make corrections. Use your eraser to lighten or erase any unnecessary lines.
Step 7: Finalize the Drawing
Once you are satisfied with the overall composition and details of your drawing, it’s time to finalize it. Darken the necessary lines, paying attention to the areas of shadow and contrast. Add any finishing touches or additional details that will enhance the overall appearance of the wolf.
Conclusion
Congratulations! You have successfully learned how to draw a gray wolf. By following these step-by-step instructions, you have created a beautiful illustration of this magnificent creature. Remember, practice is key to improving your artistic skills, so keep drawing and exploring different subjects. We hope you enjoyed this tutorial and found it helpful in your artistic journey.