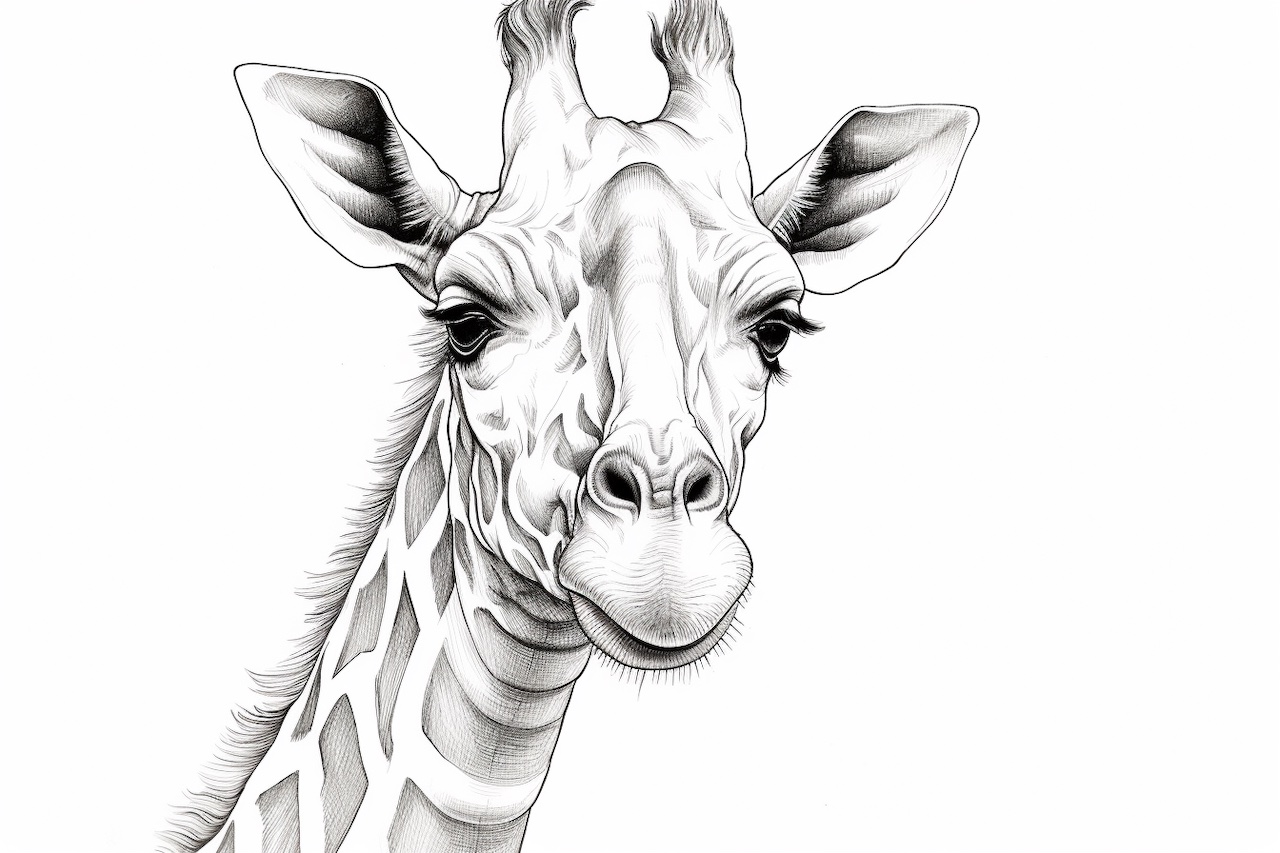
Welcome to this step-by-step guide on how to draw a giraffe head. Whether you’re a beginner or an experienced artist, this tutorial will help you capture the grace and beauty of these majestic animals. Follow along and let your creativity shine!
Materials Required
To get started, gather the following materials:
- Pencil
- Eraser
- Drawing paper or sketchbook
- Fine-tip markers or pens (optional)
- Colored pencils or paints (optional)
Now that you have your materials ready, let’s dive into the drawing process!
Step 1: Basic Shapes
Begin by lightly sketching a circle for the giraffe’s head. Draw a long oval shape below the circle for the neck. These basic shapes will serve as the foundation for the giraffe’s head and neck proportions.
Step 2: Facial Features
Using the circle as a guide, draw two large oval shapes for the eyes. Place them slightly toward the bottom half of the circle. Add small circles inside the eyes to represent the pupils. Next, draw a small triangular shape below the eyes for the giraffe’s muzzle. Sketch a soft curve to connect the muzzle with the bottom of the circle.
Step 3: Ears
Draw two tall, curved shapes on either side of the giraffe’s head to represent its ears. Giraffes have distinctive ears that are rounded at the top and taper down towards the bottom. Take your time to capture the curves and proportions accurately.
Step 4: Horns
Add the iconic ossicones, or horns, on top of the giraffe’s head. These are typically found on both males and females, although they are more pronounced in males. Sketch two small curved shapes on the forehead, slightly above the eyes. Ensure that they are symmetrical and proportional to the overall size of the head.
Step 5: Details
Now it’s time to add some details to bring your giraffe head to life. Sketch a long, thin shape for the giraffe’s tongue sticking out from the muzzle. Add small, curved lines inside the ears to indicate the folds and texture. On the forehead, draw a series of short, curved lines that represent the giraffe’s fur pattern.
Step 6: Refine and Define
Carefully go over your initial sketch, refining the proportions and shapes of the giraffe’s head. Use your eraser to remove any unnecessary lines or mistakes. Pay attention to the subtle contours of the face, such as the curve of the cheeks and the placement of the eyes. Take your time to make adjustments and ensure accuracy.
Step 7: Shading and Texture
To add depth and dimension to your drawing, start shading the different areas of the giraffe’s head. Giraffes have a distinctive pattern of spots on their head, so pay attention to the placement and size of these spots. Use gentle hatching or cross-hatching techniques to create the illusion of texture and fur. Gradually build up the shading, taking care to blend the tones smoothly.
Step 8: Final Touches
Finish off your drawing by adding any additional details or highlights. You can use fine-tip markers or pens to outline the main features and make them pop. If you prefer color, you can use colored pencils or paints to bring your artwork to life. Experiment with different shades and tones to achieve the desired effect.
Conclusion
Congratulations on completing your giraffe head drawing! By following these step-by-step instructions, you have learned how to capture the elegance and charm of these incredible creatures. Remember, practice makes perfect, so keep honing your skills and exploring your artistic abilities. Have fun and let your imagination run wild!

