In this step-by-step tutorial, we will learn how to draw a cartoon wolf. Whether you are an aspiring artist or just want to have some fun with drawing, this guide will help you create a cute and lovable cartoon wolf. By following the simple instructions and using basic shapes, you will be able to bring this character to life on your paper. So grab your pencil and let’s get started!
Materials Required
To begin your drawing journey, you will need the following materials:
- A pencil
- A sheet of paper
- Eraser
- Black pen or marker (optional)
- Colored pencils or markers (optional)
Now that you have everything you need, let’s move on to the step-by-step instructions.
Step 1: Start with the Head
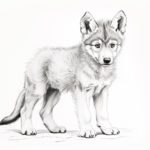
Begin by drawing a circle in the center of your paper. This will be the wolf’s head. Don’t worry about perfecting it, as this is just a rough guideline for now.
Step 2: Add the Facial Features
Divide the circle into four equal parts by drawing two lines intersecting each other. These lines will serve as a guide for placing the facial features. Draw two small circles for the eyes, and a small triangle for the nose at the bottom.
Step 3: Create the Ears
On either side of the head, draw two pointy triangles to represent the wolf’s ears. Position them slightly above the eyes, and make sure they are the same size.
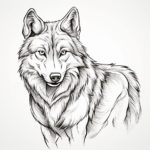
Step 4: Outline the Face
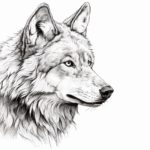
Using the circle as a guide, draw the outline of the face. Start from the top of one ear, curve around the head, and finish at the top of the other ear. Make the lines smooth and flowing, giving your wolf a friendly and inviting expression.
Step 5: Draw the Body
Extend two curved lines down from the head to create the body. These lines should be wider at the top and gradually taper towards the bottom. Leave a small gap at the bottom for the legs.
Step 6: Sketch the Legs
Draw four slightly curved lines extending downwards from the body for the legs. Add simple oval shapes at the end of each line to represent the paws. Don’t worry about drawing the details of the paws just yet.
Step 7: Add the Tail
At the back of the body, draw a long, curved line to represent the tail. Make it fluffy by adding some zig-zag patterns along the line.
Step 8: Refine the Facial Features
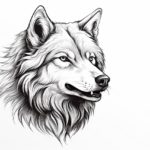
Now it’s time to add some details to the face. Draw a curved line above each eye to represent the eyebrows. Add a small curved shape below the nose for the mouth. Finally, draw a line from the outer corner of each eye to the ear to create the wolf’s cheek fur.
Step 9: Define the Ears
To give the ears more structure, draw two smaller triangles inside each ear. This will add depth and make them look more realistic.
Step 10: Outline the Body and Legs
Using the basic shape of the body and legs, refine your drawing by adding more details. Smooth out any rough lines and make the wolf’s body look more rounded and muscular. Add a few short lines to define the separate sections of each leg.
Step 11: Complete the Tail
Enhance the tail by adding more zig-zag patterns, making it look fluffy and full. You can also draw some lines on the body to indicate the fur texture.
Step 12: Erase Unnecessary Lines
Carefully erase any unnecessary guidelines and overlapping lines. Take your time with this step to ensure a clean and polished drawing.
Step 13: Add Expression and Details
Now that you have the basic structure, it’s time to add some personality to your cartoon wolf. Experiment with different eye shapes, eyebrows, and mouth expressions to give your wolf a unique character.
Step 14: Ink or Color Your Drawing (Optional)
If you want to give your drawing a more finished look, you can ink it using a black pen or marker. Wait for the ink to dry, and then erase any remaining pencil lines. Alternatively, you can add color to your cartoon wolf using colored pencils or markers.
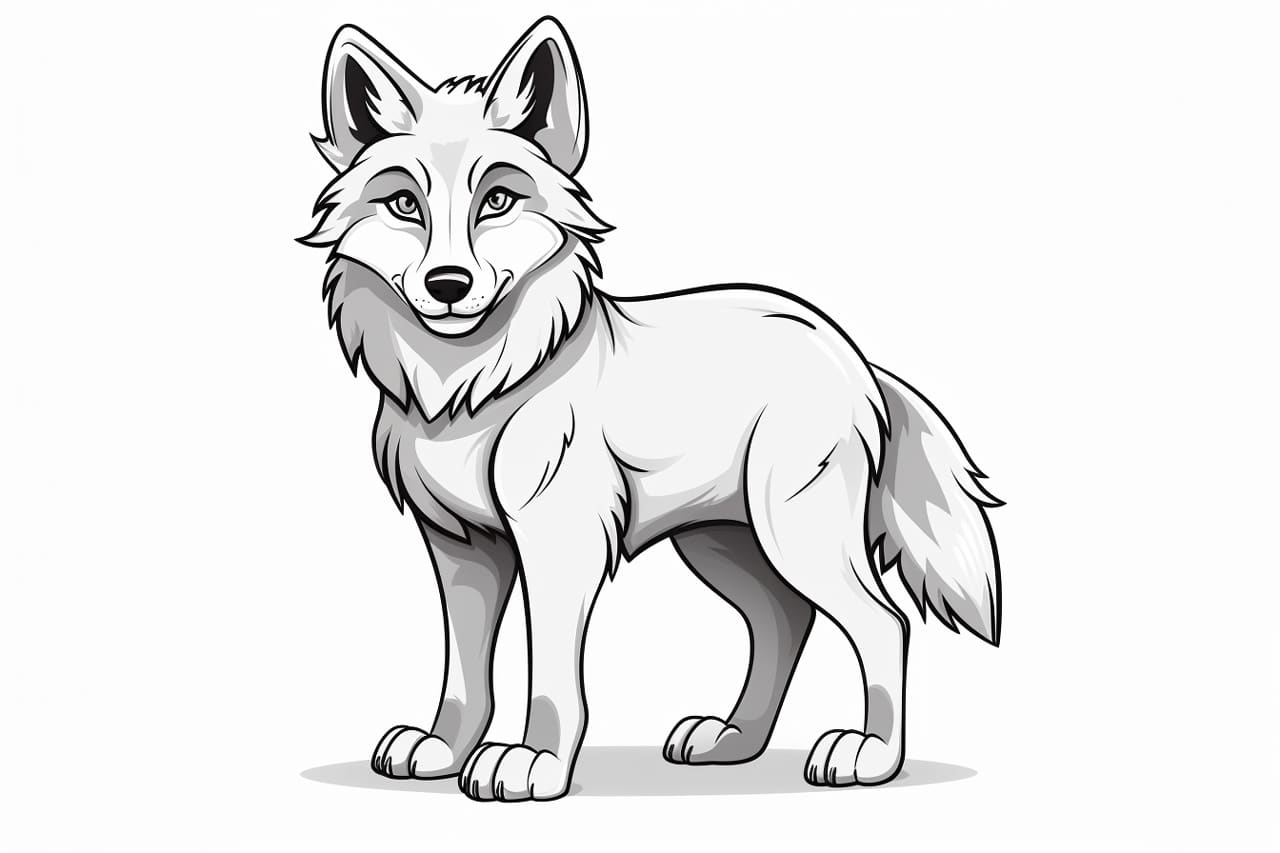
Conclusion
Congratulations! You have successfully learned how to draw a cartoon wolf. By following these step-by-step instructions and using your creativity, you can create countless variations of this adorable character. Remember, practice makes perfect, so don’t be afraid to experiment and have fun with your drawings. Happy creating!