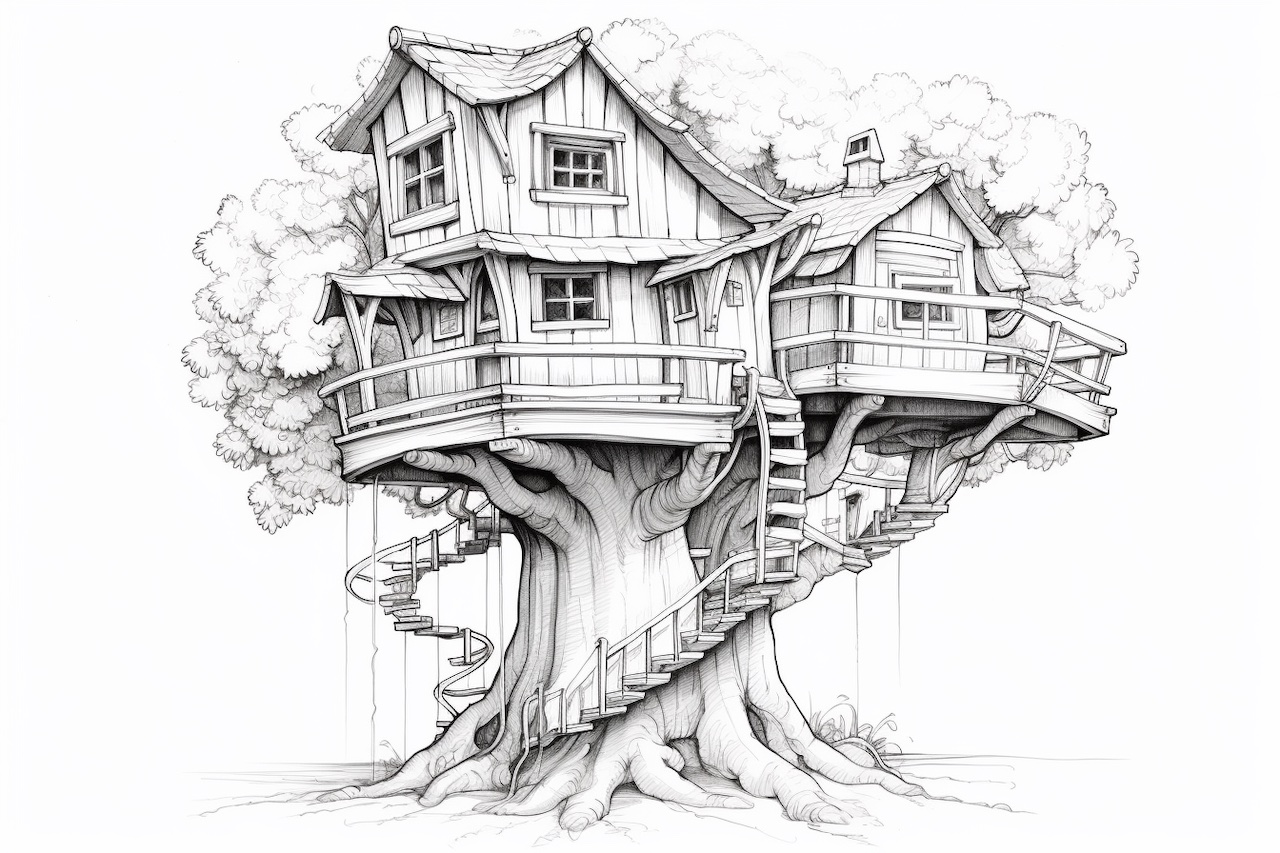
Welcome to this step-by-step guide on how to draw a tree house! Whether you are an experienced artist or just starting out with drawing, this tutorial will help you create a charming and detailed tree house illustration. By following these instructions, you will be able to capture the whimsical and magical qualities of a tree house in your artwork. Let’s get started!
Materials Required
Before we begin, make sure you have the following materials on hand:
- Sketchbook or drawing paper
- Pencil (HB or 2B)
- Eraser
- Ruler
- Fine-tip black pen or ink pen
- Colored pencils or markers (optional)
Now that you have gathered your materials, let’s dive into the step-by-step instructions!
Step 1: Sketch the Basic Shape of the Tree House
Start by lightly sketching the basic shape of the tree house. Use your pencil to draw a rectangular shape for the main structure. Add triangular shapes for the roof and any additional sections like balconies or windows. Remember, this is just a rough sketch to outline the overall composition.
Step 2: Add Details to the Tree House
Now it’s time to add some details to your tree house. Start by drawing the windows, door, and any other architectural elements. Pay attention to the proportions and placement of these details to ensure a realistic look. Use your ruler to maintain straight lines and symmetry where needed.
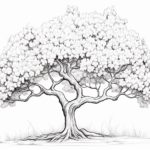
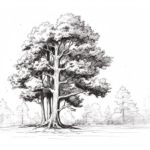
Step 3: Draw the Tree Trunk and Branches
Next, draw the tree trunk and branches that support your tree house. You can make the trunk as thick or thin as you like, and add branches extending in different directions. Remember to create an interesting and organic shape for the tree. Add some texture to the trunk and branches by lightly sketching lines to represent bark.
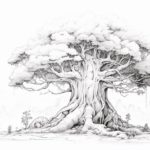
Step 4: Add Foliage to the Tree
Now let’s add some foliage to your tree house. Use your pencil to draw the leaves in a loose, natural manner. You can create a canopy of leaves around the tree house or focus on specific areas where the branches are covered in foliage. Add some individual leaves to give your tree a more realistic appearance.
Step 5: Refine Your Sketch
Take a moment to step back and evaluate your sketch so far. This is the perfect time to make any necessary adjustments or corrections. Use your eraser to remove any unwanted lines or smudges. You can also darken certain lines to emphasize certain details or areas of shadow. Take your time to ensure you are happy with the overall composition and details before moving on to the next step.
Step 6: Ink Your Drawing
Once you are satisfied with your pencil sketch, it’s time to ink your drawing. Use a fine-tip black pen or ink pen to carefully trace over your pencil lines. Start with the main outline of the tree house, then move on to the tree trunk, branches, and foliage. Take it slow and steady, applying consistent pressure to achieve clean and bold lines. Allow the ink to dry before erasing any remaining pencil marks.
Step 7: Add Shadows and Textures
Now it’s time to add depth and dimension to your tree house drawing. Use your pen or a darker pencil to create shadows and textures. Add shading where the tree house meets the tree trunk and branches, as well as any areas that would naturally cast a shadow. You can also add texture to the tree trunk and leaves by drawing tiny lines or dots.
Step 8: Color Your Drawing (Optional)
If you want to add color to your tree house drawing, now is the time! Use colored pencils or markers to bring your illustration to life. Start by selecting a color palette that matches the mood and style you want to convey. Begin by coloring the tree trunk, branches, and foliage. Then, move on to the tree house and any additional elements you added, such as windows or doors. Experiment with different shading techniques to add depth and realism to your drawing.
Conclusion
Congratulations on creating your very own tree house illustration! I hope you enjoyed following this step-by-step guide and that you are proud of your artwork. Drawing a tree house allows you to unleash your creativity and imagination, capturing the charm and beauty of these whimsical structures. Remember to practice regularly and experiment with different styles and techniques to further develop your drawing skills. Now, go ahead and create more magical scenes with your newfound ability to draw tree houses!