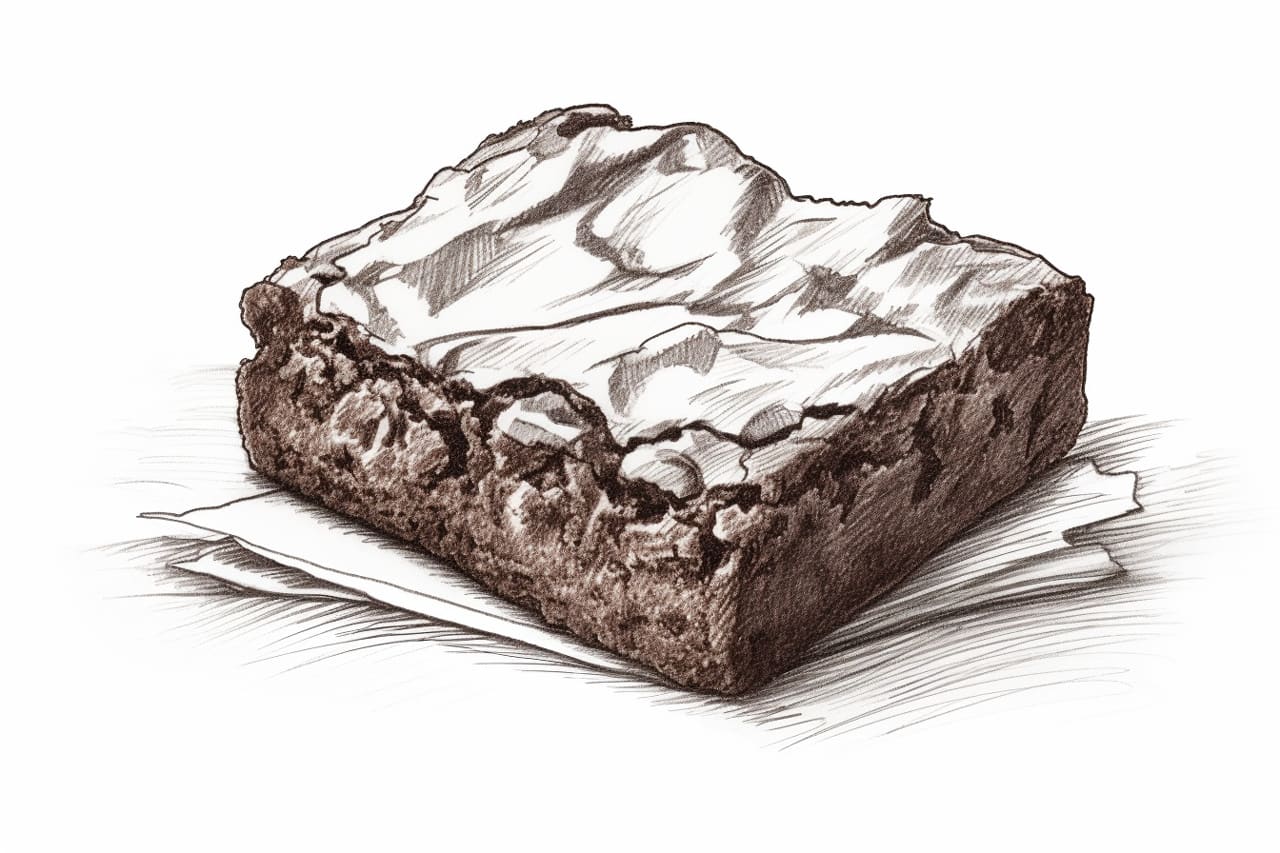
Welcome to this step-by-step tutorial on how to draw a brownie. Whether you are a beginner or an experienced artist, this guide will help you create a delicious and realistic representation of this delectable treat. By following these easy instructions and using the appropriate materials, you will be able to draw a mouth-watering brownie in no time. So grab your drawing supplies and let’s get started!
Materials Required
To draw a brownie, you will need the following materials:
- Pencil: Use a medium-soft graphite pencil for sketching and shading.
- Paper: Choose a high-quality drawing paper that can handle erasing and shading.
- Eraser: Have a kneaded eraser handy to correct mistakes and lighten pencil marks.
- Blending stump or cotton swabs: These tools are useful for blending and smoothing out pencil strokes.
- Colored pencils (optional): If you want to add color to your drawing, have some brown-colored pencils ready.
Now that you have your materials ready, let’s move on to the step-by-step instructions.
Step 1: Outline the Shape of the Brownie
Start by lightly sketching the outline of the brownie on your paper. The shape can be rectangular or square, depending on your preference. Keep the lines loose and sketchy, as we will refine them later. Remember, the goal at this stage is to get the basic shape and proportions right.
Step 2: Add Texture to the Brownie
Using short, curved lines, add texture to the surface of the brownie to give it a crumbly appearance. Don’t worry about making the lines perfect, as the irregularity will make the drawing more realistic. Vary the length and direction of the lines to create a more organic look.
Step 3: Shade the Sides of the Brownie
Now it’s time to add depth and dimension to the brownie. Start by shading the sides of the brownie using your graphite pencil. Apply a light layer of shading along the edges, gradually darkening it as you move toward the center. Use small, circular motions to create a smooth transition between light and dark areas.
Step 4: Create Highlights and Shadows
To make the brownie appear more realistic, add highlights and shadows. Identify the main light source in your drawing and imagine where the light would hit the brownie. Use an eraser to carefully lighten those areas, creating highlights. Conversely, darken the areas that would be in shadow, such as the corners and crevices. This contrast will add depth and make the brownie pop.
Step 5: Refine the Shape and Texture
Go back to the outline of the brownie and refine it by erasing any unnecessary lines. Pay close attention to the edges and corners, ensuring they are crisp and well-defined. Adjust the texture as needed, adding more lines or erasing some to achieve the desired crumbly appearance. Take your time with this step to achieve a polished result.
Step 6: Add Color (optional)
If you want to add color to your brownie drawing, now is the time to do so. Use brown-colored pencils to layer and blend shades of brown onto your drawing. Start with a light shade as a base and gradually build up the color, adding darker tones to the shadows. Use a blending stump or cotton swab to smooth out the colors and achieve a seamless look.
Step 7: Final Details and Finishing Touches
In this final step, add any additional details and finishing touches to your drawing. Pay attention to small details such as cracks, crumbs, or any other characteristics that will enhance the realism of your brownie. Take a step back and assess your drawing as a whole, making any necessary adjustments to ensure a balanced and visually appealing composition.
Conclusion
Congratulations! You have successfully learned how to draw a mouth-watering brownie. By following the step-by-step instructions and using the right materials, you have created a realistic representation of this delicious treat. Remember to practice regularly to further develop your drawing skills. So go ahead and enjoy this artistic journey of capturing the irresistible charm of a brownie on paper!


