Welcome to this step-by-step guide on how to draw a black bear. Whether you are a beginner or an experienced artist, this tutorial will provide you with clear and concise instructions to help you create a lifelike representation of this majestic creature. So let’s dive right in!
Materials Required
Before we begin, gather the following materials:
- Pencil (preferably a softer graphite pencil, such as a 2B or 4B)
- Eraser
- Drawing paper or sketchbook
- Reference image of a black bear
Having these materials ready will ensure a smooth and enjoyable drawing experience.
Step 1: Basic Shapes
To start, let’s begin by drawing the basic shapes that make up the body of the black bear. Begin with a large oval to represent the bear’s body. Next, add a smaller oval at the top to depict the bear’s head. Finally, draw two overlapping circles to indicate the bear’s ears. These shapes will serve as a foundation for the rest of the drawing.
Step 2: Facial Features
Now that we have the basic structure in place, let’s focus on adding the bear’s facial features. Start by sketching two small circles for the eyes, positioning them on either side of the bear’s head. Then, draw a larger circle for the bear’s snout, making sure it connects smoothly with the head. Next, add a small triangular shape for the bear’s nose, and two curved lines on each side for the nostrils. Finally, draw a line for the mouth, slightly curved upward to create a friendly expression.
Step 3: Fur Details
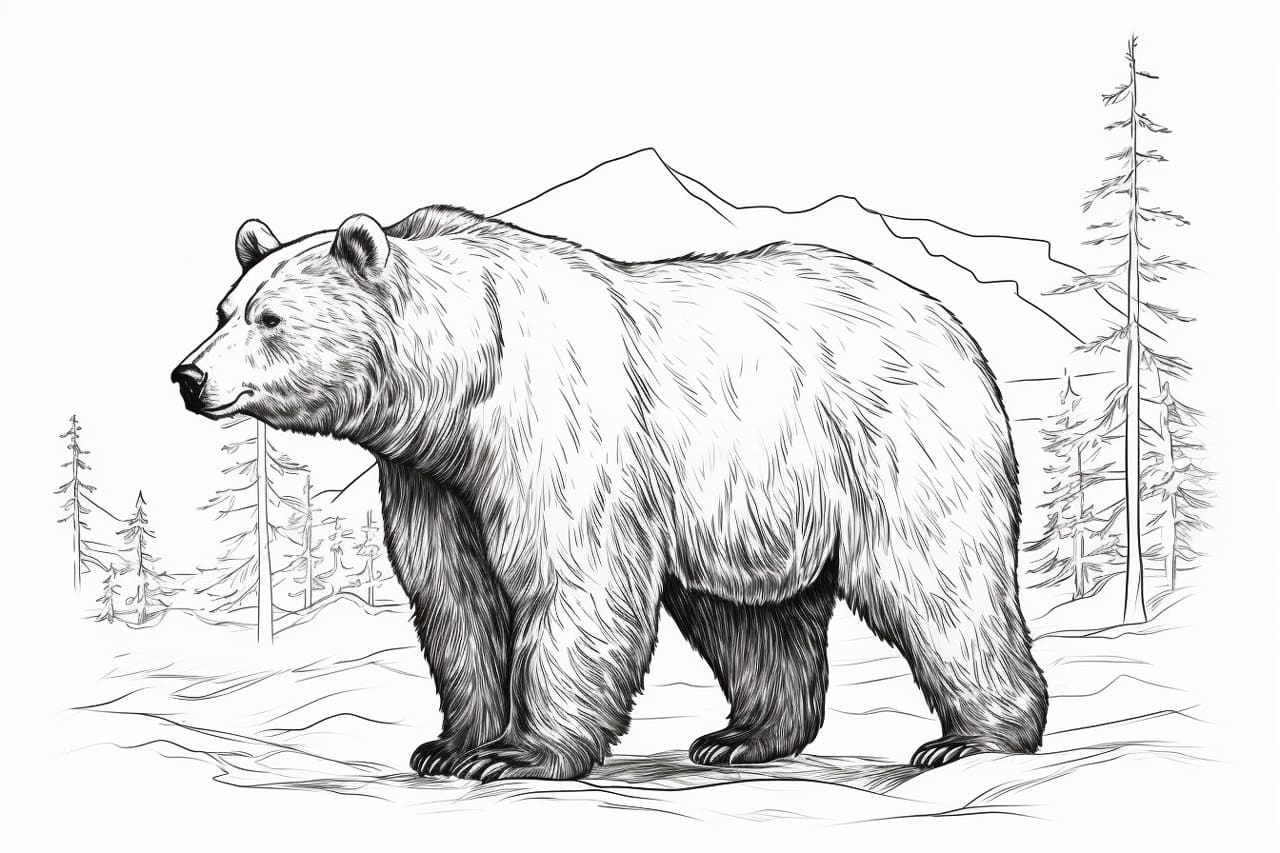
One of the defining characteristics of a black bear is its thick fur. To capture this, we will add some fur details to our drawing. Starting from the top of the head, use short, curved lines to indicate the direction of the fur. Gradually work your way down the bear’s body, paying attention to the contours and curves of the form. The fur should be slightly longer and more textured around the neck and shoulders, gradually getting shorter towards the back and hind legs.
Step 4: Body Proportions
Now that we have the bear’s facial features and fur details, let’s move on to refining the body proportions. Take a moment to observe your reference image and make any necessary adjustments to ensure accuracy. Pay attention to the size and positioning of the bear’s limbs, as well as the overall shape of the body. Use light, guiding lines to make corrections if needed. Remember, it’s better to take your time at this stage to get the proportions right.
Step 5: Adding Limbs and Paws
Next, we will add the bear’s limbs and paws. Start by drawing the front limbs, which are thicker and more muscular than the rear limbs. Use simple curved lines to indicate the shape of the arms, keeping in mind the joint positions. Then, add the paws by drawing ovals at the end of each arm. Don’t forget to include the claws! For the rear limbs, draw two elongated ovals, tapering towards the bottom to represent the bear’s sturdy hind legs. Again, add ovals at the end to form the paws.
Step 6: Refining Details
At this stage, we will refine the details of our black bear drawing. Take a closer look at your reference image and carefully observe the texture and shape of the bear’s fur. Use short, curved lines to add more definition and depth to the fur, paying attention to the direction of the hair growth. Take your time with this step, as the details will greatly enhance the realism of your drawing.
Step 7: Shading and Highlights
To bring our black bear drawing to life, we will add shading and highlights to create depth and dimension. Start by identifying the light source in your reference image. Use a darker pencil or increase the pressure on your pencil to shade the areas of the bear’s body that are in shadow. Gradually build up the shading by layering your pencil strokes, paying attention to the contours of the body. For the highlighted areas, use an eraser to gently lift off some of the graphite, creating a contrast between light and dark.
Conclusion
Congratulations on completing your black bear drawing! By following these step-by-step instructions, you have created a realistic representation of this magnificent animal. Remember, practice makes perfect, so don’t hesitate to try this tutorial multiple times to refine your skills. Keep exploring different subjects and techniques, and enjoy the journey of becoming an accomplished artist.

