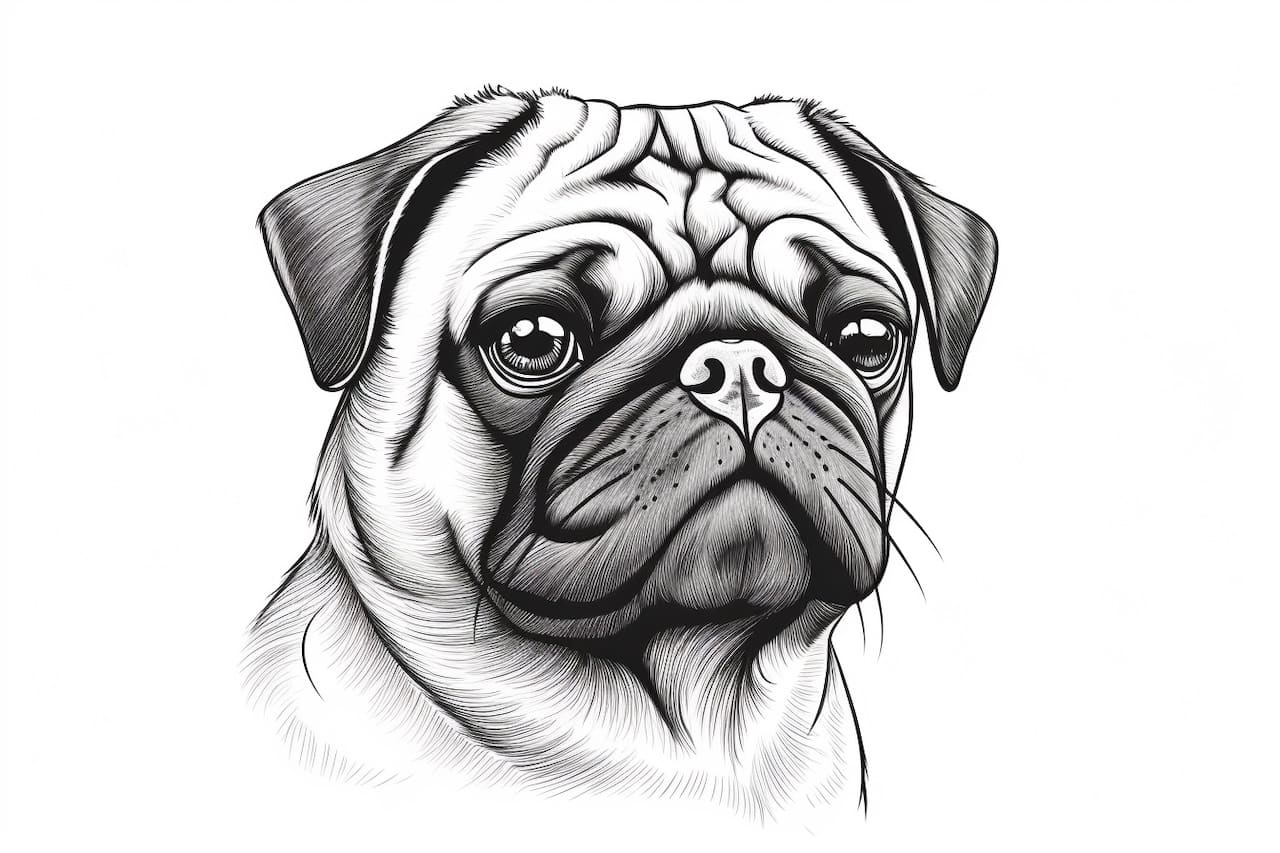
Welcome to this step-by-step guide on how to draw a pug face! Pugs are adorable and their unique facial features make them a joy to capture on paper. Whether you’re an experienced artist or just starting out, this tutorial will provide you with clear and concise instructions to help you create a charming pug face. So let’s get started!
Materials Required
Before we begin, let’s gather the materials you’ll need to complete this drawing:
- Drawing paper or sketchbook
- Pencils (preferably a range of graphite pencils, such as 2B, 4B, and 6B)
- Eraser
- Fine-tipped marker or pen (optional, for outlining)
- Colored pencils or markers (optional, for adding color)
Now that you have your materials ready, let’s dive into the steps!
Step 1: Start with Basic Shapes
Begin by sketching a large circle in the center of your drawing paper. This will form the basis of the pug’s head. Then, draw a smaller circle below it, slightly overlapping the larger circle. This smaller circle will represent the muzzle of the pug.
Step 2: Add the Facial Features
Using the circles as a guide, draw two oval shapes for the pug’s eyes, placing them within the larger circle. Make sure to leave some space between the eyes. Next, draw a small triangular shape below the eyes for the nose. Remember, pug noses are short and flat. Connect the nose to the muzzle with a curved line.
Step 3: Draw the Ears
Pugs have distinctive floppy ears, so let’s draw them next. Starting from the top of the head, sketch two long, curved lines that slope downward. Connect the lines at the bottom using a slightly curved line. Repeat this step on the other side to complete the pug’s ears.
Step 4: Capture the Pug’s Expression
To make your pug drawing come alive, it’s important to capture their adorable expression. Add small circles within the eye ovals for highlights. Then, draw curved lines above each eye to represent the eyebrows. Pugs often have a concerned or curious expression, so keep that in mind as you shape the eyebrows.
Step 5: Refine the Face
Now it’s time to refine the pug’s face by adding details. Use curved lines to outline the shape of the head, making it appear round and chubby. Add small wrinkles around the pug’s eyes and on the sides of the muzzle to give it that characteristic wrinkled look. You can also add a few lines on the forehead and cheeks for extra detail.
Step 6: Finalize the Outline
Once you’re satisfied with the overall shape and features of your pug face, use a fine-tipped marker or pen to outline the drawing. This will make the lines more defined and create a polished look. Be careful not to go overboard with the outlining, as you don’t want to overpower the softer pencil lines.
Step 7: Add Shading and Texture
To add depth and dimension to your pug drawing, it’s time to incorporate shading and texture. Start by using a light pencil to shade areas that will appear darker, such as the nose and the folds of skin. Gradually build up the shading by layering darker pencil strokes. Pay attention to the direction of the fur and use short, curved lines to create texture.
Step 8: Optional – Add Color
If you’d like to bring your drawing to life with color, grab your colored pencils or markers. Pugs come in a range of coat colors, so choose shades that best represent the pug you’re drawing. Layer the colors to achieve a realistic and vibrant look. Don’t forget to add some blush to the pug’s cheeks for an extra touch of cuteness!
Conclusion
Congratulations on completing your pug face drawing! By following these step-by-step instructions, you’ve captured the charming features of this beloved breed. Whether you’re drawing for fun or honing your artistic skills, this guide has hopefully provided you with the knowledge and inspiration you need. Keep practicing, and soon you’ll be able to create pug portraits that capture the hearts of everyone who sees them. Happy drawing!