Surfing is all about riding the waves and feeling the exhilaration in every moment. But have you ever wondered how a surfboard is created? Learning how to draw a surfboard can be a great way to express your passion for this exciting water sport. In this step-by-step guide, I will walk you through the process of drawing your very own surfboard. So grab your pencils and let’s dive in!
Materials Required
Before we begin, let’s gather all the materials you will need for this drawing:
- Drawing paper or sketchbook
- Pencils (HB, 2B, and 4B)
- Eraser
- Ruler
- Compass or circular object (to create curves)
- Reference image of a surfboard (optional, but helpful for accuracy)
Now that you have all your materials ready, let’s move on to the first step!
Step 1: Draw the Outline
To start, draw a long oval shape on your paper. This will be the basic outline of your surfboard. Use light pencil marks to create the shape, as we will be refining it later on. Remember, surfboards come in various shapes and sizes, so feel free to adjust the proportions and make it your own.
Step 2: Add the Nose and Tail
Using your reference image or imagination, determine the shape of the nose and tail of your surfboard. The nose is usually more rounded, while the tail can be either rounded or pointed. Add these details to the ends of your oval shape. Again, don’t worry too much about perfection at this stage, as we will be refining the details later on.
Step 3: Define the Rails
The rails of a surfboard refer to the edges that run along the sides of the board. They can be either sharp or rounded, depending on the design. Start by drawing a line along the top and bottom edges of the surfboard. These lines will indicate the thickness of the board. Then, connect the nose and tail to the rails with gentle curves. Take your time to ensure the curves are smooth and even.
Step 4: Create the Rocker
The rocker of a surfboard refers to the curve along the bottom of the board from nose to tail. It helps with maneuverability and control while riding waves. To create the rocker, draw a curved line along the bottom of your surfboard, starting from the nose and ending at the tail. The curve can be subtle or more pronounced, depending on your preference.
Step 5: Add Fins
Fins play a crucial role in stabilizing and steering the surfboard. Start by drawing three lines vertically along the bottom of your surfboard, near the tail. These lines will represent the fins. You can choose to draw either a single center fin or a thruster setup with two smaller side fins. Take your time to ensure the lines are parallel and evenly spaced.
Step 6: Refine the Details
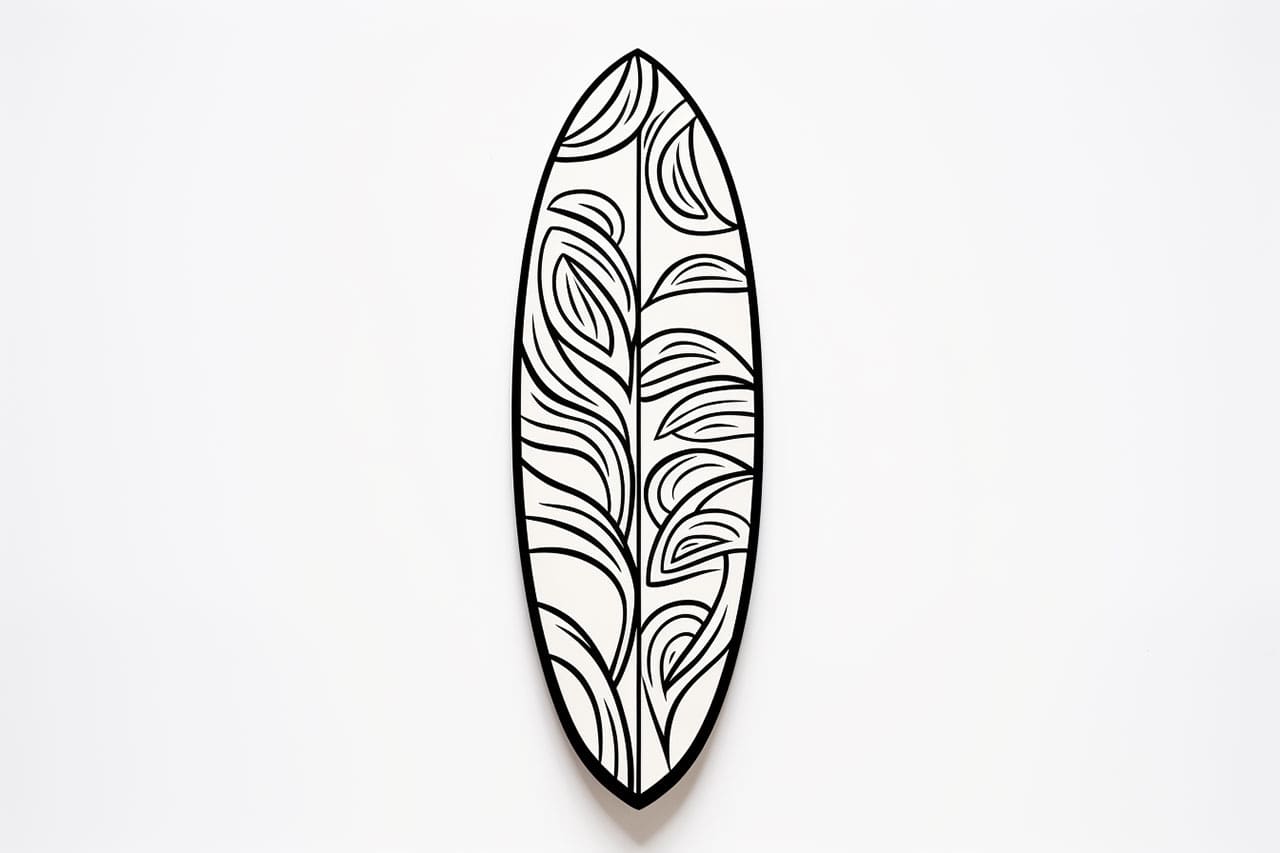
Now that you have the basic structure of your surfboard, it’s time to refine the details. Use a darker pencil (2B or 4B) to define the outline of the board, making it more prominent. Pay attention to the curves and edges, ensuring they are smooth and clean. You can also add some decorative elements such as stripes or patterns to make your surfboard unique.
Step 7: Shade and Add Texture
To give your surfboard a three-dimensional look, it’s important to add shading and texture. Start by identifying the primary light source, which will determine where the shadows fall. Use your pencils to add shading to the areas that would be in shadow, such as the underside of the board and the indented parts, like the rocker and rails. Gradually build up the layers of shading to create depth and dimension.
Conclusion
Congratulations, you have successfully drawn a surfboard! Drawing a surfboard allows you to appreciate the craftsmanship and design that goes into creating this essential tool for surfers. Now that you have mastered the technique, feel free to experiment with different shapes, designs, and color schemes. Let your creativity flow as you explore the exciting world of surfboard art!
Remember, practice makes perfect. So grab your pencils whenever you can and keep honing your drawing skills. Happy surfing and happy drawing!