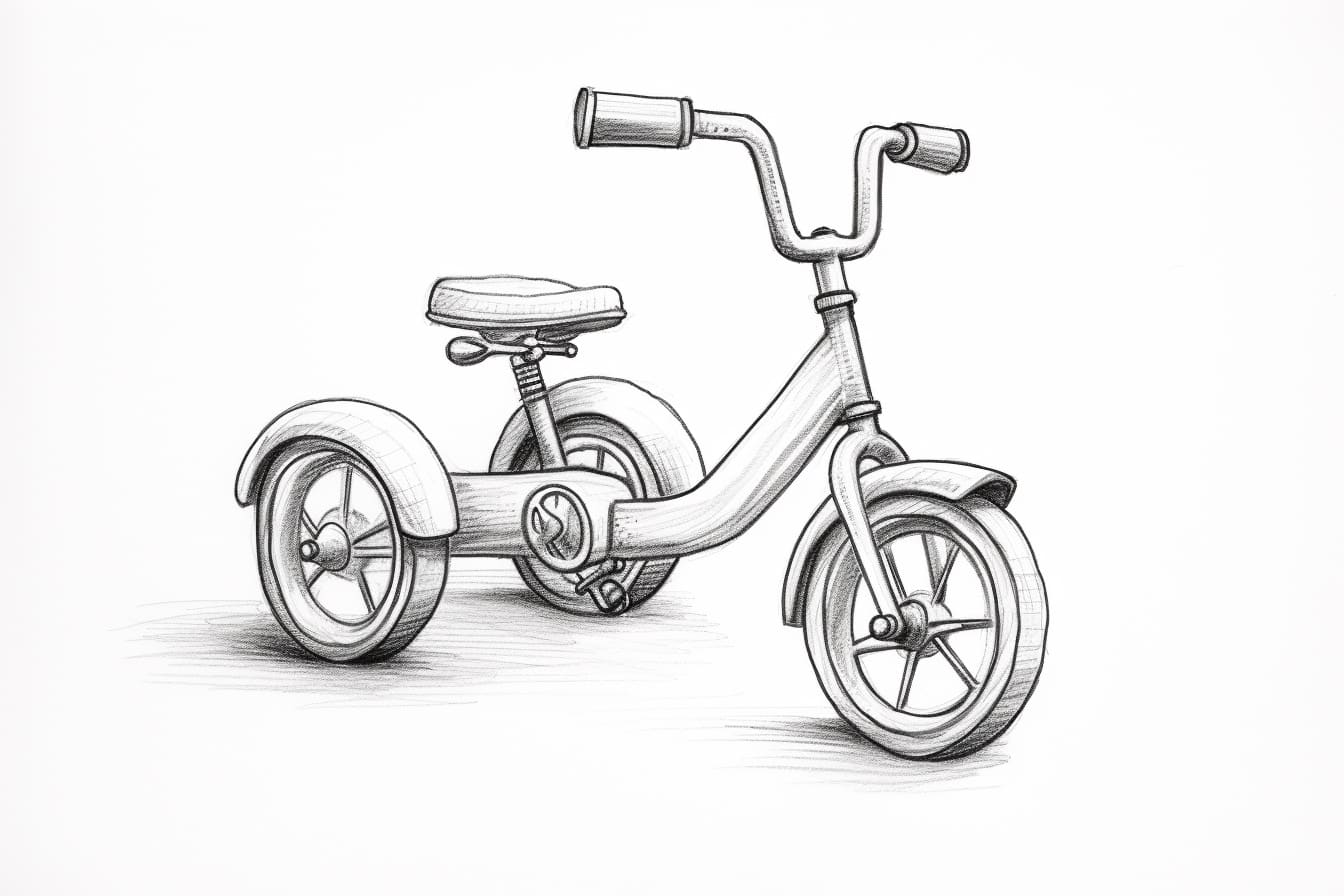
Are you interested in learning how to draw a tricycle? Drawing is a wonderful way to express your creativity and improve your artistic skills. In this step-by-step guide, I will walk you through the process of drawing a tricycle from scratch. Whether you are a beginner or an experienced artist, you’ll find these instructions easy to follow. So grab your drawing supplies and let’s get started!
Materials Required
Before we begin, make sure you have the following materials:
- Drawing paper or sketchbook
- Pencil
- Eraser
- Ruler
- Compass
- Colored pencils or markers (optional)
Now that you have everything you need, let’s dive into the process of drawing a tricycle.
Step 1: Sketch the Basic Shape
Start by drawing a large oval shape in the center of your paper. This will be the body of the tricycle. Use light and loose pencil strokes for this initial sketch, as we will be refining the details later on.
Step 2: Add the Front Wheel
Next, draw a smaller circle at the front of the oval. This will represent the front wheel of the tricycle. Use your compass to create a perfect circle if needed. Make sure the front wheel is slightly angled towards the center of the oval to create a realistic perspective.
Step 3: Draw the Handlebars
Extend two curved lines from the top sides of the oval to create the handlebars. The handlebars should be slightly wider than the oval. Add small circles at the end of each handlebar to represent the handles.
Step 4: Outline the Main Frame
Using your ruler, draw two straight lines connecting the front wheel to the back of the oval. These lines will form the main frame of the tricycle. Make sure the lines are parallel to each other and evenly spaced.
Step 5: Add the Seat and Backrest
Draw a small rectangle shape above the back wheel to create the seat. Then, add a curved line connecting the top of the seat to the handlebars to form the backrest. This will give the tricycle a more realistic appearance.
Step 6: Sketch the Back Wheels
Draw two smaller circles at the back of the tricycle, on either side of the main frame. These circles will represent the back wheels. Make sure they are aligned with the front wheel to maintain a proper balance.
Step 7: Refine the Details
Now that you have the basic structure of the tricycle, it’s time to refine the details. Use your pencil to go over the lines and shapes, adding more definition and smoothness. Pay attention to the curves and angles of the tricycle, as these details will contribute to its overall appearance.
Step 8: Erase Unnecessary Lines
Carefully erase any unnecessary lines from your drawing. This includes the initial sketch lines that are no longer needed. Make sure to keep the essential outlines intact, while removing any overlapping or distracting marks.
Step 9: Add Color (Optional)
If you want to add color to your drawing, now is the time to do so. Use colored pencils or markers to bring your tricycle to life. Experiment with different shades and techniques to create a vibrant and captivating artwork.
Conclusion
Congratulations! You have successfully learned how to draw a tricycle. With a few simple steps, you have created a realistic representation of this classic vehicle. Remember, practice makes perfect, so don’t hesitate to try drawing tricycles from different angles or with unique designs. Keep exploring your artistic abilities and have fun with your creations!


