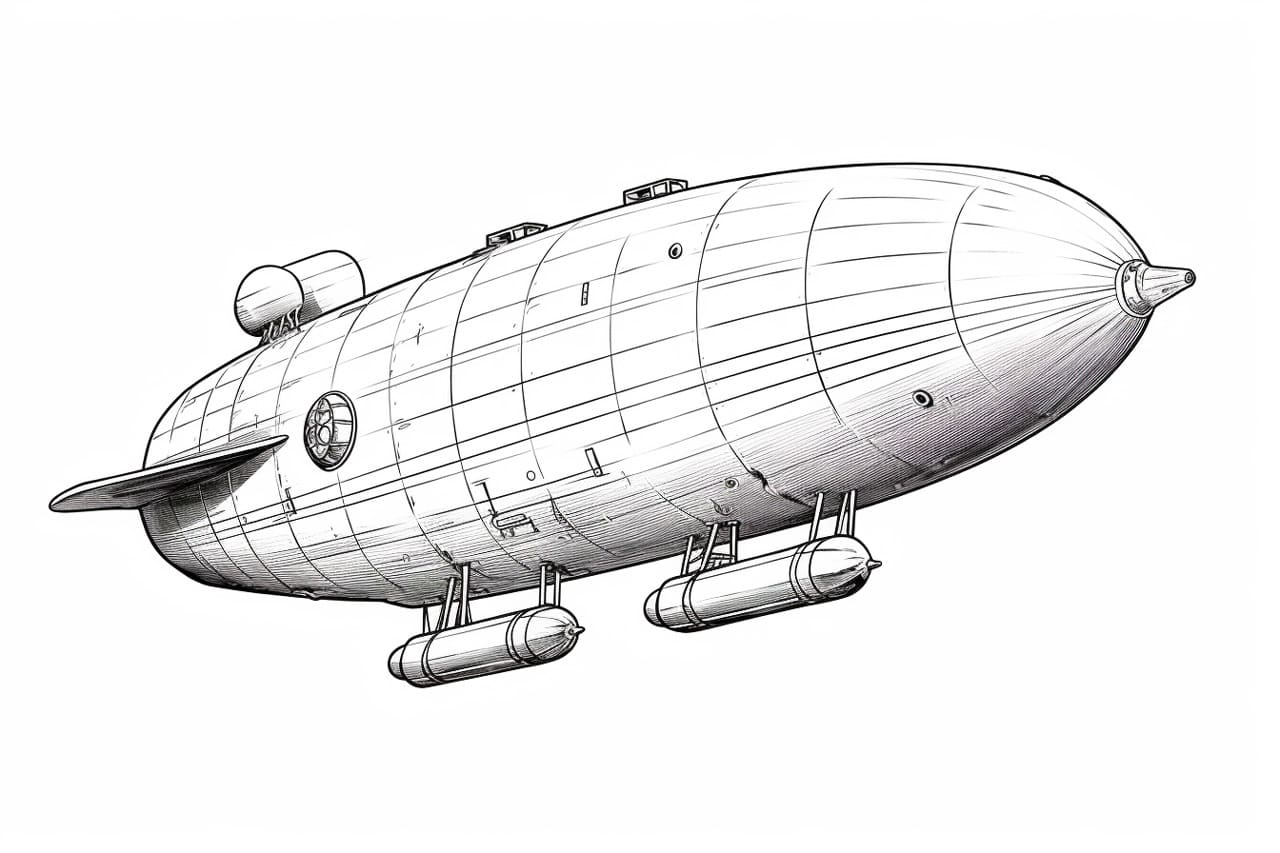
Welcome to this step-by-step tutorial on how to draw a blimp! Blimps are fascinating flying machines that are known for their unique shape and design. By the end of this tutorial, you will be able to sketch a blimp with confidence. So let’s get started!
Materials Required
To begin drawing a blimp, you will need the following materials:
It’s important to use a pencil and eraser so that you can easily make corrections as you go along. Choose a paper that you are comfortable drawing on.
Step 1: Drawing the Basic Shape
Start by drawing a horizontal oval shape in the center of your paper. This will be the body of the blimp. Make sure that the oval is proportionate and not too elongated or squashed.
Step 2: Adding the Cabin
Next, draw a small rectangle shape near the front of the oval. This will be the cabin of the blimp where passengers and the pilot are seated. Ensure that the rectangle is aligned with the center of the oval.
Step 3: Outlining the Cabin
To give the cabin some depth, add two diagonal lines from the top corners of the rectangle. These lines will create the illusion of a three-dimensional shape. Extend the lines slightly beyond the rectangle.
Step 4: Drawing the Tail Fin
Move to the back of the blimp and draw a triangular shape that extends downwards. This will be the tail fin of the blimp. Make sure that the base of the triangle aligns with the center of the oval.
Step 5: Sketching the Propeller
Imagine the blimp in motion! Near the front of the oval, draw a small circle. Then, inside the circle, sketch four curved shapes in a symmetrical pattern to create the propeller. These curved shapes will represent the propeller blades.
Step 6: Adding Details
To make your blimp look more realistic, add some extra details. Start by drawing a line across the top of the cabin to represent the windows. Then, add a few smaller circles evenly spaced around the body of the blimp to symbolize the rivets.
Step 7: Erasing Unnecessary Lines
Take a moment to review your drawing and erase any unnecessary lines. Pay attention to the lines that are no longer needed now that you have added more details. This will help make your blimp drawing clean and polished.
Step 8: Shading and Texturing
Now that you have the basic structure of the blimp, it’s time to add shading and texture. Begin by lightly shading the bottom part of the blimp to create a sense of depth. You can also add some texture by drawing small lines or dots to represent the fabric of the blimp.
Conclusion
Congratulations! You have successfully learned how to draw a blimp. By following these step-by-step instructions, you should now have a detailed and realistic blimp drawing. Remember to take your time, practice, and have fun with your artwork. Drawing is a skill that can be honed with patience and dedication. So keep exploring and experimenting with your creativity!