Welcome to this step-by-step guide on how to draw a toad! Whether you are a beginner or an experienced artist, this tutorial will help you create a realistic and detailed depiction of this fascinating amphibian. With just a few materials and some patience, you’ll be able to capture the charm of a toad on paper. So, let’s get started!
Materials Required
Before we begin, gather the following materials:
- Drawing paper or sketchpad
- Pencil (preferably HB or 2B)
- Eraser
- Fine-tip pens or markers for outlining (optional)
- Colored pencils or watercolors (optional)
- A reference picture of a toad
Step 1: Basic Shapes
To start, let’s begin by sketching the basic shapes that will serve as the foundation for your toad drawing. Start with an oval shape for the body. This will be the central part of the toad. Then, add a smaller oval shape above the body to represent the head.
Step 2: Leg and Arm Guidelines
Next, let’s add some guidelines for the legs and arms. Draw two slightly curved lines extending from the bottom of the body towards the front. These lines will represent the front legs. Then, draw two more lines extending from the sides of the body towards the back. These lines will represent the hind legs.
Step 3: Adding Details to the Head
Now, let’s add some details to the head of the toad. Start by sketching two small circles for the eyes. Make sure to leave some space between them. Then, draw a curve below the eyes to represent the mouth.
Step 4: Shaping the Body
Next, let’s give our toad some volume by adding shape to its body. Start by adding a curved line from the bottom of the head to the bottom of the body. This line will show the outline of the toad’s back. Then, draw a similar curved line from the top of the head to the bottom of the body, representing the stomach area.
Step 5: Drawing the Legs
Now that we have the basic body shape, let’s move on to adding the details of the legs. Start by drawing the front legs using the guidelines we created earlier. Toad legs are short and stocky, so make sure to capture that shape. Add some small curves to represent the toes.
Step 6: Adding the Hind Legs
Moving on to the hind legs, draw them using the guidelines we created in Step 2. Toads have powerful hind legs, so emphasize their muscular structure. Don’t forget to add the toes as well.
Step 7: Refining the Toad’s Features
To bring our toad to life, let’s refine its features. Start by adding more detail to the eyes. Draw small circles within the eyes to represent the pupil. Then, add some texture to the toad’s skin by sketching small bumps and warts all over its body.
Step 8: Outlining and Inking
If you prefer a more defined look, now is the time to outline your drawing using fine-tip pens or markers. Trace over the pencil lines, giving your toad a more finished appearance. Feel free to add extra details, such as patterns or markings on the toad’s skin.
Step 9: Adding Color (Optional)
If you want to add some color to your toad drawing, now’s the perfect time. Grab your colored pencils or watercolors and carefully add the desired hues to your artwork. Toads come in various shades of greens and browns, so use those as a starting point. Be sure to blend the colors smoothly for a realistic effect.
Conclusion
Congratulations! You have successfully learned how to draw a toad. By following these step-by-step instructions, you’ve created a charming representation of this unique creature. Remember, practice makes perfect, so don’t hesitate to continue refining your skills. Keep exploring and experimenting with different techniques, and soon you’ll be able to draw various animals with ease. Happy drawing!
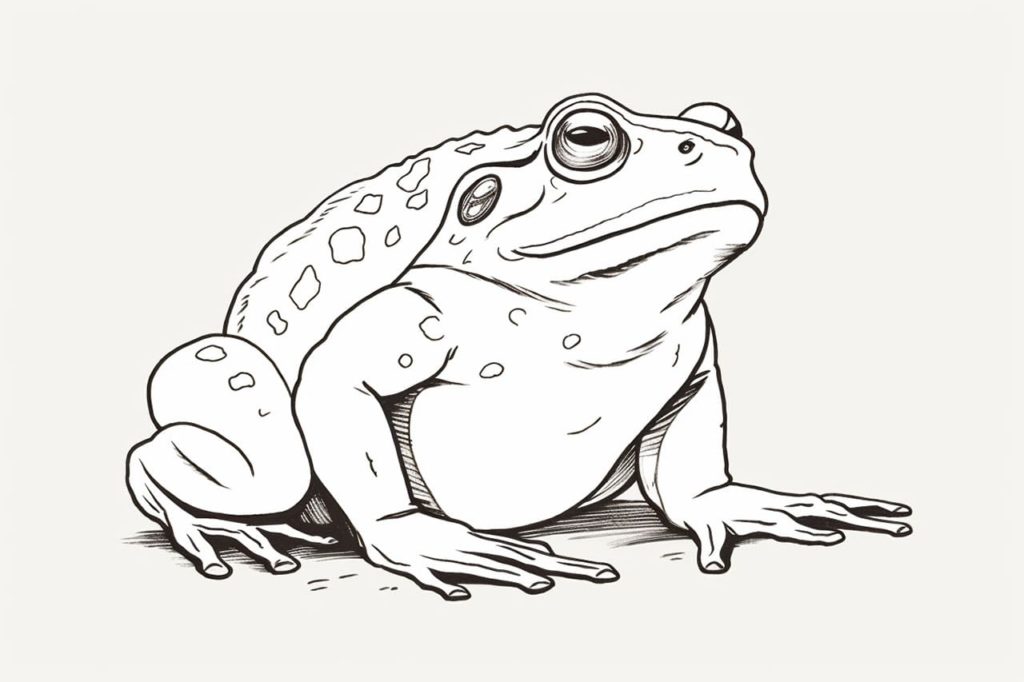
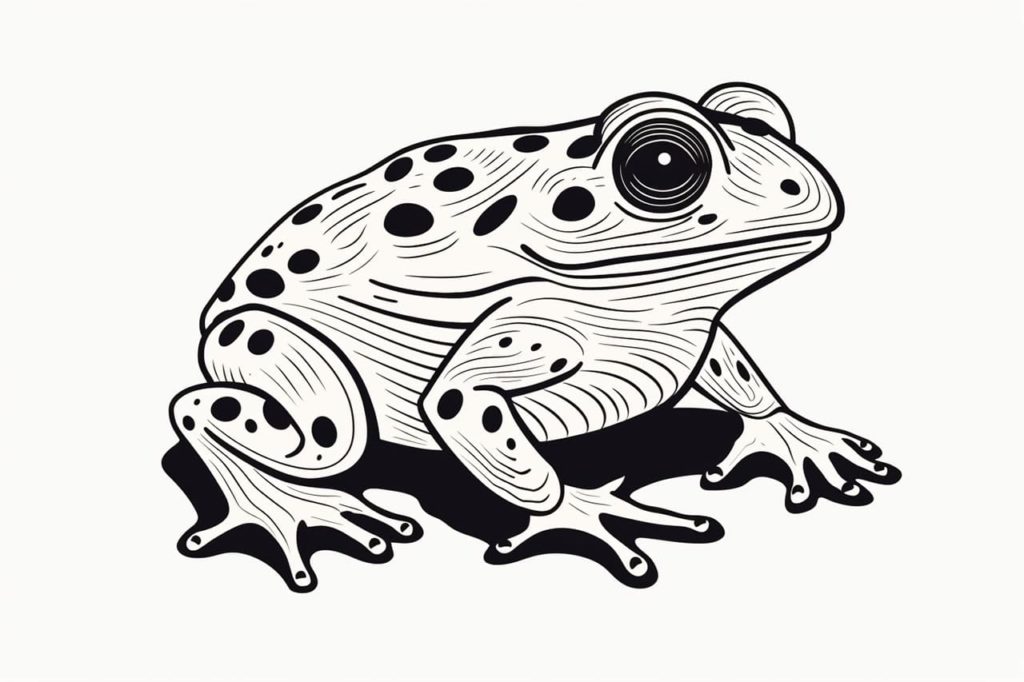
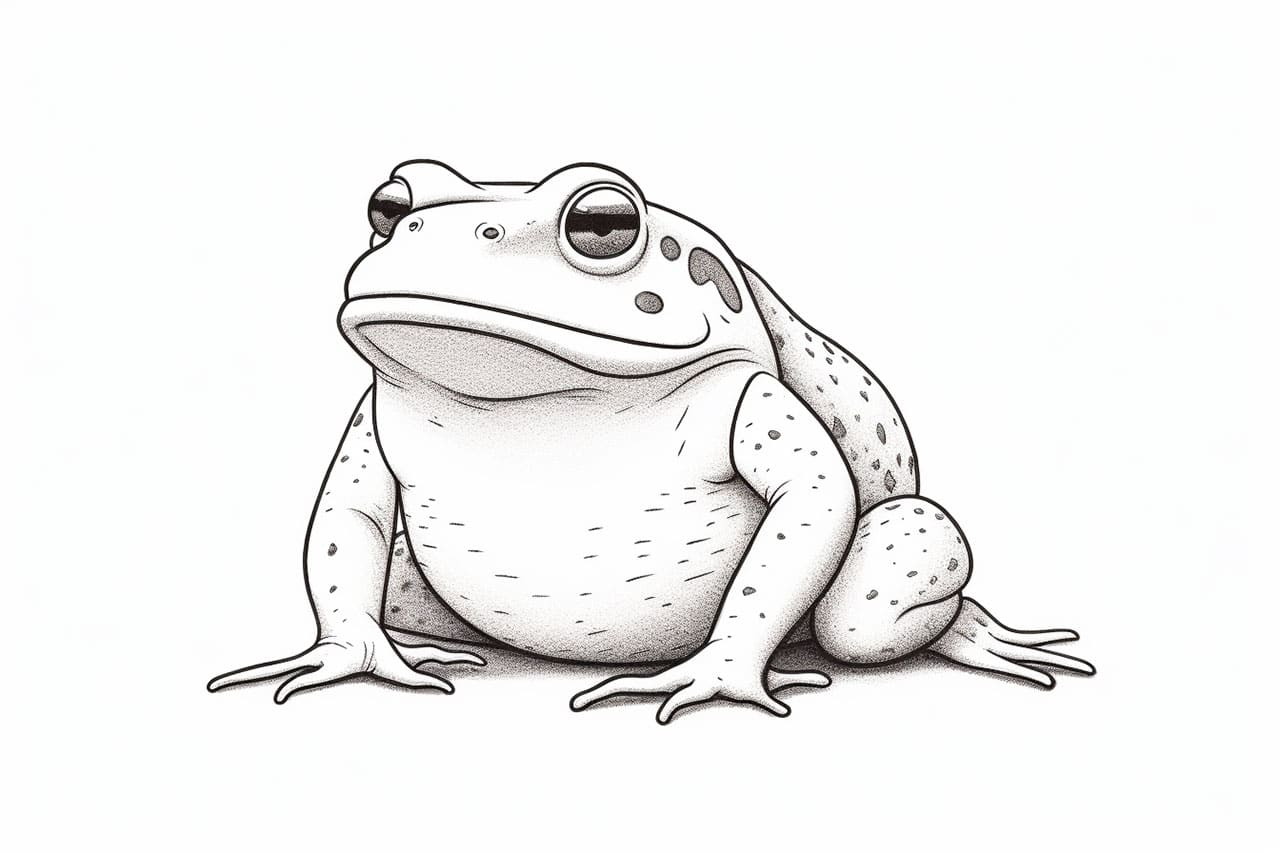
Gallery of Toad Drawings