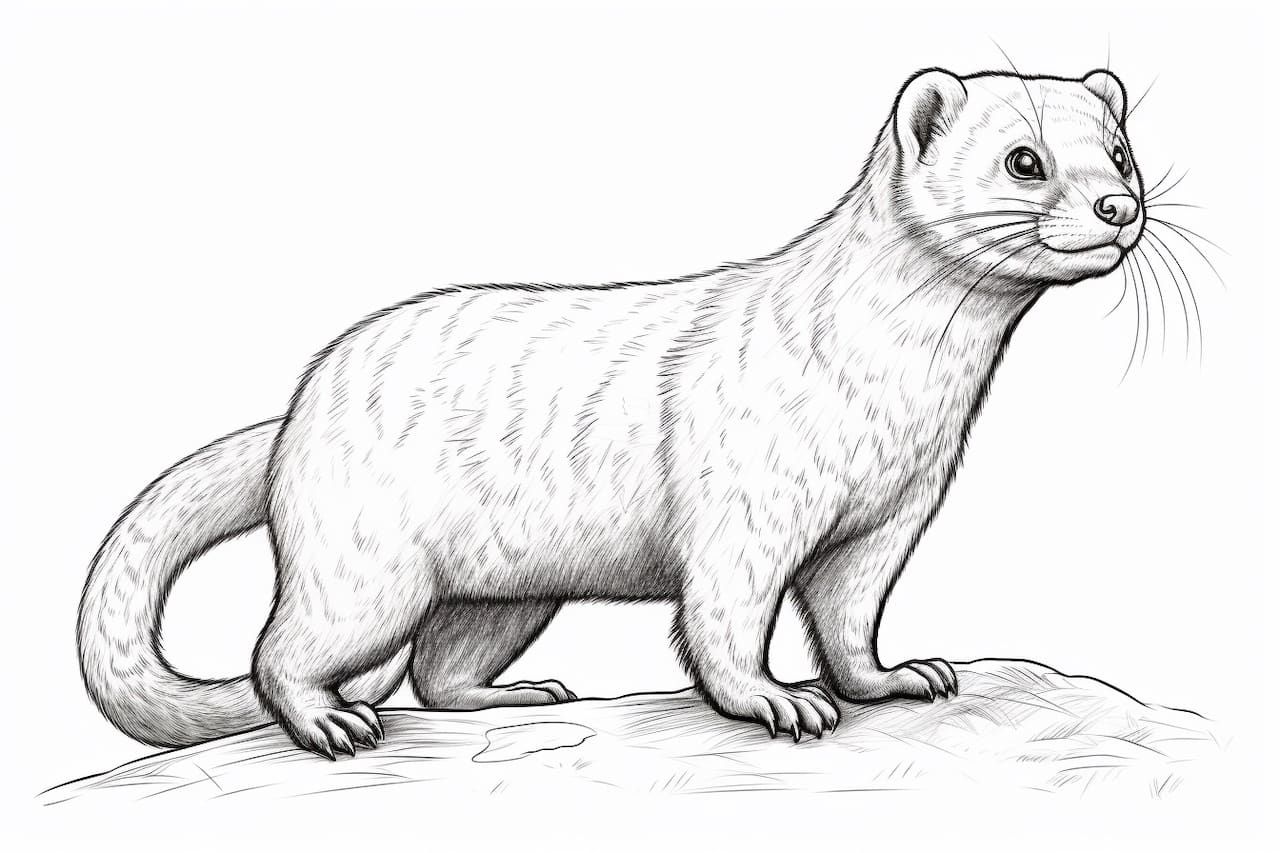
Greetings aspiring artists! In this step-by-step drawing tutorial, I will guide you on how to draw a mongoose. Known for their agile and energetic nature, mongooses make for an exciting subject to draw. So grab your drawing supplies and let’s get started!
Materials Required
To complete this drawing tutorial, you will need the following materials:
- Drawing paper
- Pencil
- Eraser
- Fine-tip black marker or pen
- Colored pencils or markers (optional)
Now that we have all the necessary materials, let’s begin creating our mongoose masterpiece!
Step 1: Sketching the Basic Shapes
Start by drawing a circle for the mongoose’s head. Then, add a large oval shape for the body, slightly overlapping the head. Position the body shape diagonally to give the impression of movement. Sketch two more elongated ovals side by side for the front legs, and a smaller pair of ovals at the rear for the hind legs.
Step 2: Outlining the Body
Using your pencil, refine the outline of the mongoose’s body by connecting the shapes you drew in the previous step. Make sure to pay attention to the curves and proportions. The front legs should taper towards the bottom, while the hind legs should be slightly thicker at the top and narrower at the bottom.
Step 3: Detailing the Face
Now, let’s focus on the mongoose’s face. Draw a curved line inside the circle you sketched in Step 1 to represent the snout. Add two small circles for the eyes, positioning them just above the snout line. Within each eye, draw a smaller circle for the pupil. Leave a little space between the eyes for the nose, which can be represented by a small triangle shape. Finally, draw two small curved lines at each side of the head to indicate the mongoose’s ears.
Step 4: Adding the Tail
Extend a curved line from the back of the mongoose’s body to represent the tail. Make the tail slender and slightly curved, giving it a sense of motion as well.
Step 5: Refining the Outline
Using your pencil, go over the initial sketch and refine the overall outline of the mongoose. Smooth out any rough lines and ensure that all proportions are correct. Take your time with this step, as it lays the foundation for the final drawing.
Step 6: Adding Details
Now that we have the basic structure in place, it’s time to add some details. Use your pencil to draw the mongoose’s paws, adding small ovals at the end of each leg. Add a pair of curved lines to represent the mouth, along with a few lines to indicate the toes on each paw. Don’t forget to add the characteristic stripes along the mongoose’s body.
Step 7: Inking the Drawing
Once you are satisfied with the pencil sketch, go over the final lines with a fine-tip black marker or pen. Start with the outline, making sure to capture all the details you have added. Be confident with your strokes and take it slow if needed. Let the ink dry completely before erasing any visible pencil lines.
Step 8: Coloring (Optional)
If you wish to add some color to your drawing, grab your colored pencils or markers. Mongooses typically have a light brown or grayish fur. Feel free to experiment with shades and tones to bring your drawing to life. You can also use reference images of mongooses to ensure accuracy.
Conclusion
Congratulations, you have successfully learned how to draw a mongoose! By following these step-by-step instructions, you have created a stunning illustration of this agile creature. Remember to practice regularly, and soon you’ll be able to draw mongooses with ease. Keep exploring the world of drawing and let your creativity flourish!