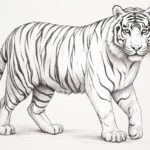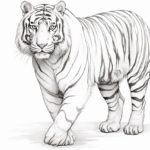
Welcome to this step-by-step guide on how to draw a cartoon tiger! Whether you’re an aspiring artist or just looking for a fun activity, this tutorial will help you create your own adorable tiger character. With easy-to-follow instructions, you’ll be able to bring this majestic creature to life on paper. So grab your pencils and let’s get started!
Materials Required
Before we begin, let’s make sure you have all the necessary materials at hand. Don’t worry, you won’t need anything fancy or expensive. Here’s what you’ll need:
- Pencils: It’s best to have a set of different graphite pencils with varying degrees of hardness (HB, 2B, 4B, and 6B).
- Eraser: A soft eraser will come in handy for any mistakes or guidelines you want to remove.
- Paper: Use a clean sheet of paper or a sketchbook that has good thickness to avoid smudging and tearing.
Now that you have all your materials ready, let’s dive into drawing our cartoon tiger!
Step 1: Outline the Head
Start by drawing a large oval shape at the center of the page. This oval will form the head of our tiger. Take your time to make it as symmetrical as possible, using light and smooth pencil strokes.
Step 2: Add the Facial Features
Within the oval shape, draw two circles for the eyes of the tiger. Place them slightly tilted and spaced apart. Then, add a small triangular shape under the eyes to represent the tiger’s nose. Connect the nose to the eyes with two curved lines for the snout.
Step 3: Draw the Ears and Jaw
On top of the head, draw two pointy ears. Tigers have distinct, triangular-shaped ears, so make sure to emphasize those sharp tips. Extend two curved lines from the lower portion of the head to create the tiger’s jaw.
Step 4: Sketch the Body
From the bottom of the head, extend two curved lines towards the right to form the back of the tiger. Make sure the lines are parallel and gradually taper towards the end. Then, connect the back to the jawline with two gentle curves, forming the tiger’s neck and chest.
Step 5: Add the Legs and Paws
Drawing the legs may seem complicated, but let’s break it down into simple steps. Start by adding two diagonal lines extending from the chest towards the bottom of the page. These will be the front legs. At the end of each line, draw two small circles as the paws.
Next, draw two longer diagonal lines extending from the back towards the bottom of the page. These will be the hind legs. Just like the front legs, add two circles at the end of each line for the paws. Don’t forget to include small ovals within each paw to represent the tiger’s toes.
Step 6: Detail the Face
Now, let’s add some details to the tiger’s face. Within each eye, draw a smaller circle for the pupils. Above the eyes, add a curved line for the eyebrows. Then, add a curved line below the nose for the mouth. You can also add two small curved lines on the sides of the mouth to represent the tiger’s whiskers.
Step 7: Define the Body
To give our tiger more definition, let’s add some details to its body. Draw short, vertical stripes along the back, chest, and neck. These stripes will add that characteristic tiger pattern. You can also add some lines on the paws to represent the fur.
Step 8: Erase Guidelines
Now that you’ve completed the basic structure of your cartoon tiger, take your eraser and carefully remove any unnecessary guidelines. Be gentle to avoid damaging your drawing.
Step 9: Darken the Lines
To make your cartoon tiger stand out, go over your pencil lines with a slightly darker pencil. Start by outlining the head, ears, and facial features. Then, carefully darken the body, legs, and paws. Leave the stripes slightly lighter to create contrast.
Step 10: Add Final Touches
Finally, add some finishing touches to bring your cartoon tiger to life. Shade the eyes by lightly penciling in the areas around the pupils. This will give the eyes depth and make them more expressive. You can also add some shading to the stripes and the underside of the body to create depth.
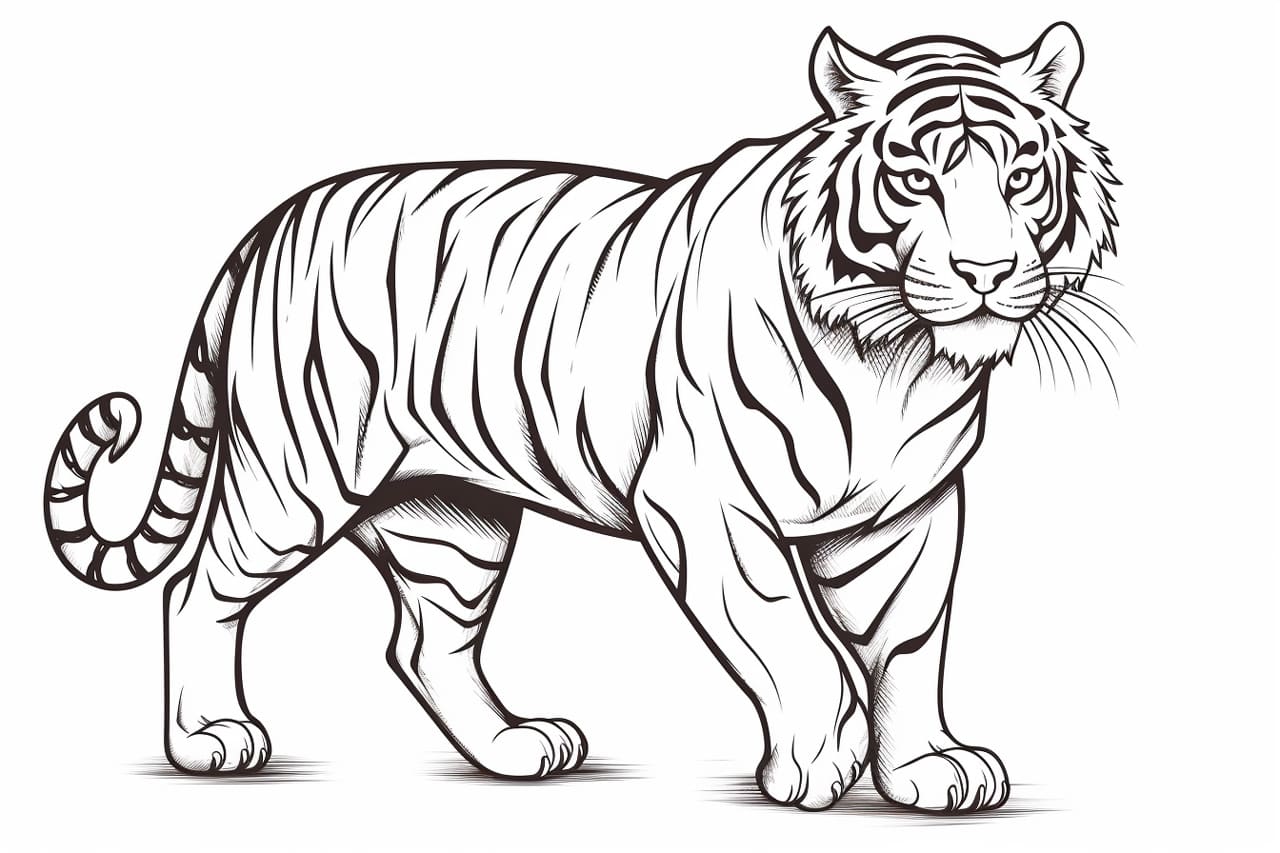
Congratulations! You’ve just learned how to draw a cartoon tiger. Remember, practice makes perfect, so keep experimenting with different poses and expressions to enhance your tiger’s character.
Conclusion
Drawing a cartoon tiger can be a delightful and rewarding experience. By following the step-by-step instructions in this guide, you now have the necessary tools to create your own adorable tiger characters. Remember to be patient with yourself, as drawing takes practice and time. So go ahead and start sketching your own charming tiger creations today!