Welcome to this step-by-step guide on how to draw a bullfrog! In this tutorial, we will break down the process of drawing a realistic bullfrog into simple and easy-to-follow steps. Whether you are a beginner or an experienced artist, this guide will help you create a beautiful and lifelike representation of this fascinating amphibian.
Materials Required
Before we begin, let’s gather the materials needed for this drawing:
- Pencil: Choose a medium or soft graphite pencil for sketching and shading.
- Paper: Use a smooth and sturdy sheet of drawing paper, preferably with a higher GSM (gram per square meter) for better texture and durability.
- Eraser: Select a kneaded or vinyl eraser for easy corrections and adjustments.
- Blending Stump: Optional but recommended for blending and smudging graphite for smoother shading.
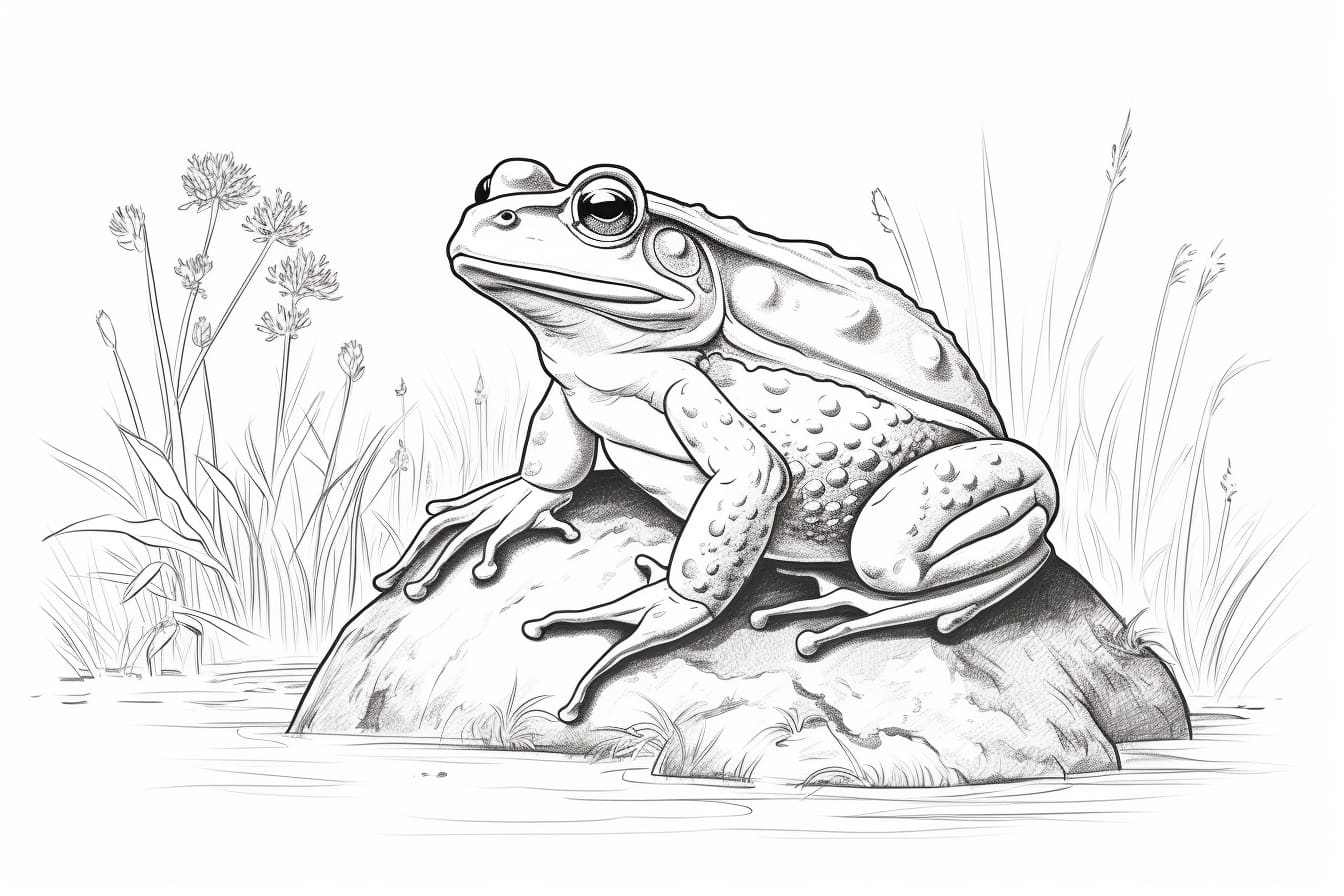
- Reference Image: Find a clear and detailed image of a bullfrog to use as a visual reference throughout the drawing process.
Now that we have our materials ready, let’s proceed with the step-by-step instructions for drawing a bullfrog.
Step 1: Basic Shapes
Start by sketching the basic shapes that will serve as the foundation for your bullfrog drawing. Begin with an oval shape for the body, slightly elongated horizontally. Then, draw a smaller oval above the body for the head. Connect the body and head with curved lines to form the neck.
Step 2: Leg Placement
Bullfrogs have powerful hind legs, so let’s focus on their placement. Draw two angled lines extending downward from the body to create a guideline for the legs. These lines should be slightly curved and wider at the top.
Step 3: Leg Structure
Outline the basic structure of the legs using curved lines. Pay attention to the joints and muscles as you draw. Remember that bullfrogs have slightly thicker thighs compared to their calves. Add webbed toes at the end of each leg by drawing small oval shapes.
Step 4: Eye and Mouth
Now, let’s work on the facial features of our bullfrog. Draw a large oval shape for the eye, positioning it near the front of the head. Within the eye, sketch a smaller oval for the iris and a tiny circle for the pupil. Add a curved line below the eye to indicate the lower eyelid.
For the mouth, draw a wide, curved line starting from the bottom of the eye and extending towards the side of the head. Add a small elongated oval shape at the top of the mouth for the nostril.
Step 5: Body Details
To add more depth and dimension to the body, sketch short lines along the back to represent the texture of the frog’s skin. Bullfrogs also have distinct folds of skin on their neck and back, so incorporate these details by drawing curved lines.
Step 6: Hind Leg Details
Refine the details of the hind legs by adding curved lines to outline the muscles and define the webbing between the toes. Take your time with this step, as the legs are a prominent feature of the bullfrog.
Step 7: Front Leg and Foot
Draw one front leg of the bullfrog by adding a curved line extending from the body. At the end of the line, sketch three elongated oval shapes to represent the toes. Remember to add the webbing between the toes, similar to the hind legs.
Step 8: Final Touches and Shading
Now that the basic structure of the bullfrog is complete, it’s time to add some shading and final touches to bring your drawing to life. Begin by lightly shading the areas that are in shadow, paying attention to the natural contours of the frog’s body. Use your blending stump or finger to blend and smooth out the shading.
Next, darken the areas that have the most contrast and depth, such as the creases in the skin and the inside of the mouth. Add highlights by erasing small areas in areas that catch light, such as the eyes and certain areas of skin.
Conclusion
Congratulations on completing your bullfrog drawing! By following these step-by-step instructions, you have learned how to break down complex shapes into simple forms and create a realistic representation of a bullfrog. Remember, practice is key, so keep honing your skills and exploring different techniques. With time, you’ll be amazed at how far your artistic abilities can take you.
Now go ahead and bring more frogs to life on paper! Happy drawing! Want to draw more frogs? Try our cartoon frog and kawaii frog tutorials.