Welcome to this step-by-step guide on how to draw a cute bear! Whether you are an aspiring artist or just looking to have some fun with doodling, this tutorial will help you create an adorable bear drawing. With clear instructions and easy-to-follow steps, you’ll be able to bring your very own cute bear to life on paper. So, let’s get started!
Materials Required
Before we begin, make sure you have the following materials:
- Pencil
- Eraser
- Paper
- Fine-tip marker or pen (optional)
These basic materials will be sufficient for creating your cute bear drawing. Now, let’s dive into the steps!
Step 1: Outline the Bear’s Head and Ears
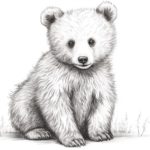
Start by drawing a large oval shape in the center of your paper. This will be the bear’s head. Then, on top of the head, draw two smaller oval shapes for the ears. Make the ears slightly curved and tilted inwards for an adorable look.
Step 2: Add Facial Features
Now, it’s time to give your bear some facial features. Draw two small circles for the eyes inside the head. Leave some space between the eyes for the nose. Below the eyes, draw a small oval shape for the nose. Add a curved line across the nose to create the mouth.
Step 3: Draw the Bear’s Body
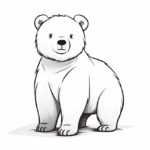
Extend a slightly curved line downwards from each side of the bear’s head to create the body. Keep the body relatively round and chubby for that cute bear appearance.
Step 4: Sketch the Bear’s Limbs
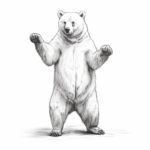
At the bottom of the body, draw two short, rounded lines for the bear’s front legs. Repeat this step to draw the hind legs as well. The front legs should be slightly shorter and closer to the body than the hind legs.
Step 5: Add Paw Details
To give your bear cute little paws, draw small ovals at the end of each leg. These ovals will represent the bear’s hands and feet. You can add small curved lines within the ovals to indicate individual toes.
Step 6: Refine the Bear’s Face
Now that we have the basic structure in place, let’s refine the bear’s face. Make the eyes more expressive by adding small semi-circles above them to represent eyebrows. You can give your bear a cheerful expression by curving the eyebrows upwards.
Step 7: Add Ears and Fur Details
To make the bear’s ears more defined, add some inner curves to the initial oval shapes you drew in Step 1. This will make them look fluffy. Use short, curved lines around the bear’s head and body to indicate fur.
Step 8: Erase Unnecessary Guidelines
With the main features of your cute bear drawn, you can now carefully erase any unnecessary guidelines and faint pencil marks. You want to keep the bear’s outlines clean and crisp.
Step 9: Ink or Outline Your Drawing
If you wish to make your cute bear drawing stand out, you can use a fine-tip marker or pen to trace over the pencil lines. This will create a more defined and bold appearance. Once the ink is dry, erase any remaining pencil marks for a polished look.
Step 10: Color Your Bear
The final step is to add some color to your cute bear drawing. You can use colored pencils, markers, or any other coloring medium of your choice. Experiment with different shades to bring your bear to life. Consider using light browns, grays, or even pastel colors for a soft and adorable vibe.
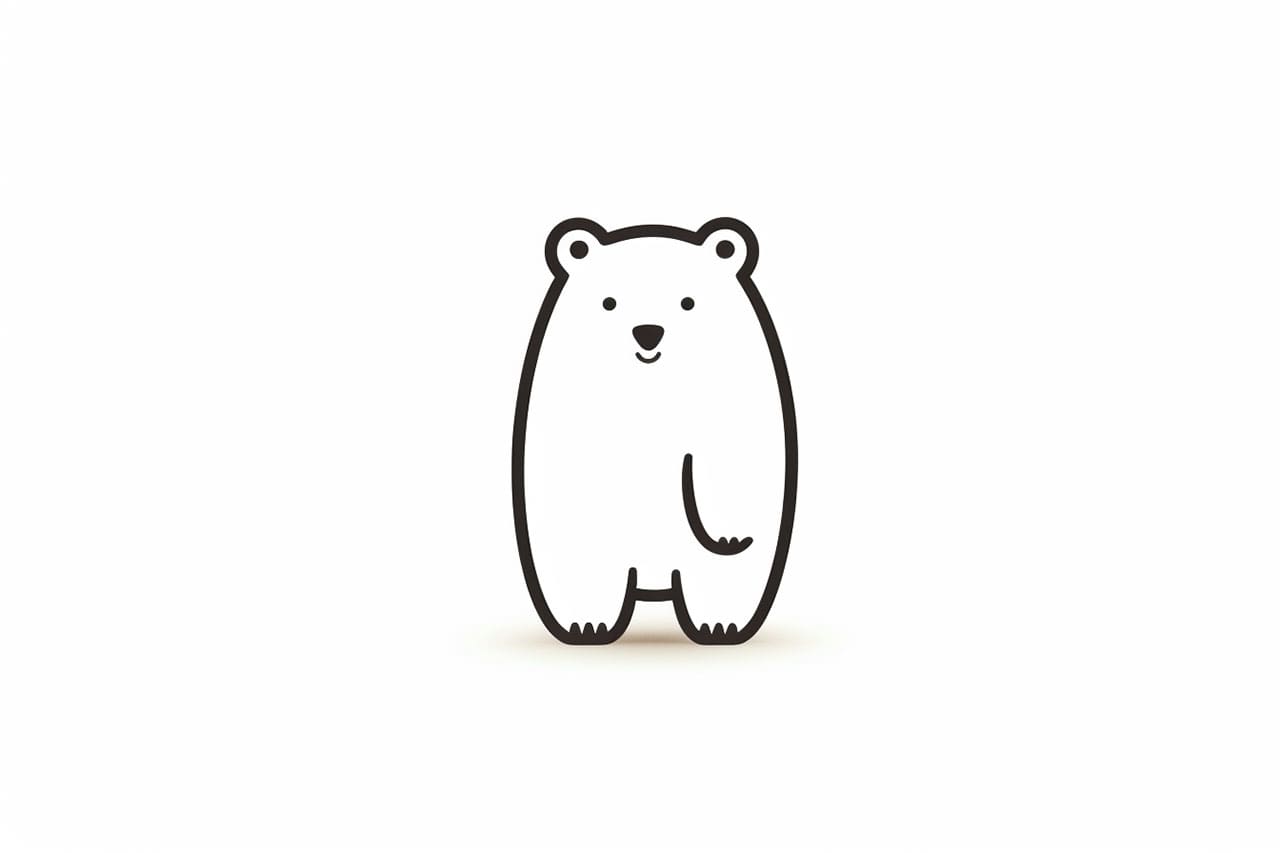
And there you have it! You have successfully completed your cute bear drawing. Allow your creativity to flow and make your furry friend unique with your own personal touches.
Conclusion
Drawing a cute bear doesn’t have to be complicated. By following these step-by-step instructions, you can create an adorable bear drawing that will make everyone smile. Remember to have fun and enjoy the process. So grab your pencil, paper, and let your imagination soar as you create your cute bear masterpiece!