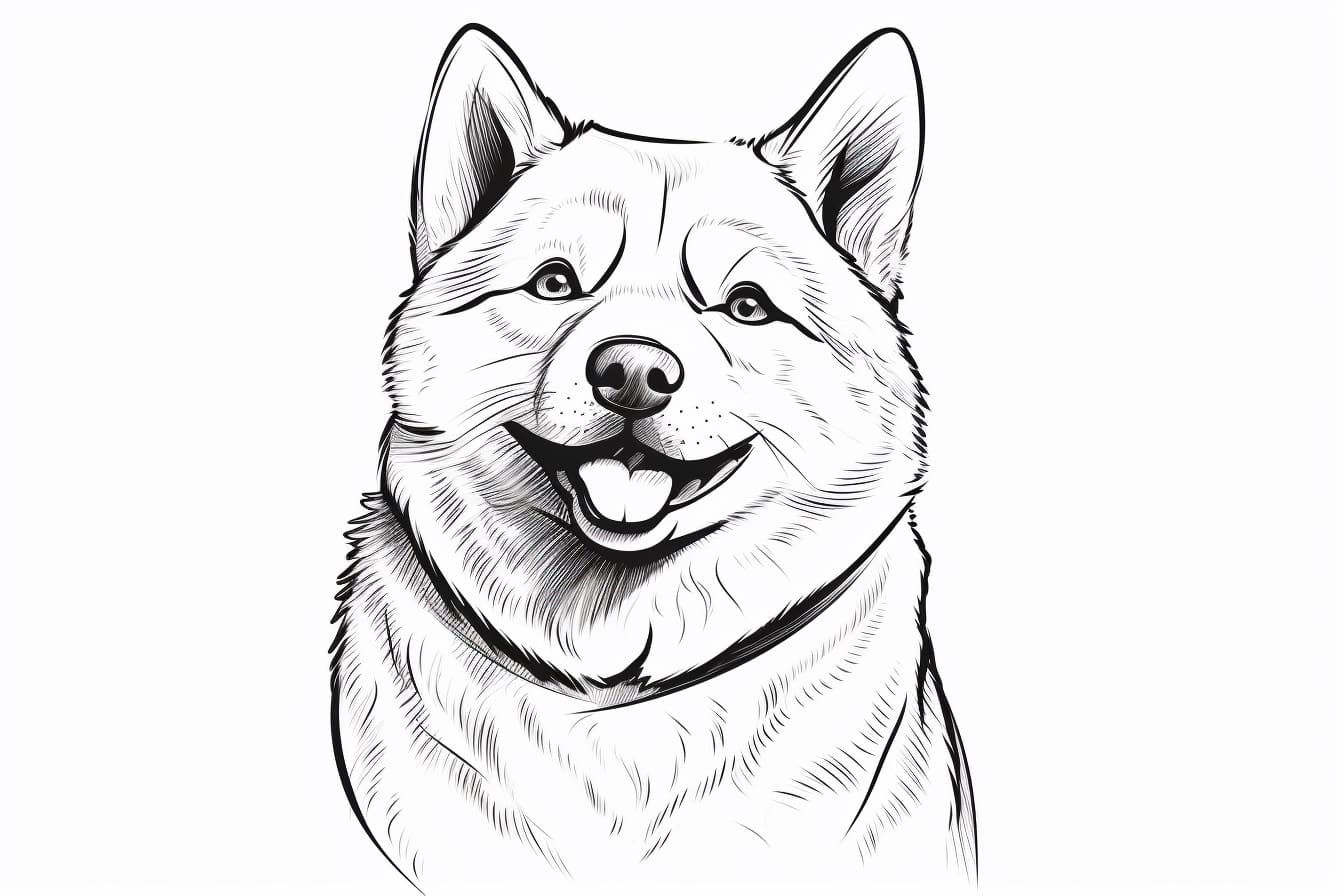
Welcome to this step-by-step guide on how to draw a Doge! Whether you’re an experienced artist or a beginner, this tutorial will help you create an adorable and iconic depiction of the beloved internet meme. The Doge dog is known for its expressive face and quirky personality, and by the end of this tutorial, you’ll be able to capture its charm on paper. So let’s grab our materials and dive right in!
Materials Required
To draw a Doge, you’ll need the following materials:
- Pencil
- Eraser
- Paper
- Colored pencils or markers (optional)
For beginners, it’s recommended to start with a pencil and paper. Once you gain more confidence, you can experiment with adding color using colored pencils or markers.
Step 1: Basic Guidelines
Start by lightly sketching the basic guidelines to help us shape our Doge. Draw an oval shape for the head and a vertical line down the center of it. Next, draw a horizontal line about halfway down the oval. This will help us position the eyes later on.
Step 2: Eyes and Eyebrows
Now, let’s focus on the expressive eyes that give Doge its distinct look. Draw two large circles along the horizontal line we drew earlier. These circles should be slightly tilted and overlapping each other. Inside each circle, draw a smaller circle near the top-right area to represent the highlights in the eyes.
Next, add the eyebrows by drawing two curved lines right above the eyes. The eyebrows should be slightly raised towards the center, creating a quizzical expression.
Step 3: Nose and Mouth
Moving on to the nose and mouth, draw a small upside-down triangle in the center, just below the eyes. This will be Doge’s nose. Then, draw a large, curved line below the nose to form the mouth. Doge is famous for its open-mouthed grin, so make sure to leave a gap in the middle of the line to capture that playful expression.
Step 4: Ears
Doge’s ears are one of its most recognizable features. Draw two small triangles, one on each side of the head, using the top of the head as a starting point. The triangles should be angled slightly outward and extend beyond the top of the head.
Step 5: Facial Details
Now it’s time to add some detail to our Doge’s face. Start by drawing two small circles inside the eyes to represent the pupils. Leave a small white circle within each pupil to depict reflection and bring the eyes to life.
Next, draw a curved line above each eye to outline the upper eyelids. This will make Doge’s eyes appear more defined and animated. Then, add a curved line below each eye to define the lower eyelids.
Step 6: Fur and Facial Expressions
To create Doge’s fluffy fur, lightly sketch short, curved lines around the head and ears. Be sure to follow the rounded shape of the head and make the lines slightly longer near the ears to represent the longer fur in that area.
Now, let’s emphasize Doge’s expressions by drawing exaggerated lines around the eyes and mouth. These lines should follow the contours of the face and add a touch of whimsy to your drawing.
Step 7: Body and Legs
Continuing down, it’s time to sketch the body and legs of our Doge. Draw a rounded shape underneath the head, connecting it to the horizontal line we drew earlier. This will be Doge’s body. Then, add two smaller rounded shapes on each side of the body to represent the front legs.
Next, draw two slightly longer rounded shapes below the body to depict the hind legs. Make sure to curve these lines inward to give the impression of Doge sitting down.
Step 8: Tail and Feet
Almost done! Let’s add some finishing touches to our Doge’s body. Draw a fluffy tail on the left side of the body, curling it inward slightly. Make the tail appear bushy by sketching short, curved lines along its length.
Lastly, draw small oval shapes at the bottom of each leg to represent the paws. Doge’s paws should be small and cute, so keep them relatively round and simple.
Step 9: Finalize and Refine
Congratulations! You’ve completed the basic outline of your Doge drawing. Take a moment to review your work and make any necessary adjustments or refinements. Use an eraser to remove any stray lines or smudges, ensuring that your drawing looks clean and polished.
Step 10: Optional Coloring
If you’d like to add some color to your Doge drawing, now is the perfect time to do so. Grab your colored pencils or markers and carefully fill in the different areas of your drawing. Doge is typically drawn with shades of brown and white, but feel free to get creative with your color choices and experiment with different combinations.
Conclusion
Drawing a Doge is a fun and rewarding experience. By following these step-by-step instructions, you have learned how to capture the adorable and expressive features of this iconic internet meme. Remember to be patient with yourself and have fun during the process. With practice, you’ll be able to master this cute and lovable character.
Now go grab your pencil and paper, and start drawing your very own Doge masterpiece!


