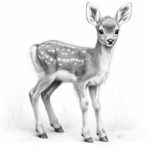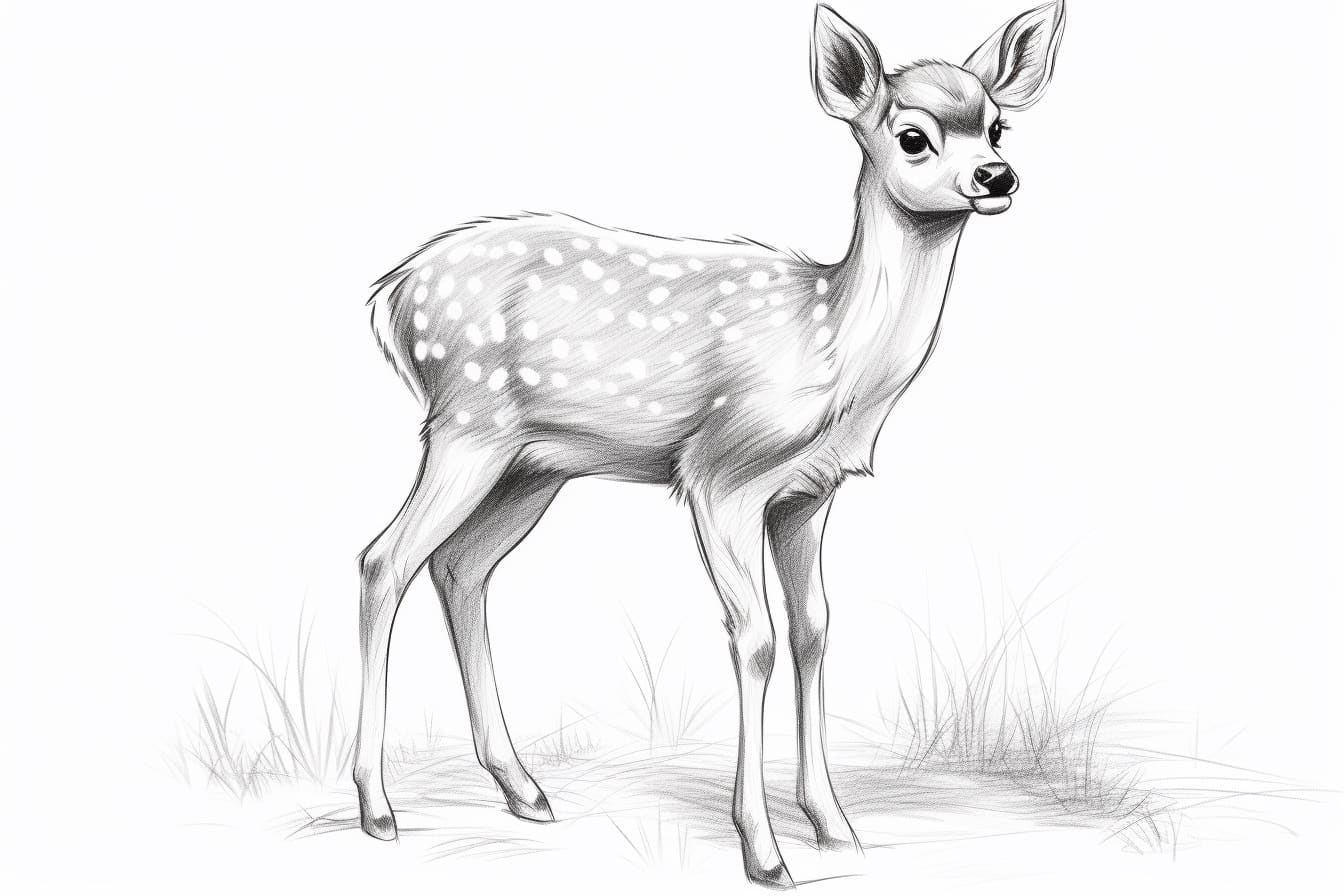
Welcome to this step-by-step tutorial on how to draw a fawn! Whether you are an experienced artist or just starting out, this guide will help you create a beautiful and realistic drawing of a fawn. Fawns are known for their delicate features and graceful movements, making them a popular subject for artists. So, grab your drawing materials and let’s get started!
Materials Required
To complete this drawing, you will need the following materials:
- Pencil: Use a range of graphite pencils, such as HB, 2B, and 4B, to achieve different tones and textures.
- Paper: Choose a high-quality drawing paper that can handle shading and blending techniques.
- Eraser: Have a kneaded eraser on hand to create highlights and correct mistakes.
- Blending Stump: Use a blending stump or tortillon to achieve smooth shading and blending effects.
- Reference Image: Find a clear and detailed reference image of a fawn to help you with proportions and details.
Now that you have your materials ready, let’s begin drawing a fawn!
Step 1: Sketch the Basic Shapes
Start by lightly sketching the basic shapes that make up the fawn’s body. Begin with an oval shape for the head and a slightly larger oval shape for the body. Add two curved lines to represent the neck and connect the head and body. Then, add another set of curved lines for the hind legs, followed by two shorter lines for the front legs. Remember to keep your lines faint and loose.
Step 2: Refine the Head and Face
Using the basic oval shape as a guide, start refining the fawn’s head and face. Add two small ovals for the eyes, positioning them slightly towards the front. Inside the eyes, draw smaller circles for the pupils. Then, add a curved line for the nose and a small oval for the mouth. Pay attention to the proportions and placement of these features, as they will greatly affect the fawn’s expression.
Step 3: Add the Ears and Antlers
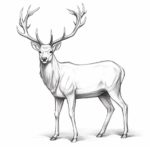
Next, draw the fawn’s ears and antlers. Fawns have large and distinct ears, so carefully observe the reference image to capture their shape and position. Add two elongated leaf-like shapes on top of the head for the ears. Then, draw a set of branching antlers on either side of the head. Keep your lines light and fluid, adjusting the shapes as needed.
Step 4: Outline the Body and Legs
Now, outline the fawn’s body and legs, using the basic shapes as a guide. Keep in mind the proportions and gracefully curved lines that capture the fawn’s elegant stance. Pay attention to the bends and joints of the legs, as well as the gradual tapering of the body towards the rear. Refine the shapes of the legs and add details such as hooves and knee joints.
Step 5: Add Texture and Details
Once you have the basic outline of the fawn’s body, it’s time to add texture and details. Start by adding fur to the head, ears, and body using short, quick strokes. Pay attention to the direction of the fur and use darker pencil grades to create depth. Add a few stray hairs to create a more realistic effect.
Next, add details to the face, such as the eyes, eyelashes, and facial markings. Use a sharper pencil to create fine lines for these features. Add shading to the antlers, keeping in mind the light source and creating areas of highlights and shadows. Continue to add texture and details to the legs, paying attention to muscle definition and joint structure.
Step 6: Shade and Blend
To give your fawn drawing depth and dimension, it’s important to shade and blend properly. Use a range of pencil grades to create different values, with lighter shades for highlights and darker shades for shadows. Start by identifying the light source and decide where the shadows will fall. Gradually build up the tones by layering and blending the pencil strokes using a blending stump or tortillon.
Pay close attention to the reference image to accurately depict the fawn’s fur and the way light interacts with it. Use the blending stump to smooth out any harsh lines and create a seamless transition between light and shadow. Take your time with shading and blending, as this will greatly enhance the realism of your drawing.
Step 7: Final Touches
As you near the completion of your fawn drawing, take a step back and evaluate your work. Look for any areas that need adjustment or refinement. Use the eraser to lighten certain areas and create highlights, such as on the fawn’s forehead, nose, and legs. Add any final details, such as grass or a forest background, to complete your drawing.
Conclusion
Drawing a fawn requires attention to detail and observation of its unique features. By following these step-by-step instructions and using the right materials, you can create a stunning and lifelike fawn drawing. Remember to be patient with yourself, as drawing takes practice and perseverance. So, grab your pencils and let your creativity shine as you bring a fawn to life on paper!