Drawing a tent may seem like a challenging task, but with a clear understanding of its basic structure and some simple steps, you can easily accomplish it. In this step-by-step tutorial, I will guide you through the process of drawing a tent with clear and concise instructions. So grab your pencil and paper, and let’s get started!
Materials Required
Before we begin, gather the following materials:
- Paper: Use a plain white sheet of paper or any drawing paper of your choice.
- Pencil: Opt for a mechanical pencil or a traditional wooden pencil with an eraser.
- Eraser: Have a good quality eraser handy to correct any mistakes.
- Ruler: A straight ruler will help you draw straight lines and measure proportions accurately.
- Colored pencils, markers, or any other coloring tools (optional): These can be used to add color and bring your drawing to life.
Now that we have all the required materials, let’s dive into the steps of drawing a tent!
Step 1: Draw the Base Shape of the Tent
Start by drawing a large triangle shape at the center of your paper. This will be the base of the tent. Use your ruler to ensure the lines are straight and the angles are consistent. Remember to draw the triangle with a light hand, as we will be refining the lines later.
Step 2: Add the Tent Poles
Next, draw two vertical lines from the top two corners of the triangle to create the tent poles. These lines will represent the support poles that hold the tent up. Make the lines slightly shorter than the height of the triangle, leaving some space at the top.
Step 3: Sketch the Tent Fabric
Connect the top ends of the tent poles with a curved line to form the peak of the tent. This line represents the fabric of the tent stretched over the poles. Ensure the curve is symmetrical and smooth.
Step 4: Detail the Tent
To add more realism to your drawing, let’s give the tent some structure. Draw two diagonal lines from each corner of the triangle to the corresponding corner of the tent fabric. These lines depict the seams or folds in the fabric, giving it a three-dimensional appearance.
Step 5: Draw the Tent Flaps
Tents often have flaps that can be opened or closed for ventilation. To draw the flaps, sketch two small rectangles on each side of the tent, near the base. These rectangles should overlap with the triangular base slightly to create a natural connection.
Step 6: Add the Tent Door
Draw a rectangular shape close to the bottom center of the tent. This will represent the entrance or door of the tent. You can make the door slightly curved at the top to add more elegance to your tent.
Step 7: Refine and Erase
Take a step back and evaluate your drawing so far. Now is the perfect time to make any necessary adjustments. Use your eraser to remove any unwanted guidelines or stray lines. Remember to erase gently, so you don’t smudge your drawing.
Step 8: Color Your Tent (Optional)
Now that the basic structure of the tent is complete, you can choose to add color using colored pencils, markers, or any other coloring tools of your choice. Think about the material and color palette you want for your tent. Feel free to get creative and experiment with different shades and patterns.
Conclusion
Congratulations! You have successfully learned how to draw a tent step by step. By following these instructions and using your creativity, you can draw amazing tents in various shapes and sizes. Remember, practice makes perfect, so don’t hesitate to try drawing different types of tents using the techniques you’ve learned. Enjoy the process and happy drawing!
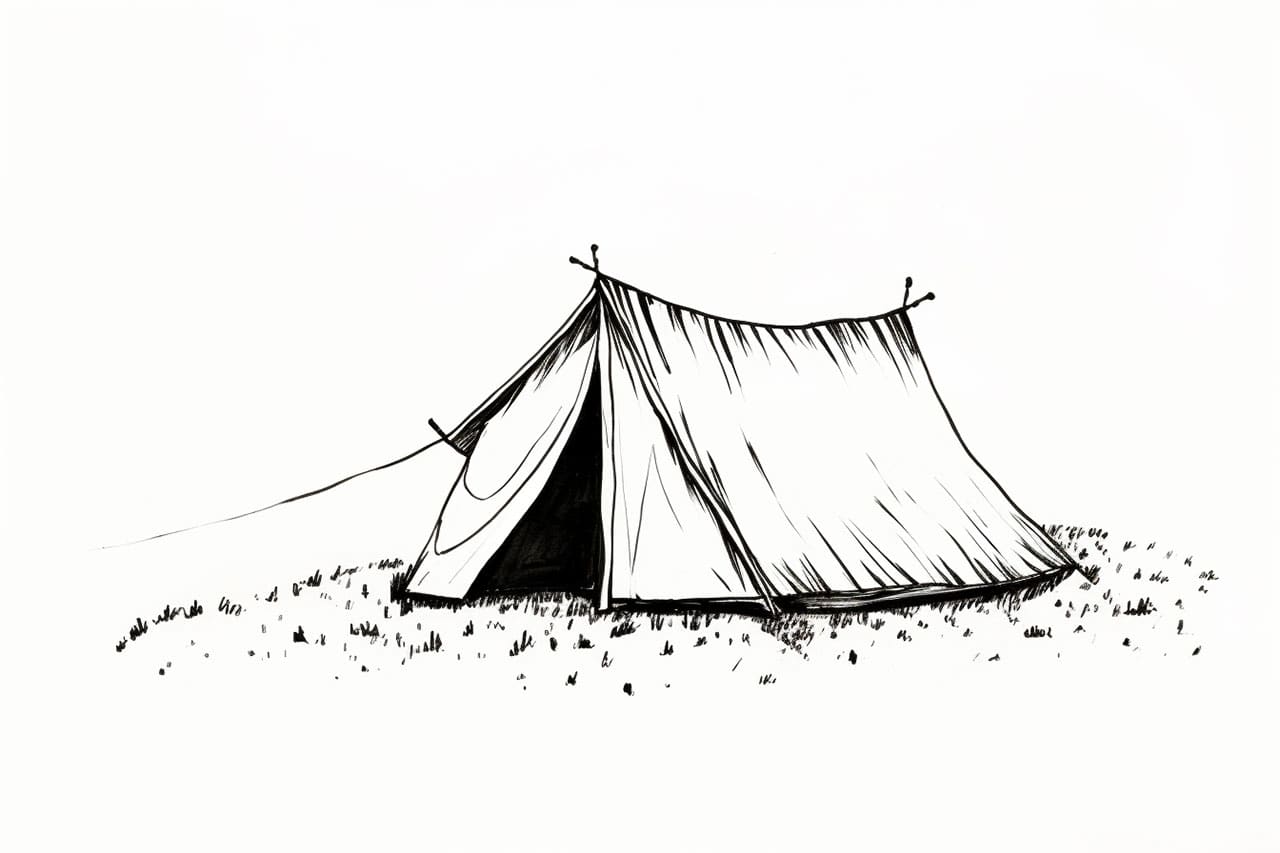
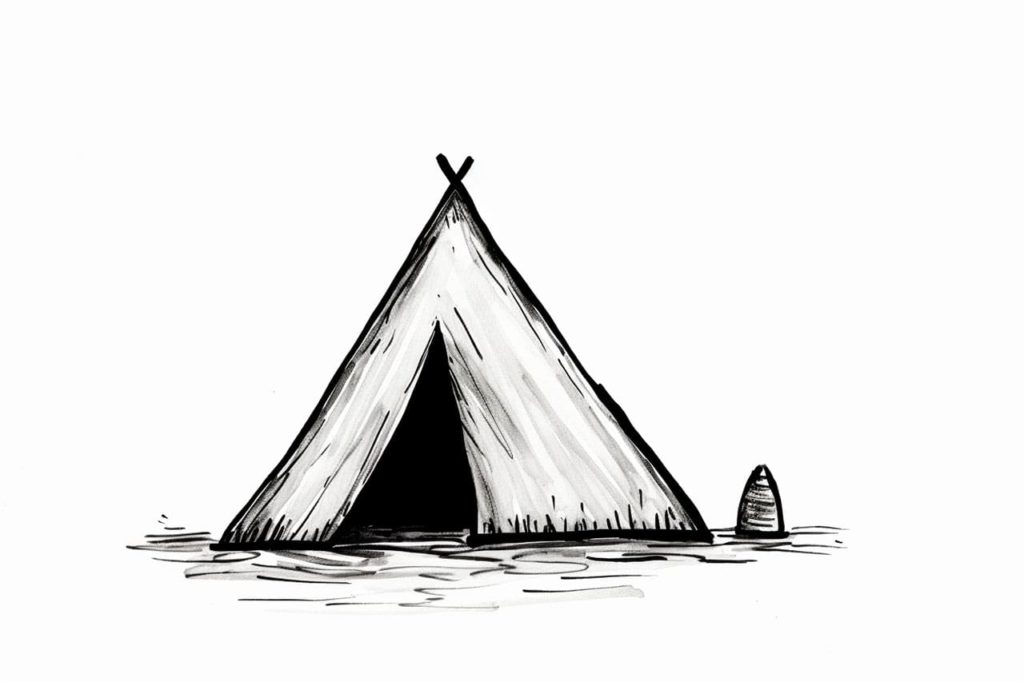
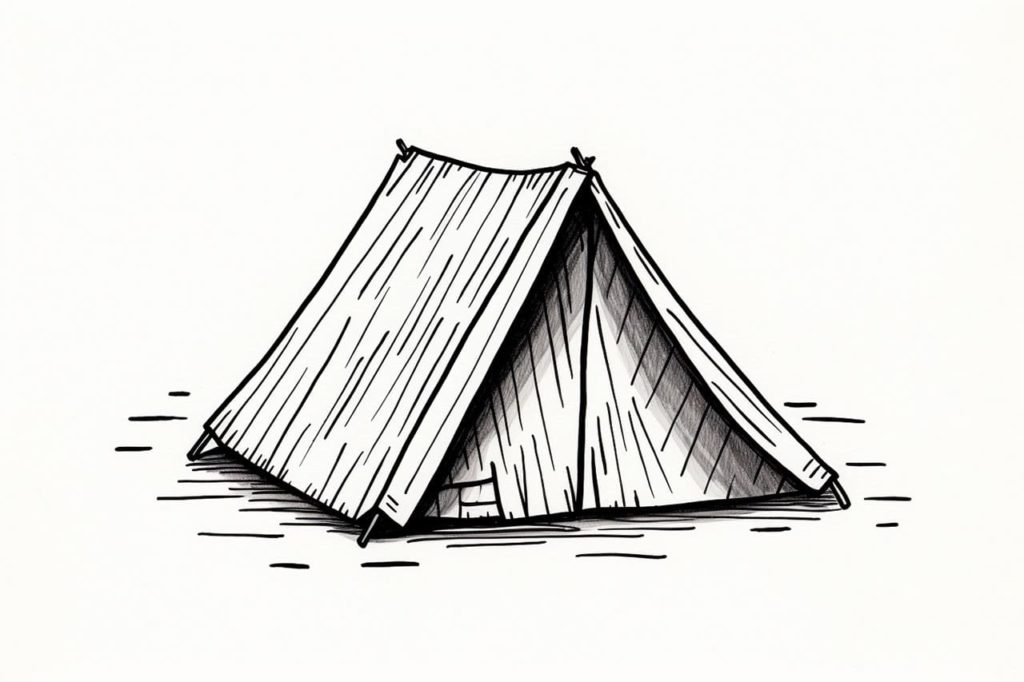
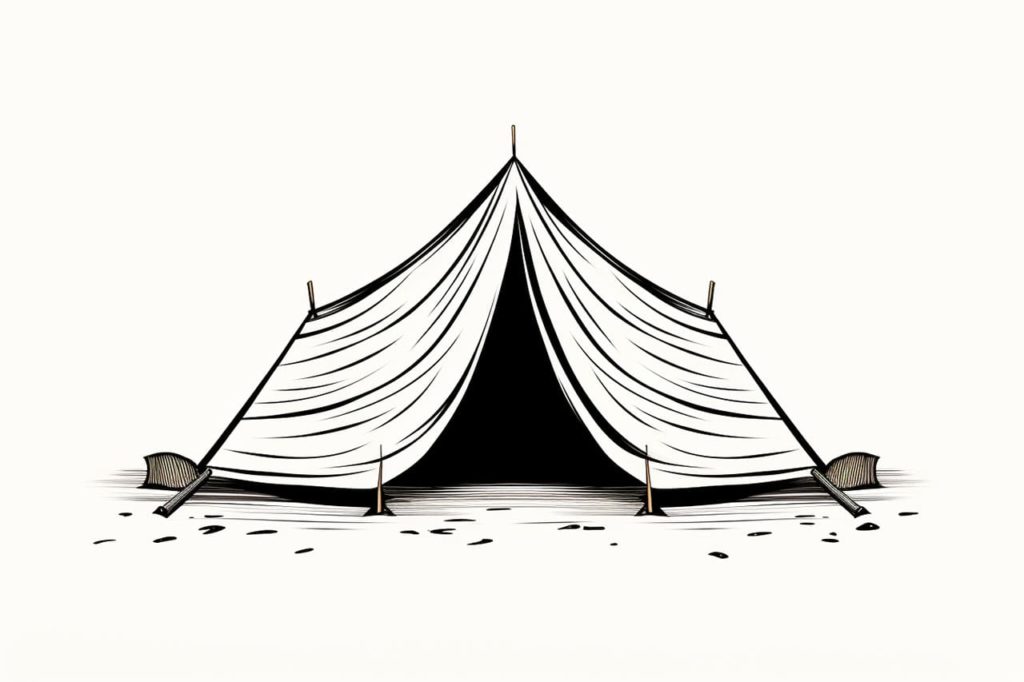
Gallery of Tent Drawings
Fun Facts About Tents
- The earliest known tents date back to at least 40,000 BCE, made from mammoth hides and bones.
- Tents have been used in a variety of cultures around the world, from Native American tipis to Mongolian yurts.
- During the Roman Empire, soldiers used leather tents that could be quickly assembled and disassembled.
- Tents are commonly used in expeditions, camping, military, and even as temporary shelters in humanitarian aid situations.
- The largest tent in the world is the Khan Shatyr in Kazakhstan, which houses a shopping and entertainment complex.
- Modern tents are often made from lightweight synthetic materials like nylon and polyester, with waterproof coatings.
- Igloo tents, known for their dome shape, are popular among campers due to their stability and easy setup.
- Teepees, used by Plains Indians, have a conical shape that makes them exceptionally sturdy against the wind.
- Many cultures have used tents not just as shelters but as ceremonial structures, like the Bedouin black tents for communal gatherings.
- The pop-up tent, which can be set up in seconds, was a revolutionary invention for festival-goers and campers alike.
Suggestions for Scenes and Settings for Tent Drawings
- Starry Night Camp: Draw tents under a vast, starry sky with silhouettes of mountains in the background and a warm campfire glowing nearby.
- Festival Grounds: Illustrate a bustling festival scene with a sea of colorful tents, flags waving, and people dancing around.
- Safari Expedition: Create a setting with tents pitched on the savannah, surrounded by wildlife like giraffes and elephants at sunrise.
- Medieval Fair: Design a medieval scene with large canvas tents, knights, and banners flying, capturing the hubbub of a fair or tournament.
- Treehouse Tent: Picture a whimsical tent suspended in a tree canopy, with rope ladders and lanterns providing a magical hideaway.
- Beach Campout: Depict a sunny beach with tents pitched in the sand, surfboards propped nearby, and waves gently rolling in the distance.
- Winter Wonderland: Show tents covered in snow, with a backdrop of snowy mountains and puffs of snow falling softly from the sky.
- Music Festival Night: Capture the lively spirit of a music festival with illuminated tents, a stage in the background, and string lights strung up overhead.
- Desert Oasis: Draw tents grouped around a lush oasis, palm trees swaying and camels resting in the shade during a desert adventure.
- Remote Island Escape: Imagine tents set up on a deserted island with palm trees, crystal-clear water, and a hammock swaying in the breeze.