As an artist, drawing everyday objects can be a fun and rewarding exercise. Scissors are a common tool that we interact with on a daily basis, and learning how to draw scissors can add a touch of realism to your artwork. In this step-by-step guide, I will walk you through the process of drawing scissors in a clear and concise manner.
Materials Required
Before we start, let’s gather the materials required for this drawing tutorial. Here’s what you’ll need:
- A pencil
- A piece of paper
- An eraser
- Optional: Colored pencils or markers for adding color to your drawing
Now that we have our materials ready, let’s dive into the steps of drawing scissors!
Step 1: Sketching the Basic Shape
Start by lightly sketching a rectangle shape that represents the handle of the scissors. Ensure that the rectangle is slightly longer than it is wide. This will serve as the foundation for the rest of the drawing.
Step 2: Drawing the Blades
From the top of the rectangle, draw two diagonal lines that converge towards a single point at the bottom. These lines will form the blades of the scissors. Make sure the lines are parallel to each other and taper towards the tip.
Step 3: Shaping the Handles
Extend the lines of the rectangle upwards, curving them slightly outward to create the shape of the handles. The handles should be wider towards the bottom and gradually become thinner as they move towards the top.
Step 4: Adding Details to the Blades
To make the blades appear more realistic, add a small curve at the base where they meet the handles. This will give the impression of a hinge mechanism. Additionally, draw a small semi-circle at the bottom of each blade to represent the cutting edge.
Step 5: Enhancing the Handle Shape
To add more dimension to the handles, draw two curved lines on each side, following the shape of the handles. These lines will provide a contouring effect, making the handle appear rounded and three-dimensional.
Step 6: Fine-Tuning the Outline
Now that the main shapes are in place, go over the pencil lines and darken them, refining the outline of the scissors. Pay attention to the curves, angles, and proportions as you work on this step. Erase any unnecessary guiding lines that may still be visible.
Step 7: Adding Details
To add more realism to your drawing, incorporate some key details. Draw a small circle at the top of each handle to represent the screw that holds the scissors together. You can also add some texture lines to the blades and handles, indicating the metal and grip. Take your time with this step, as these details will bring your drawing to life.
Step 8: Coloring (Optional)
If you want to take your drawing to the next level, consider adding some color. Scissors are commonly made of metal, so shades of gray or silver would be appropriate. You can use colored pencils or markers to add depth and shading to your artwork. Experiment with different techniques to achieve the desired effect.
Conclusion
Drawing everyday objects like scissors can be a great way to practice your skills as an artist. By following the step-by-step instructions outlined in this guide, you can create a realistic and detailed representation of scissors. Remember to take your time and pay attention to the proportions and details. Happy drawing!
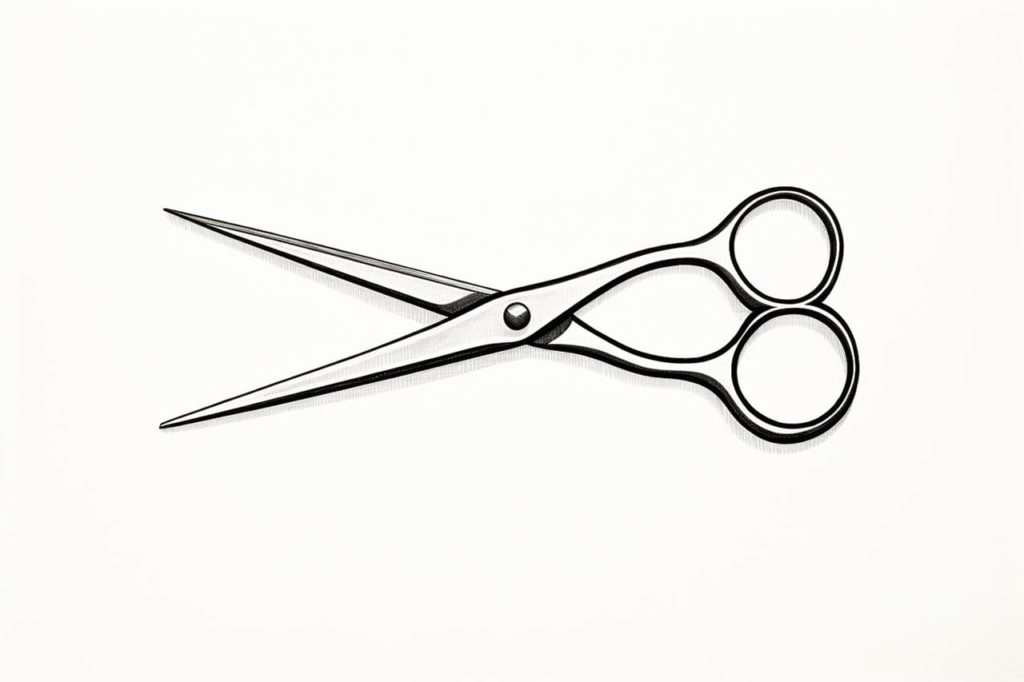
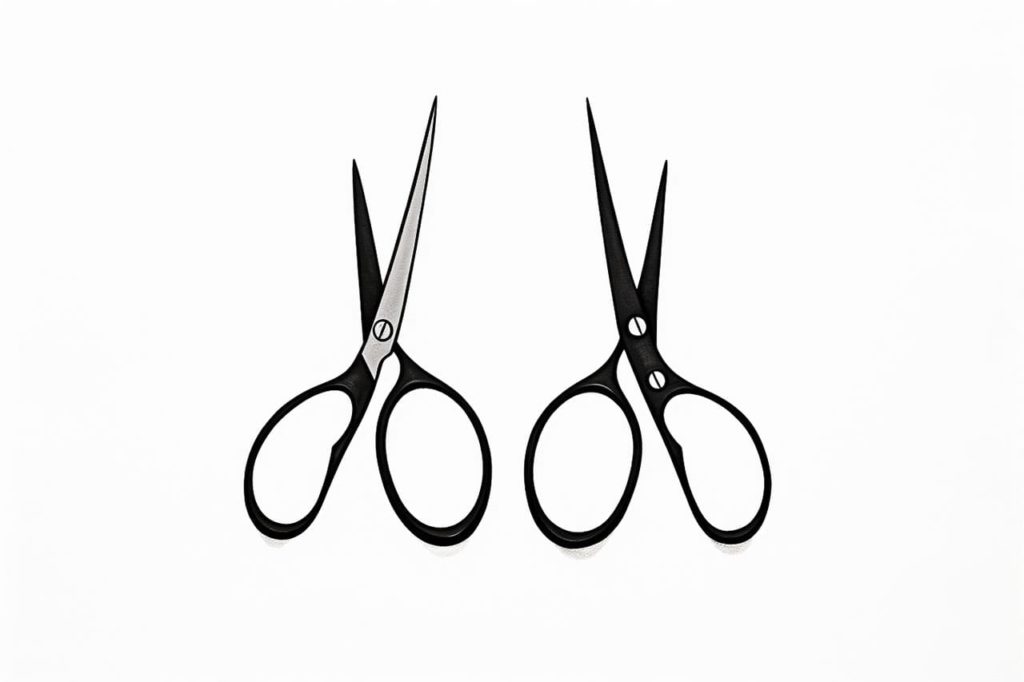
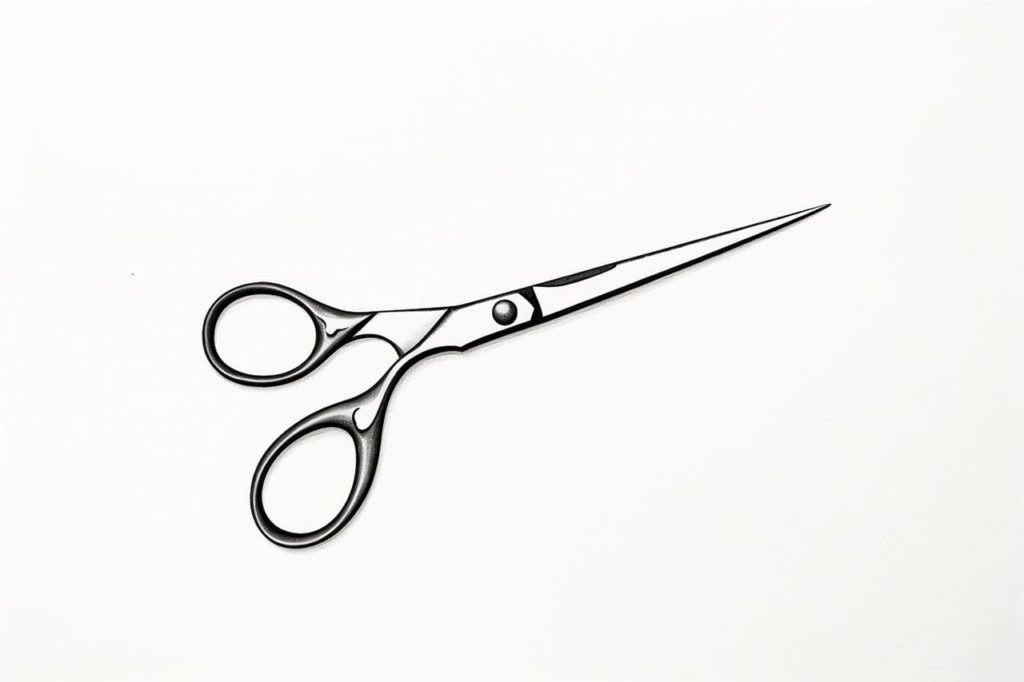
Gallery of Scissors Drawings