Are you looking to improve your drawing skills and add some fruity charm to your artwork? Drawing a cherry can be a fun and rewarding exercise for both budding artists and experienced sketchers alike. With its vivid colors and distinctive shape, a cherry is a perfect subject for practicing your shading, blending, and composition techniques.
In this step-by-step guide, I will walk you through the process of drawing a realistic cherry. By following these instructions and using the suggested materials, you will be able to create a beautiful cherry drawing that captures its delicate texture and vibrant hues.
Materials Required
Before we begin, let’s gather the necessary materials:
- Drawing paper or sketchbook
- Pencil (preferably a graphite pencil set with various grades)
- Soft eraser
- Colored pencils or markers (optional)
- Blending stump or cotton swabs (optional)
- Reference photo of a cherry (for guidance)
Having these materials ready will ensure that you have everything you need to successfully complete your cherry drawing.
Step 1: Outline the Shape
Start by lightly sketching the general shape of the cherry using your pencil. Think of the shape as a slightly elongated circle with a small dent at the top. This dent represents the area where the stem attaches to the cherry.
Step 2: Add the Stem
Extend a curved line from the top dent of the cherry shape to form the stem. Make sure the stem is slender and slightly wavy to add a natural appearance. You can also add a tiny leaf at the base of the stem if you’d like.
Step 3: Define the Cherry
Now it’s time to add some volume and detail to the cherry. Using the side of your pencil, shade the area on one side of the cherry to create a subtle gradient effect. This shading will give the cherry a three-dimensional look.
Step 4: Add Highlights and Shadows
To enhance the realism of your cherry, focus on adding highlights and shadows. Observe your reference photo or imagine a light source and visualize where the light hits the cherry. Use a lighter grade of pencil to add highlights and a darker grade for shadows.
Step 5: Blend and Refine
If you want to achieve a smoother look, use a blending stump or a cotton swab to blend the shading, highlights, and shadows together. This will soften any harsh lines and create a more realistic appearance. Take your time to refine the details until you are satisfied with the overall look of the cherry.
Step 6: Color if Desired
If you prefer a more vibrant and colorful cherry drawing, you can use colored pencils or markers to add a touch of hue. Start by layering light shades of red or pink on the surface of the cherry, gradually building up the intensity. Remember to blend the colors smoothly with a blending stump or cotton swab for a polished finish.
Step 7: Final Touches
To complete your cherry drawing, take a step back and assess the overall composition. Make any necessary adjustments to ensure the proportions and shapes are accurate. Use your eraser to gently lighten any areas that need tweaking.
Conclusion
Drawing a cherry can be a delightful exercise that allows you to practice various drawing techniques while creating a visually appealing artwork. By following these step-by-step instructions and utilizing the suggested materials, you can confidently draw a realistic cherry that showcases your artistic skills.
Remember, practice is key to improving your drawing abilities. Don’t be discouraged if your first attempt doesn’t turn out as expected. Keep practicing, experimenting, and exploring new subjects. Soon enough, you’ll be drawing cherries (and other fruits!) with finesse and confidence.
So grab your pencils, prepare your paper, and let’s begin drawing some cherries!
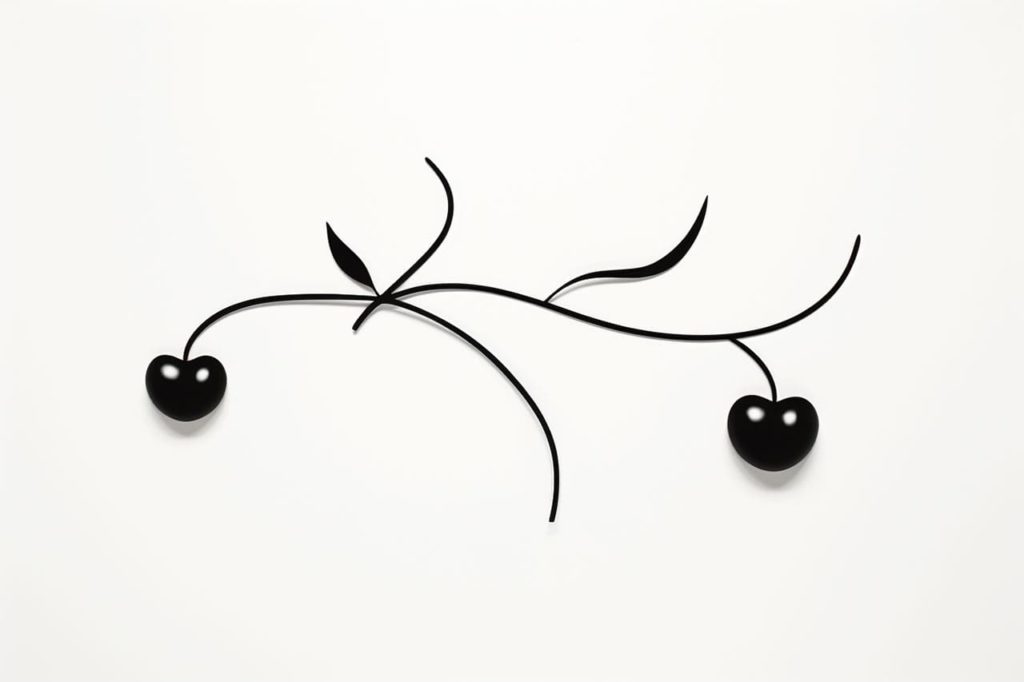
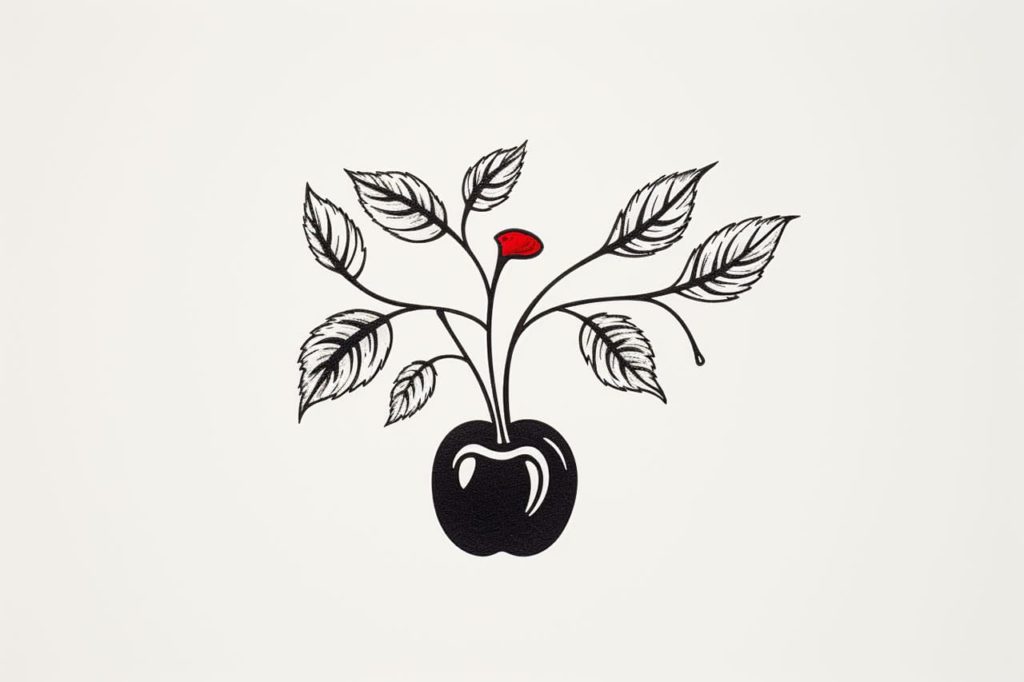
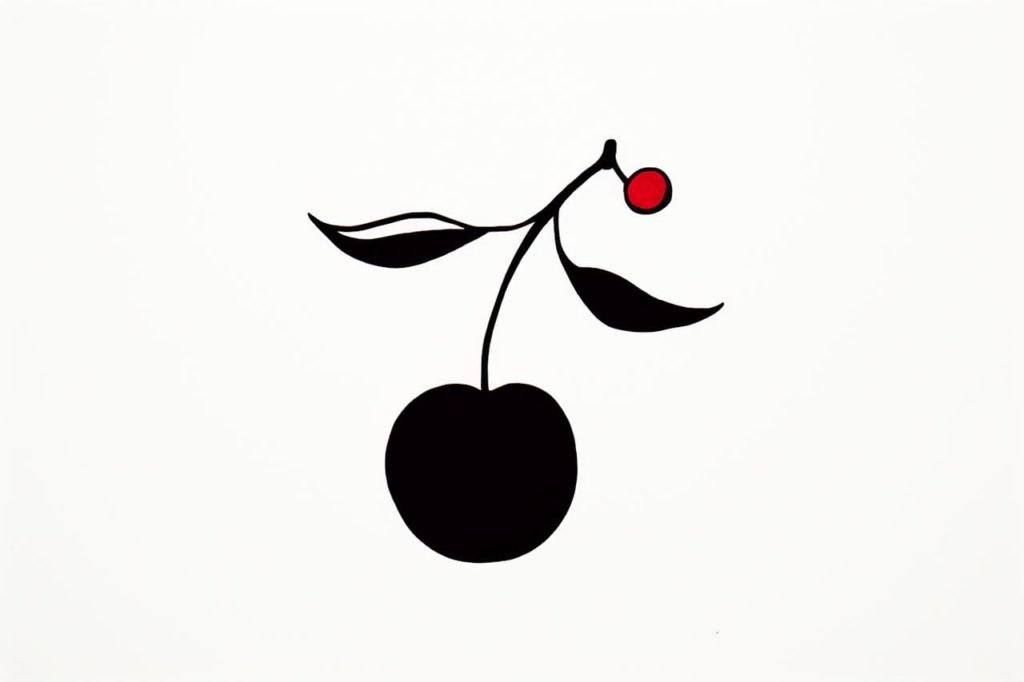
Gallery of Cherry Drawings