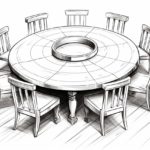
Welcome to this step-by-step guide on how to draw a table. Whether you’re an aspiring artist or just want to add a little creativity to your notes, learning how to draw a table can be a useful skill. In this article, we will go through the process of drawing a simple table using easy-to-follow instructions. So grab your pencil, paper, and let’s get started!
Materials
To draw a table, you will need the following materials:
- Paper: Use a clean and smooth sheet of paper for best results.
- Pencil: A standard HB pencil will work well for sketching the outline and details.
- Eraser: Having a good quality eraser will enable you to correct any mistakes along the way.
- Ruler: A ruler or straight edge will help you create straight lines and maintain proper proportions.
- Coloring tools (optional): If you want to add some color to your table, you can use colored pencils, markers, or watercolor paints.
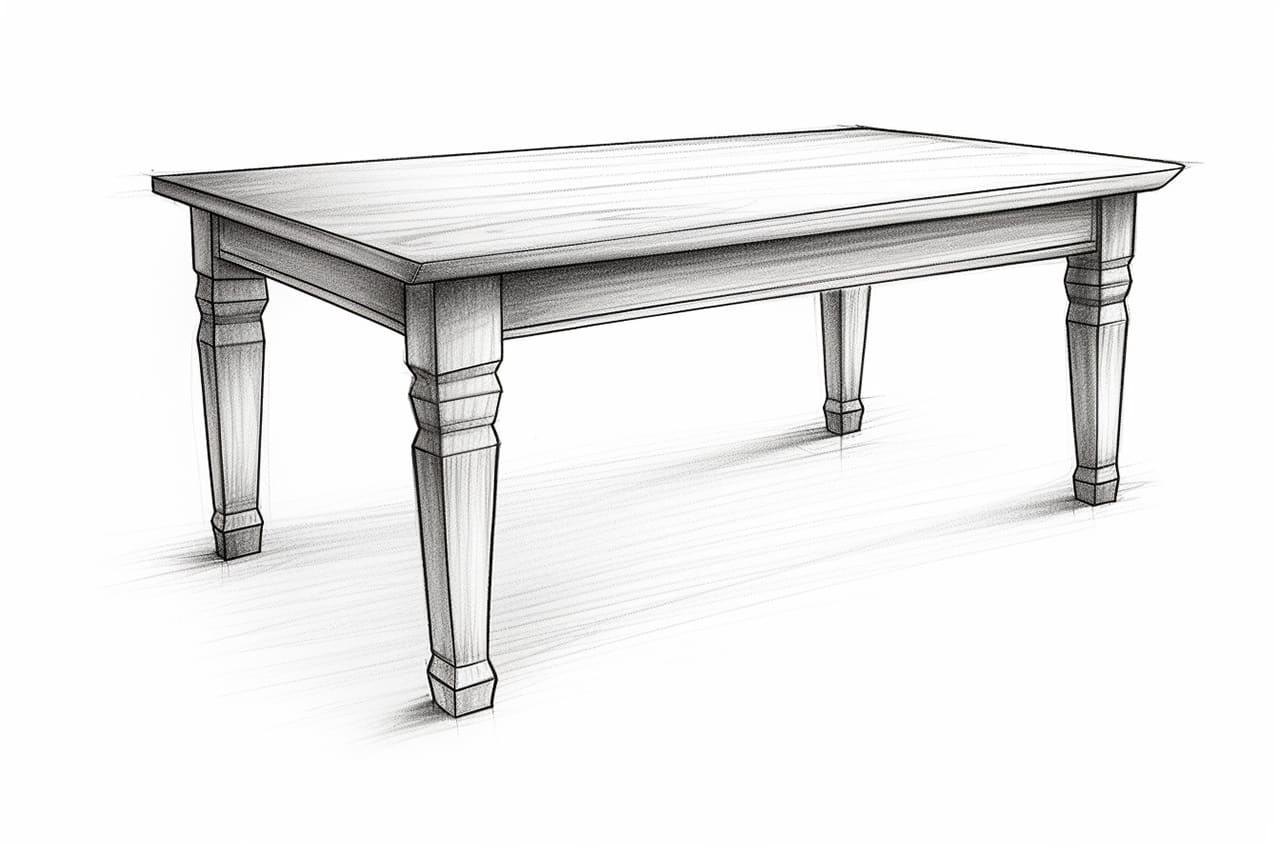
Step 1: Start with the Tabletop
Begin by drawing a horizontal line towards the top of your paper. This line will serve as the edge of your table. The length of this line will determine the size of the table you’re drawing. For a standard-sized table, make the line around 8-10 inches long.
Step 2: Add the Table Legs
Next, draw two vertical lines extending downwards from each end of the tabletop line. These lines will represent the table legs. Make them slightly longer than the tabletop line, ensuring that they are parallel to each other.
Step 3: Connect the Legs with a Stretcher
To add stability to the table, draw a horizontal line connecting the bottom of each leg. This line is called the stretcher and helps support the legs. Make sure the stretcher is parallel to the tabletop line, similar to the legs.
Step 4: Refine the Tabletop Shape
Now it’s time to refine the shape of the tabletop. Use your ruler to draw two more lines, connecting the top ends of the legs to the tabletop line. This will give the tabletop a more defined and three-dimensional appearance.
Step 5: Add Details
To make your table look more realistic, add some details. Start by drawing short horizontal lines near the top and bottom of each leg, indicating the wood grain. Then, draw a small rectangle on each leg at the bottom end, representing the foot of the table.
Step 6: Erase Unnecessary Lines
Go over your drawing and erase any unnecessary lines, such as the overlapping lines where the legs connect to the tabletop. Be mindful not to erase any essential lines that define the shape of the table.
Step 7: Finalize the Outline
Once you’re satisfied with the overall shape and details of your table, darken the outline using your pencil. This will make the table stand out and give it a more finished appearance.
Step 8: Add Color (Optional)
If you want to add color to your table, now is the time to do so. Use colored pencils, markers, or watercolor paints to bring your table to life. Consider the type of wood or material you want your table to be and choose appropriate colors accordingly. Take your time and apply colors patiently, layering shades for depth and texture.
Conclusion
Drawing a table may seem challenging at first, but with practice and patience, you can create beautiful and realistic tables. By following these step-by-step instructions and using the suggested materials, you’ll be able to draw a table that adds a touch of creativity to your artwork or designs. So, grab your pencil, paper, and start drawing tables today!