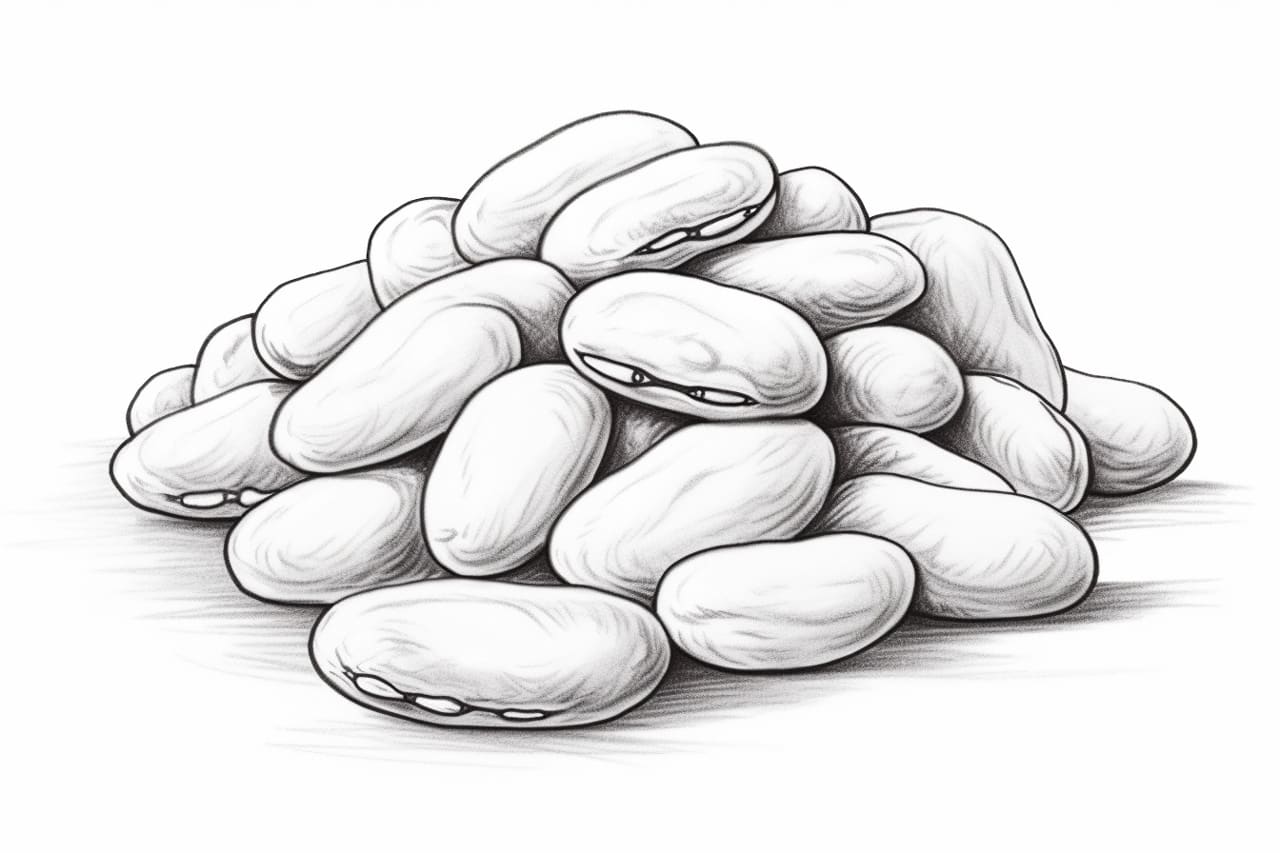
Welcome to this step-by-step tutorial on how to draw a bean! Drawing simple shapes like a bean is a great way to practice your artistic skills and engage in a fun and relaxing activity. In this article, we will guide you through the process of how to draw a bean, providing clear and concise instructions. So grab your materials and let’s get started!
Materials Required:
To successfully complete this drawing, you will need the following materials:
- Pencil
- Eraser
- Paper
- Optional: Colored pencils or markers for adding color to your bean
Step 1: Start with the Outline
Begin by drawing a horizontal line slightly curved in the middle. This will be the central outline of your bean shape. It’s important to keep the line smooth and fluid, as this will contribute to the organic nature of the bean.
Step 2: Create the Curves
From the ends of the central line, draw two curved lines that connect back to the line, creating a rounded shape at both ends of the bean. Make sure the curves are symmetrical and follow the contours of the central line.
Step 3: Add the Top and Bottom Curves
Extend the curved lines slightly above the central line to create the top curve of the bean. Similarly, extend the curved lines below the central line to form the bottom curve. Again, ensure that both curves are equal and maintain the smooth flow of the bean shape.
Step 4: Refine the Shape
Take a moment to evaluate the overall shape of your bean. Make any necessary adjustments to ensure the curves are even and pleasing to the eye. Use your pencil lightly to avoid visible lines in the final drawing.
Step 5: Erase the Guidelines
Carefully erase the central line and any other guidelines that are no longer needed. This step will help emphasize the clean shape of the bean.
Step 6: Add Dimension with Shading
To give your bean a three-dimensional appearance, add shading. Determine the direction of your light source and imagine where shadows would fall on the bean. Use your pencil to gently shade the areas that would be darker. Gradually build up the shading, using lighter strokes for softer shadows and darker strokes for sharper shadows.
Step 7: Optional – Add Color
If you wish to add color to your bean, try using colored pencils or markers. Choose colors that complement each other and apply them lightly, gradually layering and blending for a more vibrant result. Experiment with different color combinations to make your bean truly unique and eye-catching.
Conclusion
Drawing a bean is a simple yet enjoyable way to sharpen your artistic skills. By following the step-by-step instructions provided in this tutorial, you can create a beautifully curved and shaded bean drawing. Remember to have fun and let your creativity shine through. With practice, you can explore different variations and add your own personal touch to this basic bean shape. So grab your materials, start drawing, and enjoy the process!