Are you ready to bring your artistic skills to life and learn how to draw a cute hamster? Drawing animals can be a fun and rewarding experience, and hamsters are no exception. In this step-by-step guide, I will walk you through the process of drawing a hamster using simple shapes and easy-to-follow instructions. So grab your pencils and let’s get started on this creative journey!
Materials Required
Before we begin, let’s make sure you have all the necessary materials for this drawing tutorial. Here’s what you’ll need:
- Paper: Choose a smooth and sturdy paper to work on. Drawing paper or sketch pads are ideal.
- Pencils: Use a range of pencils with different lead weights, such as HB, 2B, and 4B, to create varying shades and textures in your drawing.
- Eraser: An eraser is essential for correcting any mistakes or making necessary adjustments in your drawing.
- Sharpener: Keep your pencils sharp for precise lines and details.
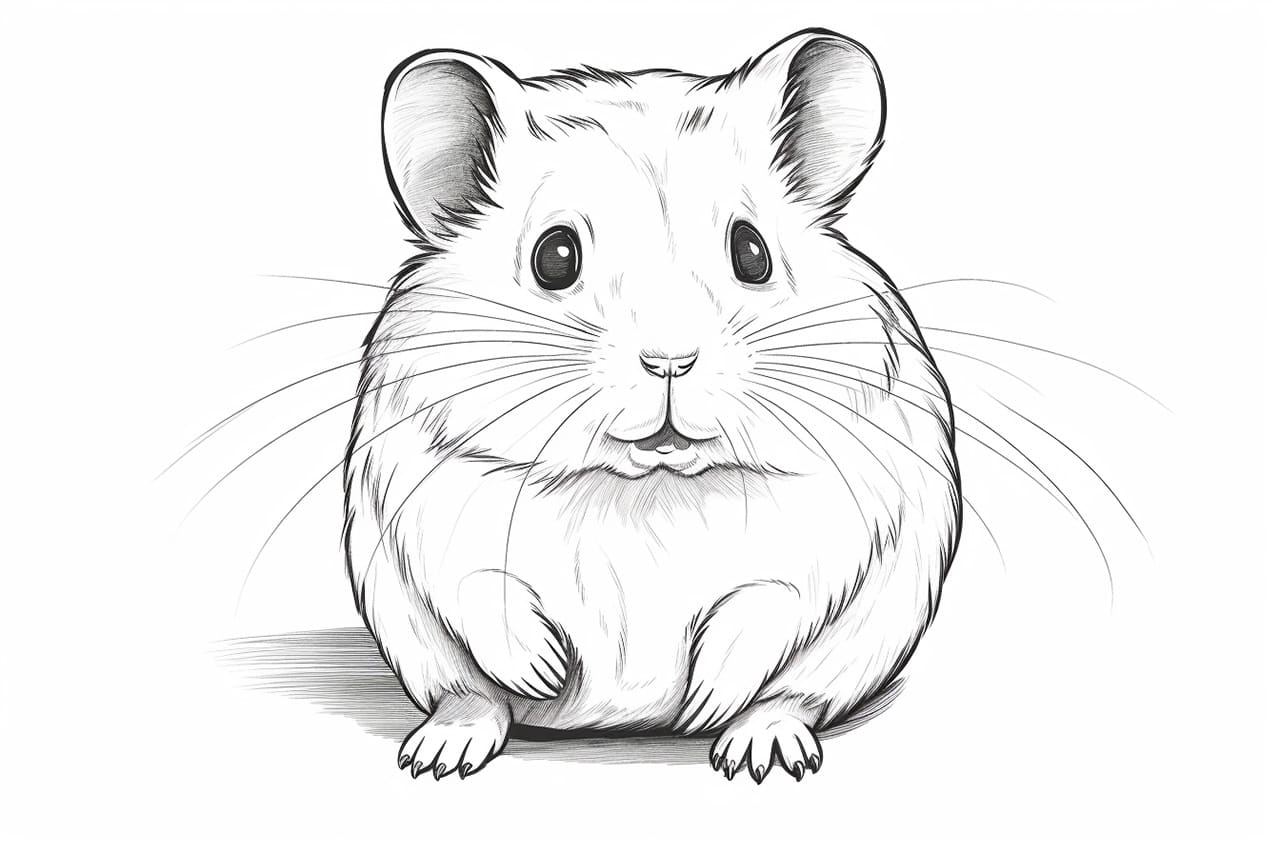
- Reference Image: Find a clear, high-quality image of a hamster to guide you through the drawing process.
Now that you have all your materials ready, let’s dive into the step-by-step process of drawing a hamster!
Step 1: Sketch the Basic Shapes
Start by sketching the basic shapes that will serve as the foundation for your hamster drawing. Begin with a circle for the head and a slightly elongated oval shape for the body. Place these shapes in the center of your paper, leaving enough space for other details.
Step 2: Add the Facial Features
Within the circle shape, add two small circles for the eyes, leaving a small space in between them. Then, add a smaller circle for the nose right below the eyes. On each side of the head, draw two small rounded triangles for the hamster’s ears. These triangles should be slightly wider at the base and point upwards.
Step 3: Define the Body and Limbs
Connect the head and body shapes by adding curved lines on both sides. This will give your hamster a more rounded appearance. Next, draw small circles for the paws at the bottom of the body shape. Extend curved lines from the paws to create the legs. Don’t forget to add curved lines for the tail at the back of the body.
Step 4: Refine the Facial Features
Start giving your hamster a more defined face. Add small dots inside the eye circles to represent the pupils. Draw a tiny curve above each eye to indicate the eyebrows. Then, sketch a curved line above the nose to create the hamster’s forehead.
Step 5: Add Details to the Ears
Within each ear shape, draw smaller curved lines to add texture and depth. This will make the ears look fluffy and realistic. You can also add some fur-like markings on the top of the head by drawing short, curved lines.
Step 6: Draw the Hamster’s Fur
Now it’s time to add some texture to your hamster’s body. Using small, curved strokes, start drawing fur-like lines all over the body and limbs. Pay attention to the direction of the strokes, following the natural flow of the hamster’s fur. This will add depth and dimension to your drawing.
Step 7: Refine the Body Shape
Take a closer look at the body shape and make any necessary adjustments. Smooth out the lines and curves to create a more polished appearance. This is where your eraser comes in handy for correcting any mistakes or stray marks.
Step 8: Finalize the Details
In this final step, add the remaining details to bring your hamster to life. Sketch the hamster’s whiskers using thin, delicate lines extending from each side of the nose. You can also include some shading to add depth and volume to your drawing. Focus on the areas of the face that would naturally have shadows, such as under the eyebrows and the sides of the nose.
Congratulations! You have successfully drawn a hamster. Take a moment to admire your artwork and see how far you’ve come. Remember, practice makes perfect, so feel free to experiment with different poses, expressions, and colors in your future hamster drawings.
Conclusion
Drawing a hamster may seem challenging at first, but with the right guidance and practice, you can master this adorable subject. By following the step-by-step instructions outlined in this article, you have learned how to draw a hamster using basic shapes and adding details to bring it to life. So grab your pencils, reference image, and let your creativity flow as you create your own hamster masterpiece!