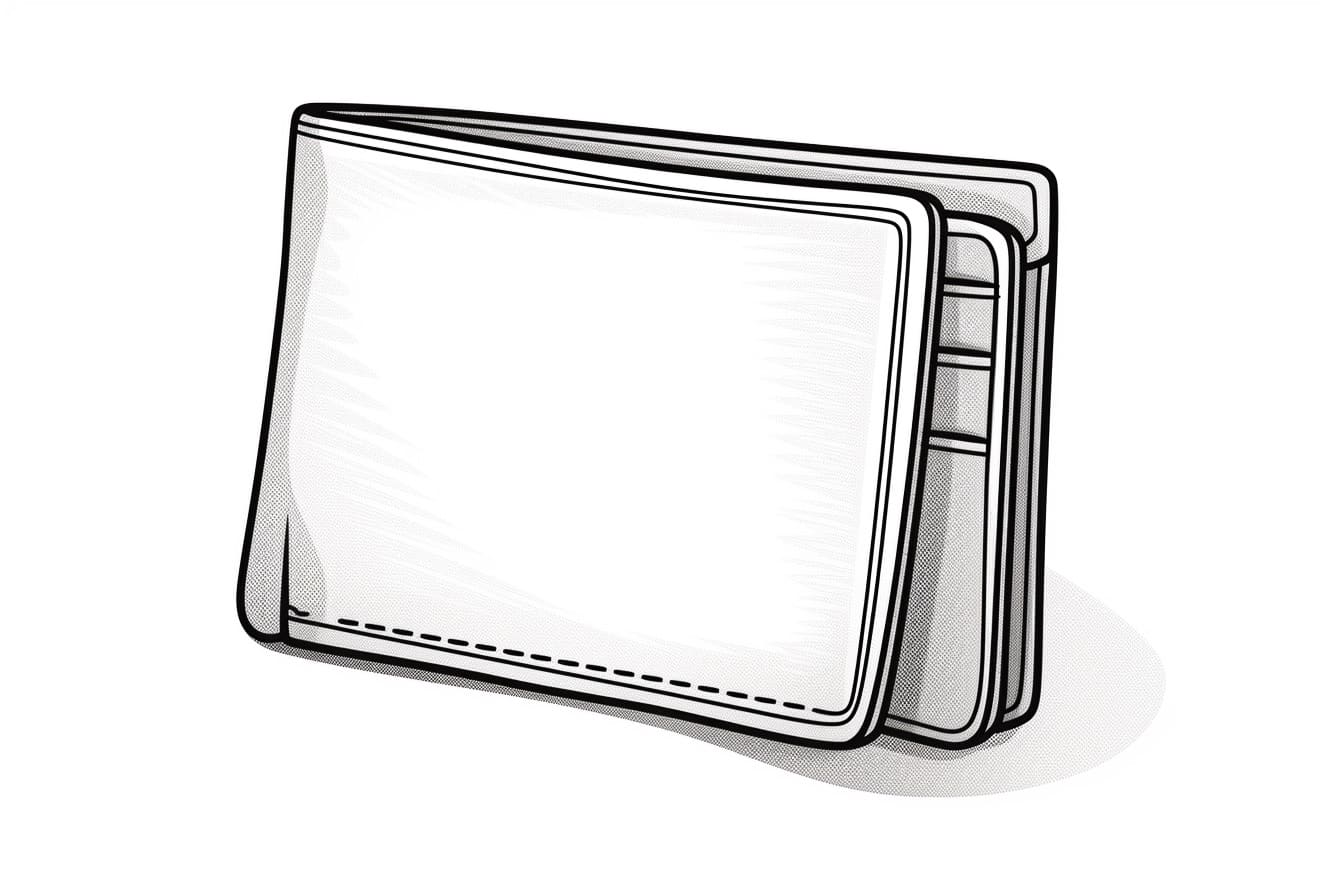
Welcome to this step-by-step guide on how to draw a wallet. In this article, I will provide clear and concise instructions to help you create a realistic and detailed drawing of a wallet. Whether you are a beginner or an experienced artist, this tutorial is designed to be accessible to all skill levels. So grab your drawing materials and let’s get started!
Materials Required
To complete this drawing, you will need the following materials:
- Pencil: A standard drawing pencil is recommended for sketching and shading.
- Eraser: A soft eraser will be used to make corrections and clean up your drawing.
- Paper: Use a smooth, white drawing paper or a sketchbook for your drawing surface.
- Ruler: A ruler will be helpful for creating straight lines and measuring proportions.
- Colored pencils or markers (optional): If you want to add color to your drawing, you can use colored pencils or markers of your choice.
Now that you have gathered your materials, let’s dive into the step-by-step process of drawing a wallet.
Step 1: Sketch the Basic Shape
Start by lightly sketching a rectangular shape on your paper. This will be the main body of the wallet. Use your ruler to ensure that the sides are straight and the corners are square.
Step 2: Add Details and Features
Next, add some details to your basic shape to make it look like a wallet. Draw a small rectangular shape at the top of the wallet to represent the fold-over flap. Then, add a curved line near the bottom of the wallet to indicate the opening where the money is inserted.
Step 3: Draw the Wallet’s Closure
Now, let’s draw the closure of the wallet. Extend two parallel lines from the top of the wallet’s main body, towards the fold-over flap. Then, connect these lines with a short horizontal line to create the clasp or button that keeps the wallet closed.
Step 4: Define the Wallet’s Texture
To make the wallet look more realistic, we need to add some texture. Start by drawing small lines across the surface of the wallet’s main body, indicating the texture of the material. Pay attention to the direction of the lines and make them slightly curved to give the impression of depth.
Step 5: Add the Wallet’s Stitching
Most wallets have stitching along the edges to hold the material together. To draw the stitching, start by lightly drawing small dots along the edges of the wallet. Then, connect these dots with short, straight lines to create a stitched effect. You can also add additional details, such as a logo or brand name, if desired.
Step 6: Refine Your Drawing
Take a step back and evaluate your drawing so far. This is a good opportunity to make any necessary adjustments or corrections. Use your eraser to clean up any stray lines or smudges, and refine the details to your liking.
Step 7: Add Shading and Depth
To give your wallet drawing a three-dimensional look, add shading and depth. Start by identifying the light source in your drawing, and imagine where the shadows would fall. Use your pencil to lightly shade the areas that would be in shadow, such as underneath the fold-over flap or along the edges of the wallet. Gradually build up the shading, using different pressure and blending techniques to create a smooth transition between light and dark areas.
Step 8: Optional – Add Color
If you wish to add color to your drawing, you can use colored pencils or markers to bring your wallet to life. Choose colors that closely match the material and design of the wallet you are drawing. Use light, feathery strokes to layer and blend the colors, creating a realistic and vibrant effect.
Conclusion
Congratulations! You have successfully completed a drawing of a wallet. By following these step-by-step instructions, you have learned how to create a detailed and realistic representation of a wallet. Remember to practice regularly and experiment with different materials and techniques to further develop your drawing skills. Happy drawing!