As an expert artist and drawing instructor, I’m here to guide you through the process of drawing a Space Marine. Whether you’re a fan of Warhammer 40,000 or simply interested in honing your drawing skills, this step-by-step tutorial will help you create a dynamic and detailed Space Marine illustration. So grab your pencils, paper, and let’s get started!
Materials Required
To successfully complete this drawing, you will need the following materials:
- Pencils (HB, 2B, 4B)
- Paper (preferably a sketchbook or drawing paper)
- Eraser (kneaded or vinyl eraser)
- Ruler or straight edge (optional)
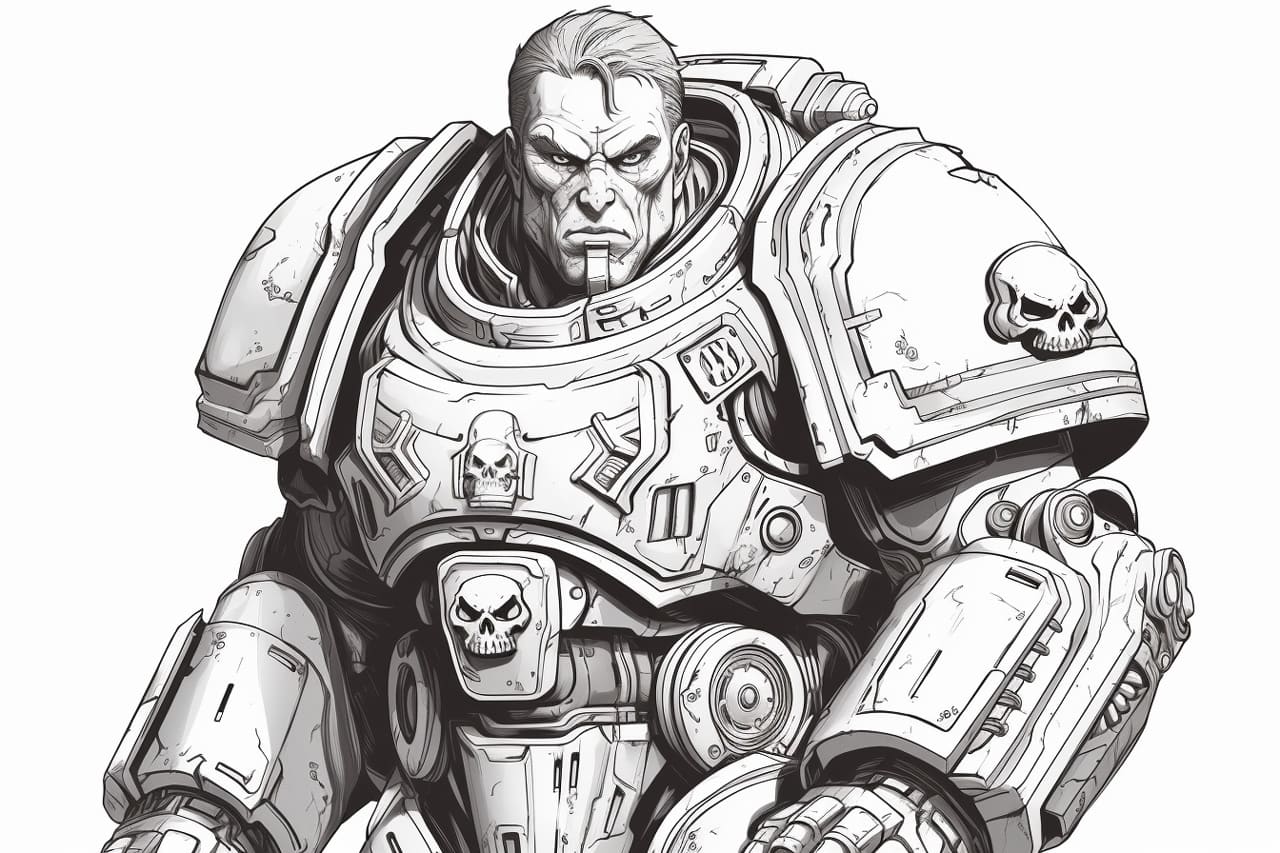
- Reference image of a Space Marine (for inspiration and guidance)
Now that you have gathered your materials, let’s begin the drawing process.
Step 1: Basic Framework
Start by lightly sketching a basic framework to establish the proportions of the Space Marine. Use simple shapes like circles, ovals, and squares to outline the head, torso, limbs, and any accessories or weapons. This framework will serve as a guide to maintain proper proportions throughout the drawing.
Step 2: Head and Helmet
Focus on the head of the Space Marine. Add details such as the helmet shape, facial features (if visible), and any additional elements like antennae or goggles. Pay attention to the helmet’s contours and any intricate designs or markings.
Step 3: Torso and Armor
Next, move on to the torso area. Begin by outlining the broad shape of the armor plates. Space Marines typically have bulky armor, so emphasize the muscular physique. Add details like the shoulder pads, chest emblem, and additional armor pieces on the arms and torso. Incorporate any desired embellishments or decorative elements.
Step 4: Arms and Weapons
Now it’s time to draw the Space Marine’s arms and weapons. Start by outlining the basic shape of each arm, considering the placement and proportion in relation to the body. Then, sketch the intricate details of the armor and gauntlets, keeping in mind the mechanical and futuristic appearance. Add the weapons of your choice, such as a bolter, chainsword, or power fist. Pay attention to the more minor details and textures.
Step 5: Legs and Feet
Proceed to sketching the legs and feet of the Space Marine. Begin by outlining the thigh and calf muscles, keeping in mind the bulky appearance of the armor. Add the armor plates, knee pads, and any additional details. Remember to depict the boots or armored feet, considering the weight and design.
Step 6: Fine Details and Shadows
Once you have completed the main structure of the Space Marine, it’s time to add the finer details and shading. Pay attention to smaller elements like rivets, cables, and additional armor pieces. Add shading to create depth and dimension, using hatching or cross-hatching techniques. Experiment with different line weights to emphasize shadows and highlights.
Step 7: Refine and Erase
Take a step back and assess your drawing. Refine any proportions, shapes, or details that may need adjustment. Erase any remaining construction lines and unnecessary guidelines. Use your reference image as a guide to ensure accuracy.
Conclusion
Congratulations! You have successfully created a detailed illustration of a Space Marine. By following these step-by-step instructions and using your creativity, you have achieved a dynamic and powerful drawing. Remember to practice regularly and experiment with different techniques to further improve your skills.
In this tutorial, we have explored the process of drawing a Space Marine, from the initial framework to the final shading and refinement. I hope you found this guide helpful and enjoyable. Keep practicing, and soon you’ll be able to create stunning illustrations of your favorite Warhammer 40,000 characters.