Whether you’re an aspiring artist or just enjoy doodling in your spare time, learning how to draw a Roman soldier can be a fun and rewarding experience. Roman soldiers, known for their distinctive armor and weapons, have been depicted in countless artworks throughout history. In this step-by-step tutorial, I will guide you through the process of drawing a Roman soldier, starting from the basic shapes and gradually adding more details. So grab your sketchbook and let’s get started!
Materials Required
Before we begin, make sure you have the following materials ready:
- Drawing paper or sketchbook
- Pencil (preferably HB or 2B)
- Eraser
- Fine-tip black pen or marker (optional)
- Colored pencils or markers (optional)
With these materials in hand, you’re all set to start your artistic journey!
Step 1: Basic Shapes
To start, let’s begin by sketching the basic shapes that will serve as a foundation for your Roman soldier drawing. Begin with a vertical oval shape for the head, followed by a rectangle shape for the torso. Add two lines extending from the torso for the arms, and two more lines for the legs, creating a rough stick-figure-like shape.
Step 2: Armor Details
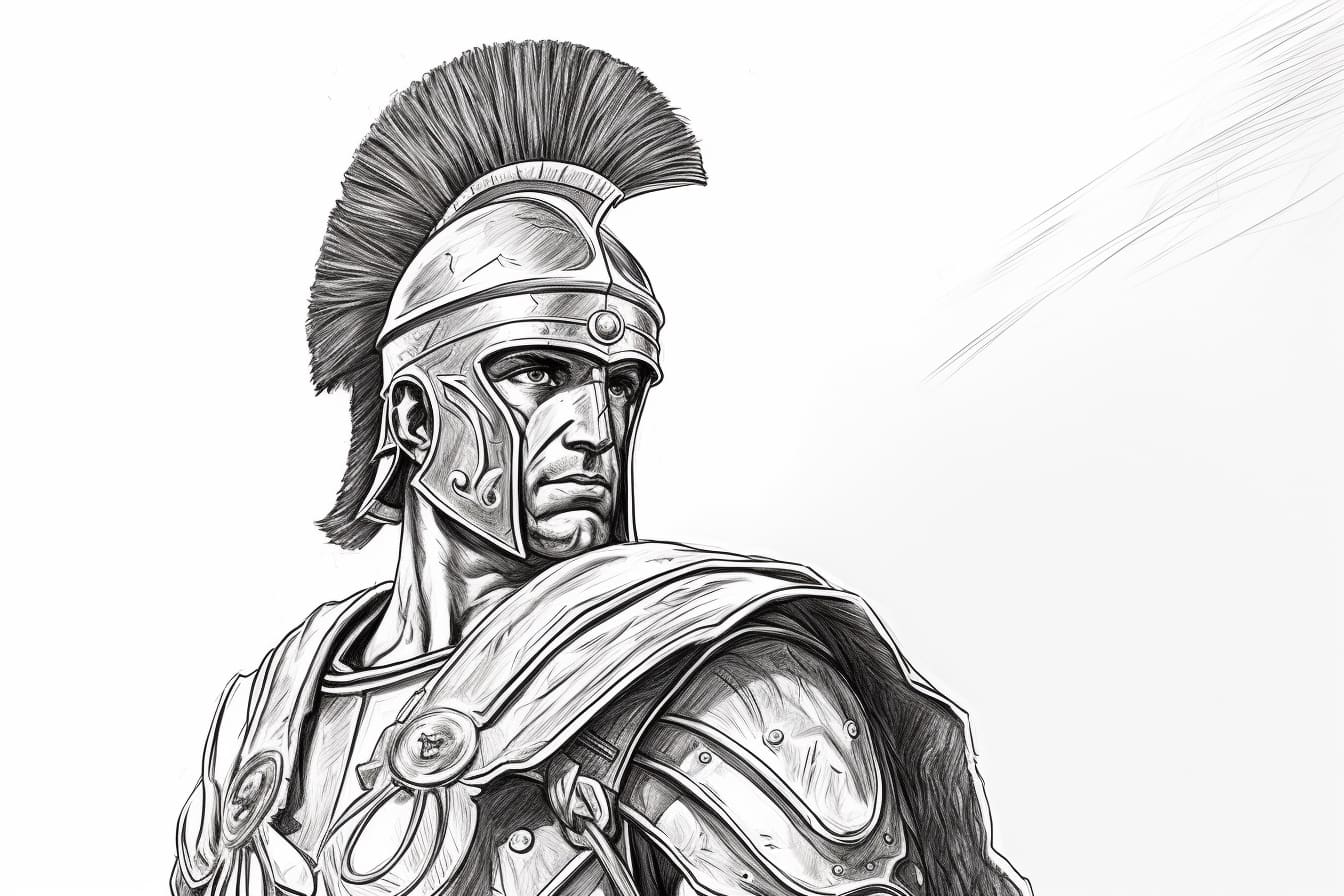
Next, we’ll focus on adding the intricate details of the Roman soldier’s armor. Start by sketching the outline of the helmet, making sure to add the characteristic feathers or plume at the top. Then, draw the shoulder armor by extending two curved lines from the top of the torso, creating a triangular shape. Add some curved lines on the chest area to represent the armor plates.
Step 3: Facial Features
Now that the armor is taking shape, let’s move on to the facial features of our Roman soldier. Sketch two horizontal lines across the head shape to indicate the placement of the eyes. Then, add a curved line in the middle for the nose and a horizontal line below it for the mouth. Remember to erase any unnecessary guidelines as you go.
Step 4: Fine Tuning the Face
To bring your Roman soldier to life, it’s time to add more details to the facial features. Start by drawing the eyes, making them almond-shaped and adding small pupils in the center. Add eyebrows and a mustache for a more distinguished look. Don’t forget to sketch the ears and any additional details, such as facial hair or scars, to give your soldier a unique personality.
Step 5: Weaponry and Shield
No Roman soldier would be complete without their weapons and shield. Begin by sketching a short, curved sword on the soldier’s side. Then, draw the shield by sketching a large circle or oval shape in front of the soldier’s body. Add details such as the boss (the central dome-shaped part of the shield) and any decorative patterns or symbols.
Step 6: Adding Armor Details
Now let’s focus on adding more details to the soldier’s armor. Sketch the breastplate by drawing curved lines that follow the shape of the torso. Add diagonal lines to indicate the overlapping armor plates. Don’t forget to add straps and buckles to secure the armor in place. Repeat this step for the shoulder armor, paying attention to the small rivets or studs that hold it together.
Step 7: Muscular Anatomy
To make your Roman soldier look more realistic and powerful, it’s important to understand the underlying muscular anatomy. Add some basic muscle definition to the arms and legs by sketching curved lines and adding shading to create depth. Pay attention to the biceps, triceps, and the calves to give your soldier a strong and athletic physique.
Step 8: Clothing and Accessories
Roman soldiers often wore tunics or cloaks as part of their attire. Sketch some flowing fabric around the soldier’s waist, adding folds and creases for a more realistic effect. You can also add additional accessories such as a belt, sandals, or even a cape to further enhance your drawing.
Step 9: Final Details and Shading
Now that you’ve completed the basic framework of your Roman soldier drawing, it’s time to add the final details and shading. Use your pencil or a fine-tip black pen to outline the drawing, emphasizing the contours and adding more definition. Add shading to create depth and dimension, paying close attention to the areas of light and shadow. Use your eraser to remove any remaining guidelines and smudges, leaving behind a clean and polished drawing.
Conclusion
Drawing a Roman soldier may seem like a daunting task, but by breaking it down into simple steps, anyone can create an impressive artwork. From sketching the basic shapes to adding intricate details, each step builds upon the previous one, gradually bringing your drawing to life. Remember to practice, experiment with different styles, and most importantly, have fun throughout the process. So go ahead, unleash your creativity, and embrace the spirit of the Roman soldiers through your art!