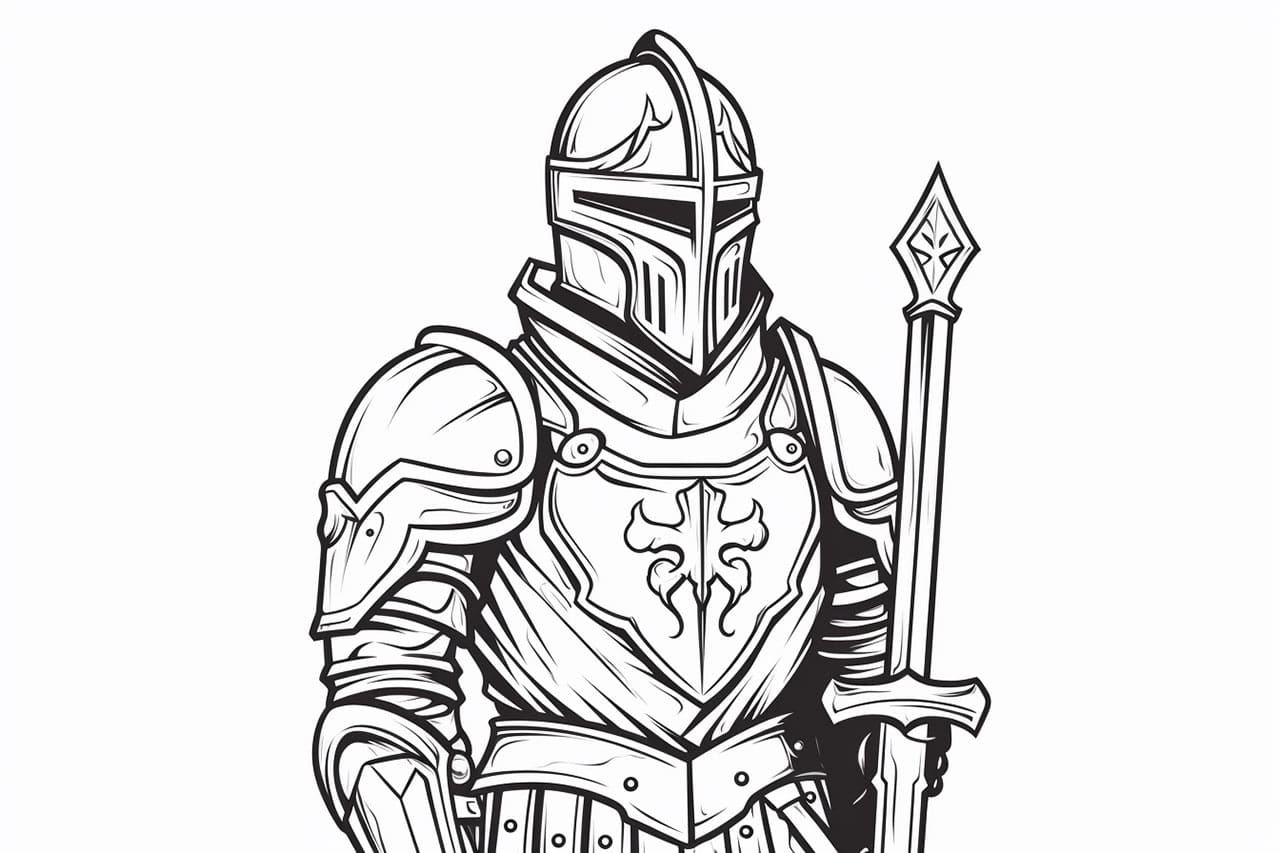
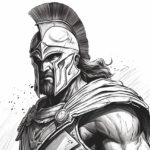
Drawing a knight can be a fun and challenging task, but with the right guidance, anyone can successfully create a majestic and powerful illustration. In this step-by-step guide, I will walk you through the process of how to draw a knight, complete with armor, a helmet, and a sword. So grab your paper and pencils, and let’s get started!
Materials Required
Before we begin, make sure you have the following materials ready:
Now that we have everything we need, let’s dive into the step-by-step instructions.
Step 1: Basic Shape
Start by drawing a medium-sized oval shape towards the top of your paper. This oval will serve as the knight’s head. Below the oval, draw a slightly larger oval shape to create the body. Connect the head and body with a curved line to form the neck.
Step 2: Armor
To depict the knight’s armor, draw a rectangular shape on top of the body oval. This will represent the breastplate. Add two lines on either side of the breastplate to create the shoulder plates. Connect the shoulder plates to the body with curved lines.
Step 3: Arms and Hands
Draw two lines extending from the bottom of the shoulder plates to form the upper arms. At the end of each arm, draw a smaller rectangle to represent the knight’s gauntlets. Add curved lines for the joints and smaller lines to indicate the fingers.
Step 4: Legs and Feet
Extend two lines downward from the bottom of the body oval to create the knight’s legs. At the end of each leg, draw a rectangular shape for the armor. Add curved lines for the joints and smaller lines for the toes.
Step 5: Helmet
Draw a rectangle shape above the knight’s head, leaving a small gap for the face. Add a curved line at the bottom of the rectangle to create the visor. Draw two slanted lines on either side of the helmet for the knight’s eyes.
Step 6: Sword
Draw a straight line diagonal to the knight’s body to create the sword’s handle. At the end of the handle, draw a slightly curved line for the blade. Add a crossguard by drawing two short lines perpendicular to the blade.
Step 7: Details and Shading
Now that the basic structure of the knight is complete, it’s time to add some details and shading. Use your darker pencils (4B and 6B) to carefully shade the areas of the armor, helmet, and sword that would be in shadow. Pay attention to the light source and add highlights to the areas that would be reflecting light.
Step 8: Clean Up and Refine
Once you are satisfied with the overall shape and shading, go over your drawing with an eraser to remove any unwanted lines. Use a pencil sharpener to keep your pencils sharp and continue refining the details of your knight. Add additional lines and shading to enhance the texture and depth of the armor.
Conclusion
Congratulations! You have successfully drawn a knight from scratch. By following these step-by-step instructions and using your own creativity, you can create a unique and impressive knight illustration. Remember, practice makes perfect, so don’t be afraid to try different poses or add your own personal touches to make your knight truly stand out. Happy drawing!

