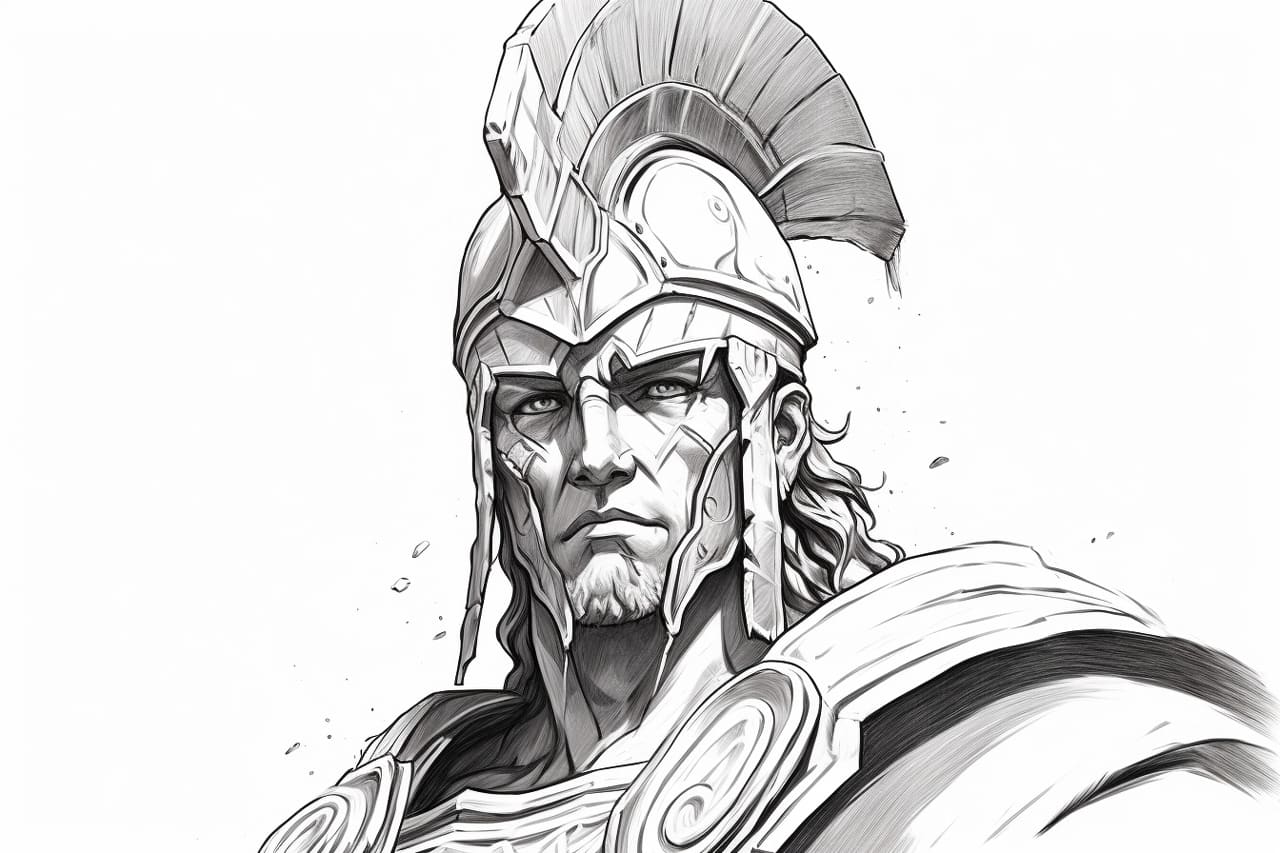
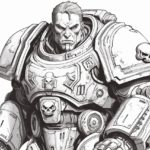
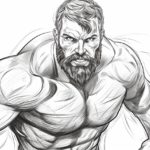
Drawing a warrior can be a challenging yet rewarding experience. Warriors are known for their strength, resilience, and bravery; capturing these qualities in your artwork can make for a powerful and dynamic illustration. In this step-by-step guide, we will walk you through how to draw a warrior from start to finish. So grab your drawing materials, and let’s begin!
Materials Required
To draw a warrior, you will need the following materials:
- Pencil: It is essential to sketch out the initial framework and details before finalizing your drawing. A mechanical or regular pencil with a variety of lead hardness (HB, 2B, 4B) is recommended.
- Eraser: A soft eraser will allow you to correct any mistakes or make adjustments as you go along.
- Paper: Choose a sturdy drawing paper that can withstand multiple erasures without tearing or smudging.
Now that we have our materials ready, let’s dive into the step-by-step process of drawing a warrior.
Step 1: Define the Pose and Proportions
Start by envisioning the pose of your warrior. Consider the dynamics and action you want to convey. Begin with basic shapes like circles and ovals to outline the head, torso, and limbs. These simple shapes will act as a guideline for the overall proportions and structure of your warrior.
Step 2: Add Body Structure and Armor
Using the basic shapes as a reference, gradually refine the body structure. Add volume to the muscles and define the shape of the limbs. Warriors often wear armor for protection, so sketch out the armor pieces, such as chest plates, shoulder guards, and gauntlets. Pay attention to the placement of each piece and ensure it aligns with the body’s movements.
Step 3: Sketch the Facial Features
Move on to the facial features of your warrior. Draw the eyes, nose, and mouth in a way that reflects the character’s expression and determination. Remember to consider the angle and perspective based on the pose you have chosen. Refine the shape of the jawline and add any desired facial hair or adornments.
Step 4: Refine the Details
Now it’s time to add more details to your warrior. Focus on the smaller elements that bring the character to life, such as hair, wrinkles, scars, or tattoos. These details not only enhance the overall image but also help to convey the personality and history of your warrior.
Step 5: Finalize the Outfit and Accessories
Pay attention to the warrior’s outfit and accessories in this step. Add intricate details to the armor, such as engravings or patterns. Don’t forget to include weapons or other accessories that may be carried or worn by your warrior. These elements can further emphasize the warrior’s role and add depth to the overall composition.
Step 6: Shade and Add Texture
To give your drawing depth and dimension, use shading techniques to add shadows and highlights. Observe the light source in your artwork and imagine how it would interact with the warrior’s form. Shade the different areas accordingly, creating a sense of volume and realism. You can also experiment with cross-hatching or stippling to add texture to specific elements.
Step 7: Add Final Touches
Review your drawing as a whole and make any necessary adjustments. Check the proportions, details, and overall composition to ensure a balanced and visually appealing result. Clean up any stray lines or smudges with an eraser. If desired, you can also add a background to create a more detailed scene or atmosphere around your warrior.
Conclusion
Drawing a warrior requires careful attention to detail and a solid understanding of anatomy and proportion. By following these step-by-step instructions, you can create a captivating and powerful representation of a warrior. Remember, practice is key, so don’t be discouraged if your first attempts don’t meet your expectations. With time and dedication, you will improve your skills and develop your unique style. So grab your pencil, unleash your creativity, and let your warrior come to life on paper!

