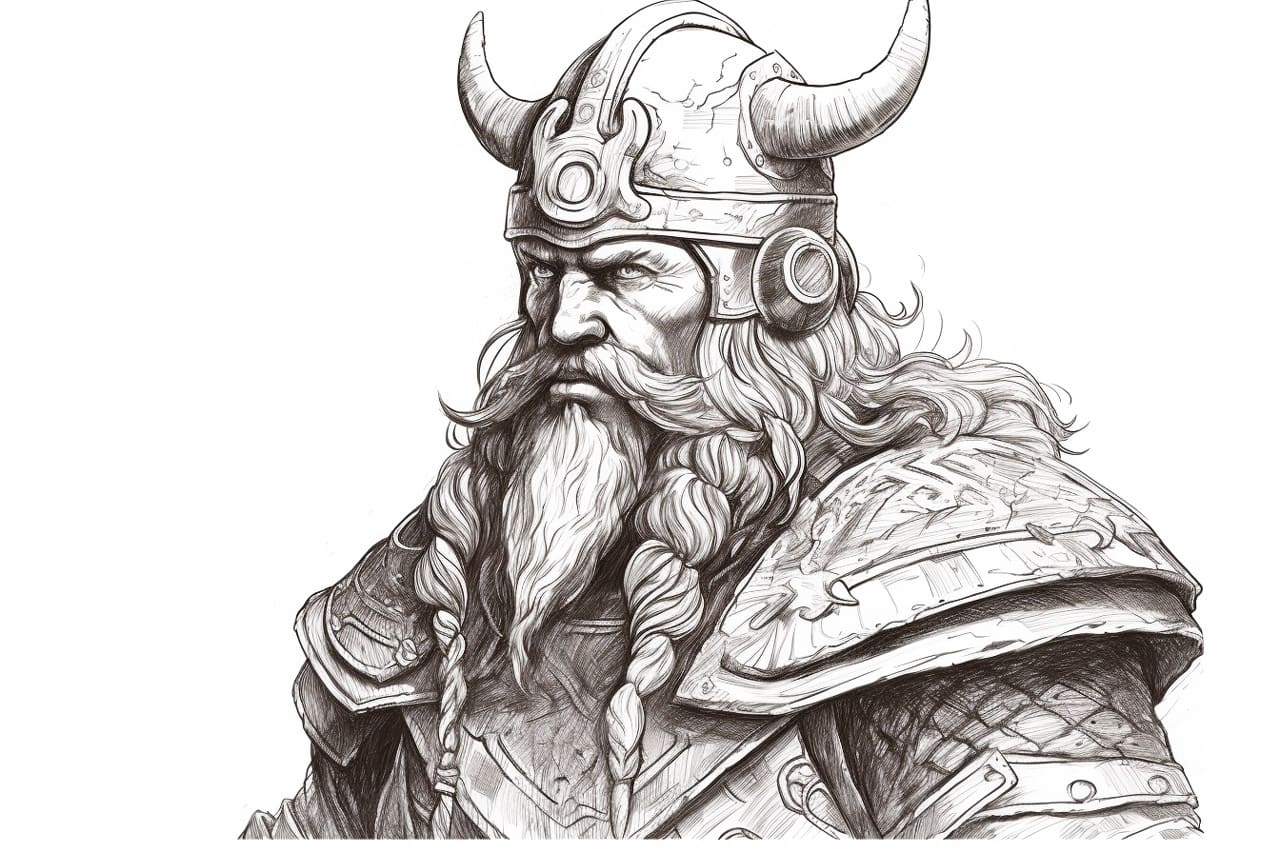
Welcome to this step-by-step guide on how to draw a Viking! Vikings were fierce warriors and seafarers from the early medieval period, known for their distinctive appearance and intricate details on their armor and weapons. In this tutorial, we will break down the process into simple steps to help you create your very own Viking masterpiece. So grab your pencils, paper, and let’s get started!
Materials Required:
To begin drawing your Viking, you will need the following materials:
- Drawing paper
- Pencils (HB, 2B, and 4B)
- Eraser
- Fine-tip black marker pen
- Colored pencils or markers (optional)
Now that you have everything you need, let’s move on to the step-by-step instructions.
Step 1: Sketch the Basic Outline
Start by lightly sketching a vertical line in the center of your paper. This will be your guide to maintain symmetry as you draw the Viking. Then, draw a circle at the top of the line, which will serve as the head. Add a horizontal line just below the circle to indicate the eye level.
Step 2: Define the Viking’s Face
Sketch a horizontal line across the circle, slightly below the eye level. This line will be the Viking’s brow line. From the brow line, draw two diagonal lines downward to create the Viking’s cheekbones. Connect the lines at the bottom to form the jawline. Next, lightly sketch an oval-shaped guideline for the Viking’s eye in the middle of the head, aligned with the eye level.
Step 3: Draw the Facial Features
Using the eye guideline as a reference, draw the Viking’s eye. Make it almond-shaped and add a small circle inside for the pupil. Add a thick, bushy eyebrow above the eye, accentuating the fierce expression. Below the eye, add a short, curved line for the nose. Then, draw a rugged beard starting from the bottom of the circle, following the jawline.
Step 4: Add Details to the Face
To give your Viking a more intimidating look, draw a few lines to indicate furrowed brows and wrinkles on the forehead. Add a small, triangular shape at the corner of the eye to create a scar or a battle mark. Extend the beard and add some rough, textural details to make it appear more realistic.
Step 5: Sketch the Viking’s Helmet
Begin by drawing a curve above the Viking’s head to outline the shape of the helmet. Then, add two curved lines starting from the sides of the helmet towards the bottom to create the sides of the helmet. Connect these lines with a horizontal line at the back. Add some decorative elements, such as horns or wings, to give the helmet a Viking touch.
Step 6: Draw the Viking’s Body
Using the vertical line as a reference, sketch the basic shape of the Viking’s torso. Draw two curved lines on each side to represent the shoulders, and connect them with a horizontal line for the collarbone. From the collarbone, draw the outline of the arms using slightly curved lines. Add circles or ovals at the joints to indicate the elbows and fists.
Step 7: Define the Viking’s Armor
Add details to the Viking’s armor by drawing overlapping plates on the chest, shoulders, and arms. Keep in mind the overall shape and contours of the body while sketching the armor. Use curved lines to suggest the shape of the muscles underneath. Remember, Vikings were known for their sturdy armor, so feel free to embellish with additional details like rivets or engravings.
Step 8: Draw the Viking’s Sword and Shield
Position the Viking’s hand on the side opposite to the sword. Start by drawing the handle of the sword, extending it from the hand. Then, sketch the blade of the sword, making it long and slightly curved. For the shield, draw a large, round shape that overlaps with the Viking’s arm and torso. Add details like straps or patterns on the shield’s surface.
Step 9: Refine and Ink the Drawing
Once you are satisfied with the overall sketch, go over the final lines with a darker pencil or fine-tip black marker pen. Erase any unnecessary guidelines and smudges, ensuring that only the clean lines remain. Take your time to carefully ink each part of the drawing, giving it a bold and defined appearance.
Step 10: Add Color (Optional)
If you prefer to add color to your drawing, now is the time to do it. Use colored pencils or markers to bring your Viking to life. Keep in mind the traditional earthy tones often associated with Vikings, such as browns, grays, and deep reds. Experiment with shading and blending techniques to enhance the depth and realism of your artwork.
Conclusion:
Congratulations! You have successfully learned how to draw a Viking from scratch. By following these step-by-step instructions, you have created a fierce and authentic Viking character. Remember to practice and add your own creative touches to make each drawing unique. So, grab your pencils and bring more Vikings to life on your paper! Happy drawing!


