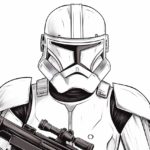
Are you a fan of the hit series The Mandalorian and wish to learn how to draw the iconic character? Look no further! In this step-by-step guide, I will teach you how to create your very own Mandalorian drawing. Whether you are a beginner or an experienced artist, you can follow these instructions to bring your favorite bounty hunter to life on paper. So, let’s grab our pencils and get started!
Materials Required
Before we delve into the drawing process, let’s gather the necessary materials. Here’s what you will need:
- Drawing paper or sketchbook
- Pencils of different hardness (HB, 2B, 4B)
- Eraser
- Ruler
- Reference image (optional)
Now that we have our materials ready, let’s dive into the exciting world of drawing a Mandalorian!
Step 1: Sketch the Basic Shapes
To begin, let’s sketch the basic shapes that will serve as a framework for the Mandalorian’s head and body. Start by drawing a large oval shape for the head. Then, add two intersecting lines, one vertical and one horizontal, to find the center of the face.
Step 2: Create the Helmet
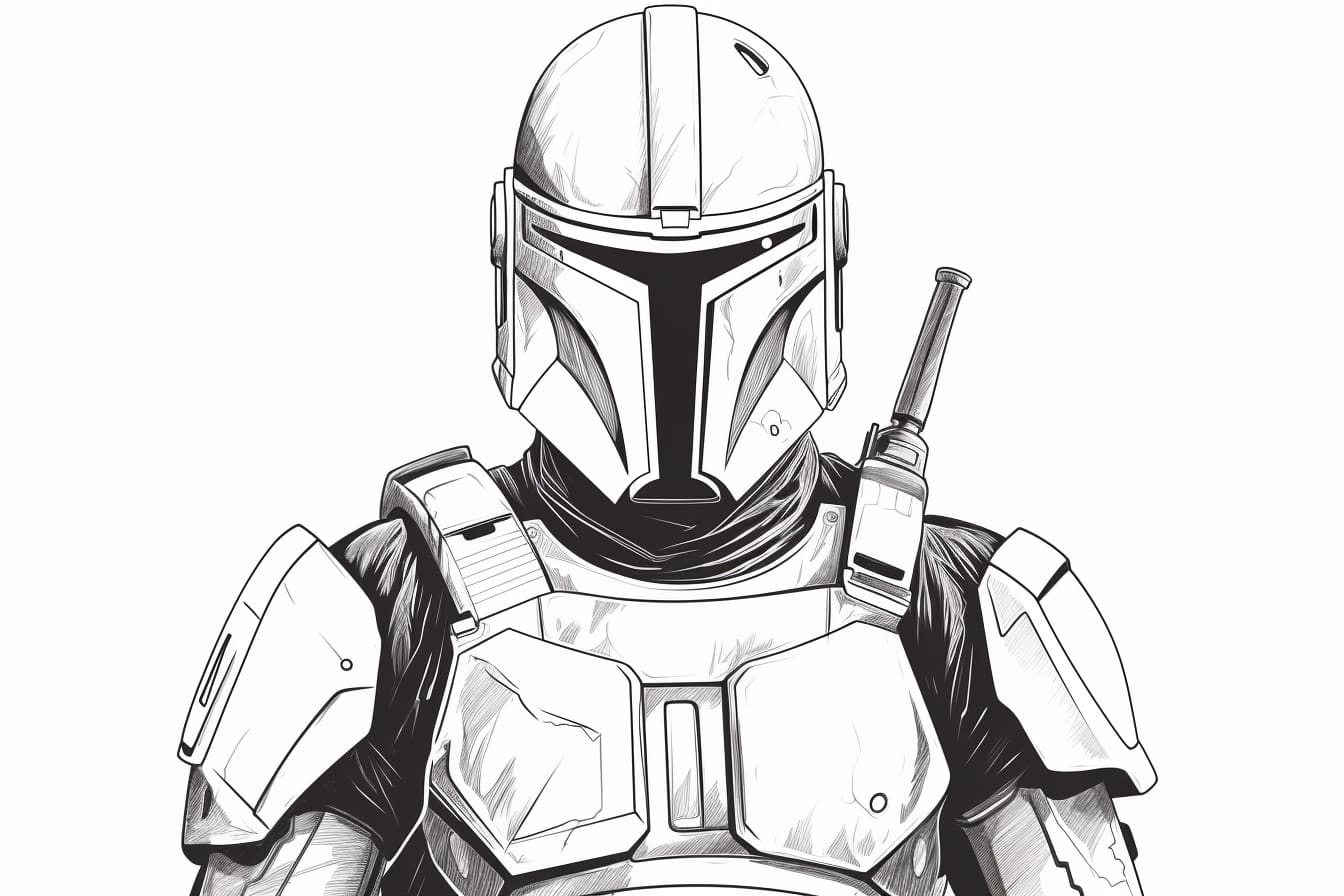
Using the oval shape as a guide, we will now outline the Mandalorian’s helmet. Begin by drawing the top portion of the helmet, which is similar to an elongated ‘U’ shape. Next, add the sides of the helmet, making sure to maintain the shape of the oval. Don’t forget to include the T-shaped visor in the center of the helmet.
Step 3: Draw the Facial Features
Now that we have the helmet in place, let’s move on to the facial features. Begin by sketching the Mandalorian’s eyes, which are located just above the visor. Keep the eyes small and focused to capture the character’s intensity. Next, draw a small curve for the nose and a horizontal line to indicate the mouth. Remember to keep the facial features subtle, as most of the Mandalorian’s face is covered by the helmet.
Step 4: Add the Armor Details
One of the defining characteristics of the Mandalorian is his intricate and detailed armor. To capture this detail in our drawing, let’s start by sketching the shape of the shoulder armor. Use curved lines to outline the armor plates, creating a layered effect. Then, draw the chest and waist armor, paying attention to the contours of the body. Finally, add smaller details such as the arm gauntlets and knee pads to complete the overall look.
Step 5: Refine the Proportions and Add Shading
Now that we have the basic structure and details in place, it’s time to refine the proportions and add shading to give our drawing depth. Take a step back and analyze the overall proportions of your Mandalorian. Make any necessary adjustments to ensure everything is aligned correctly.
Once you are satisfied with the proportions, start adding shading to create a three-dimensional effect. Use a combination of light, medium, and dark pencil strokes to indicate the areas of light and shadow. Pay close attention to the contours of the face, helmet, and armor, as these areas will have more prominent shading.
Step 6: Finalize the Drawing
In this final step, we will add the finishing touches and refine any remaining details. Take your time to carefully review your drawing and make any necessary adjustments. Pay attention to the smaller details, such as adding texture to the helmet or enhancing the shading on the armor plates.
Once you are satisfied with your drawing, use an eraser to clean up any stray pencil marks. You can also use the eraser to create highlights, giving your drawing an extra touch of realism.
Conclusion
Congratulations! You have successfully learned how to draw a Mandalorian. By following these step-by-step instructions, you have brought this iconic character to life on paper. Don’t be afraid to experiment and add your own creative flair to your drawing. Remember, practice makes perfect, so keep honing your skills and exploring the world of art.
So, grab your pencils, let your imagination soar, and become a Mandalorian artist today!