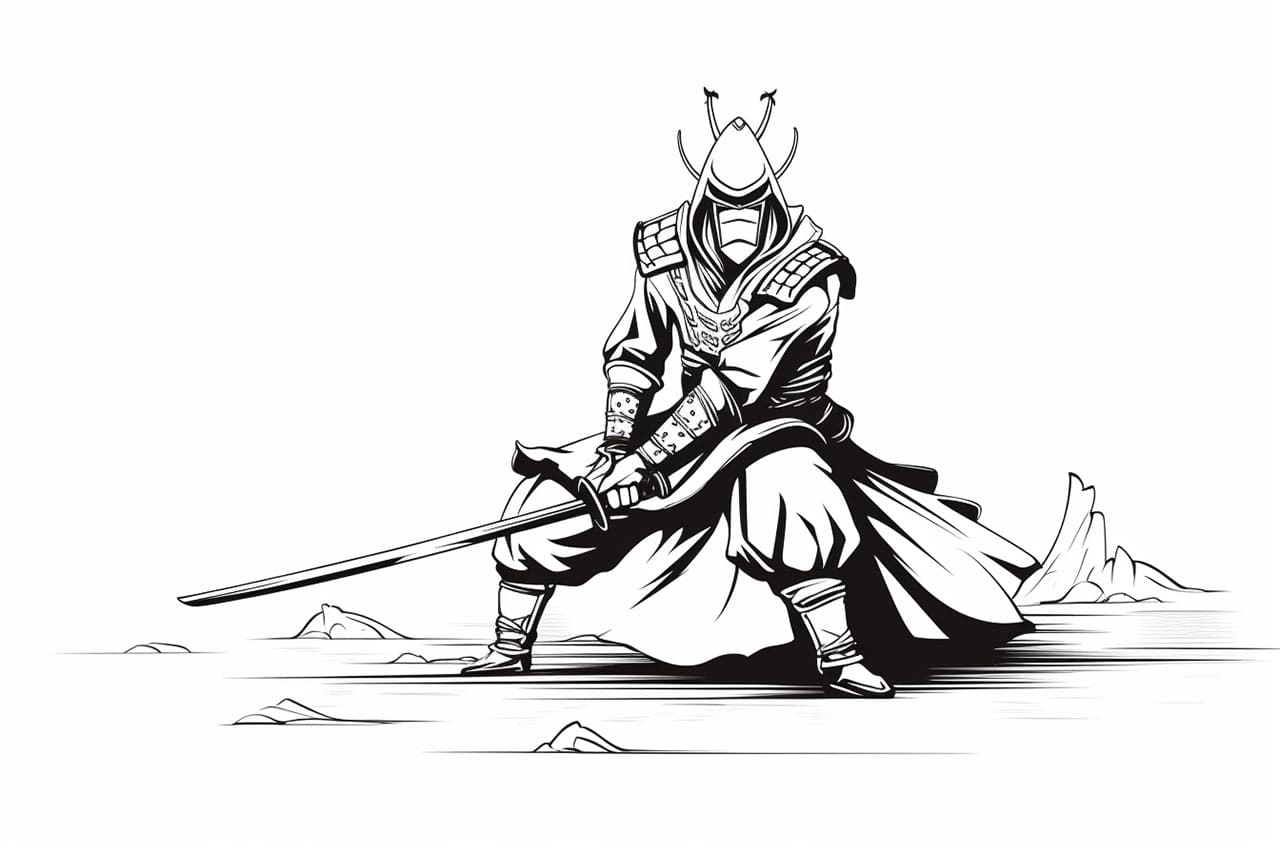
Drawing a samurai can be a challenging yet rewarding experience. With its rich history and iconic armor, a samurai is a popular subject for artists. In this step-by-step guide, we will walk you through the process of how to draw a samurai, from sketching the basic outline to adding intricate details. So grab your pencils and let’s get started on creating a striking samurai illustration.
Materials Required
Before we begin, make sure you have the following materials handy:
- Drawing paper
- Pencils (HB, 2B, and 4B)
- Eraser
- Ruler
- Fine-tip pens or ink pens (optional for adding details)
Step 1: Research and Reference
Before diving into the drawing process, it’s essential to gather references and study the anatomy of a samurai. Look for images of samurai warriors online or in books to get a better understanding of their posture, attire, and weapons. This research will help you create an accurate and authentic representation of a samurai in your drawing.
Step 2: Basic Outline
Start by lightly sketching a line down the center of your paper, vertically. This line will serve as a guide to ensure symmetry in your drawing. Then, sketch a horizontal line near the top of the paper to mark the position of the samurai’s head.
Using simple shapes, sketch a rough outline of the head, body, and limbs. Focus on capturing the overall proportions and posture of a samurai. Remember to keep the lines light and loose at this stage, as you will be refining and adding details later.
Step 3: Armor and Clothing
Now, let’s add the iconic armor and clothing of the samurai. Starting with the head, sketch the shape of the helmet, paying attention to its distinct features. Then, draw the main armor plates, such as the chest plate and shoulder guards, using straight lines and curves to create a powerful and intimidating look.
Next, sketch the clothing, including the kimono or robe that the samurai wears beneath the armor. Consider the folds and drapery to add depth and realism to the drawing. Remember to maintain the overall proportions and balance of the figure.
Step 4: Facial Features and Expression
Now it’s time to bring your samurai to life by adding facial features and expression. Start by sketching the eyes, nose, and mouth, paying close attention to their placement and proportions. The facial expression of a samurai can vary, ranging from fierce determination to calmness, so choose an expression that best suits your vision.
Add details such as eyebrows, facial hair, and scars to give your samurai character and depth. Refine the features by adding shading and highlights, enhancing the three-dimensional effect.
Step 5: Fine Details and Weapons
This is the stage where you add intricate details and weapons to your samurai drawing. Use reference images to accurately depict the samurai’s armor decorations, patterns, and embellishments. Take your time and be patient with this step, as these details will greatly enhance the overall look of your drawing.
Additionally, sketch the weapons traditionally associated with samurais, such as the katana (sword) or yumi (bow). Pay attention to their shapes, handles, and sheaths, making sure they reflect the historical accuracy of a samurai’s weaponry.
Step 6: Shading and Textures
To give your samurai drawing depth and dimension, add shading and textures to different parts of the figure. Study how light and shadows interact with the armor, clothing, and facial features. Use a range of pencils, from HB for lighter areas to 4B for darker, more pronounced shadows.
Apply shading techniques such as hatching, cross-hatching, and stippling to create the illusion of texture. Experiment with different stroke patterns to create depth and a realistic representation of the samurai’s armor.
Step 7: Refinement and Final Touches
Take a step back and evaluate your drawing as a whole. Look for any areas that need refinement or adjustments. Erase any unnecessary lines and smudges, ensuring a clean and polished finish. Consider emphasizing certain areas with ink pens or fine-tip pens to create bold outlines or add highlights.
Feel free to experiment with additional details or embellishments to make your samurai unique. Once you’re satisfied with your drawing, you can sign it and add your own personal touches to complete the artwork.
Conclusion
Drawing a samurai requires patience, attention to detail, and a deep appreciation for their historical significance. By following these step-by-step instructions, you can create a remarkable illustration of a samurai that captures their strength and individuality. Remember to practice regularly and explore different styles and techniques to develop your own artistic style. So go ahead, channel your inner warrior, and embark on this creative journey in drawing a samurai.