Welcome to this step-by-step guide on how to draw an arm muscle. Whether you are an aspiring artist or simply interested in anatomy, this tutorial will walk you through the process of creating a realistic representation of the arm muscle. By following along with the instructions and practicing regularly, you will gain a better understanding of human anatomy and improve your drawing skills. So, let’s get started!
Materials Required
Before we begin, let’s gather the materials you’ll need for this drawing tutorial:
- Drawing paper
- Pencil
- Eraser
- Fine-tip marker or pen (optional)
- Colored pencils or markers (optional)
Now that we have all the necessary materials, let’s dive into the steps of drawing an arm muscle.
Step 1: Sketch the Basic Shape
Start by lightly sketching the basic shape of the arm. Begin with a long and curved line to represent the upper arm. Then, add another curved line below it to indicate the lower arm. Remember to keep your lines light and sketchy so that you can easily make adjustments as you progress.
Step 2: Outline the Major Muscles
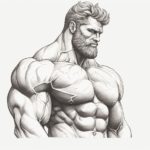
Next, outline the major muscles of the arm. Starting from the upper arm, draw the bicep muscle by adding a curved line on the front side of the arm. Then, draw the tricep muscle by adding a curved line on the back side of the arm. Remember that these muscles have a rounded and voluminous shape.
Step 3: Add Details to the Muscles
Now, it’s time to add more details to the muscles. Start by drawing smaller curved lines within the bicep and tricep muscles to indicate the muscle fibers. These lines will give your drawing a more realistic and three-dimensional look.
Step 4: Define the Elbow
Move on to defining the elbow. Draw a circle at the joint of the upper and lower arm to represent the condyle of the humerus bone. Then, add two curved lines on each side of the circle to indicate the bones of the forearm, the radius, and the ulna.
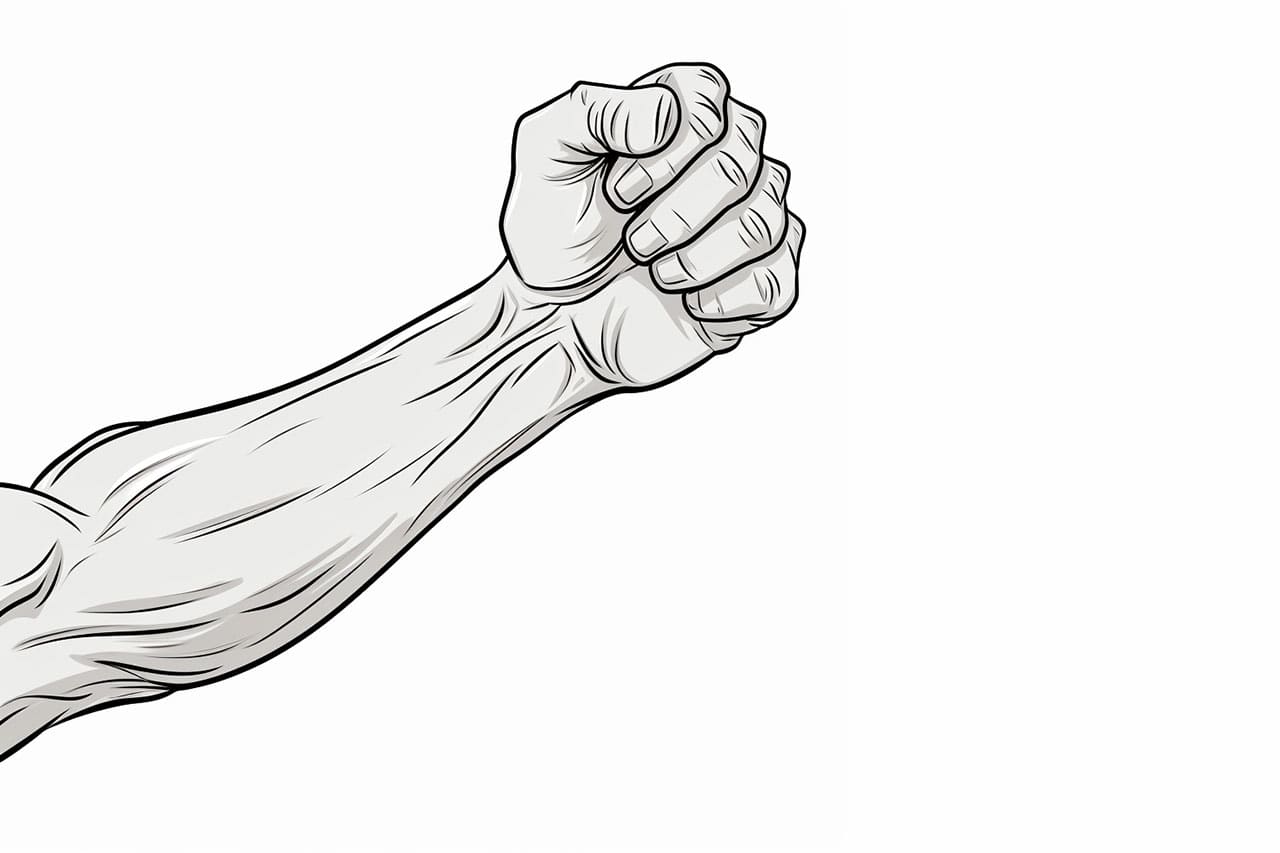
Step 5: Sketch the Forearm
Continue by sketching the forearm. Add more volume to the forearm muscles by drawing curved lines on the front and back sides of the lower arm. Remember to pay attention to the proportions and make adjustments if needed.
Step 6: Refine the Details
Refine the details of the arm muscle by adding more muscle fibers and texture. Pay attention to the natural curves and contours of the muscles. You can also use a fine-tip marker or pen to define the outlines of the muscles and erase any unnecessary sketch lines.
Step 7: Shade and Add Depth
To make your drawing more realistic, it’s time to add shading and depth. Study the source of light and imagine where the shadows would fall on the arm. Use your pencil or colored pencils to add shading accordingly, keeping in mind the three-dimensional form of the muscles.
Step 8: Add Final Details
Lastly, add any final details to your drawing. This may include highlighting certain areas of the muscles, adding veins, or any other specifics you wish to include. Take your time and pay attention to the small nuances that make your drawing unique.
Congratulations! You have successfully drawn an arm muscle. With practice and patience, you will refine your skills and be able to apply what you’ve learned to other muscle groups as well.
Conclusion
In this step-by-step tutorial, we have explored the process of drawing an arm muscle. By breaking down the process into simple steps, you can gradually build your understanding of anatomy and improve your drawing abilities. Remember to practice regularly and experiment with different techniques to further develop your skills. So grab your materials and start drawing those arm muscles today!