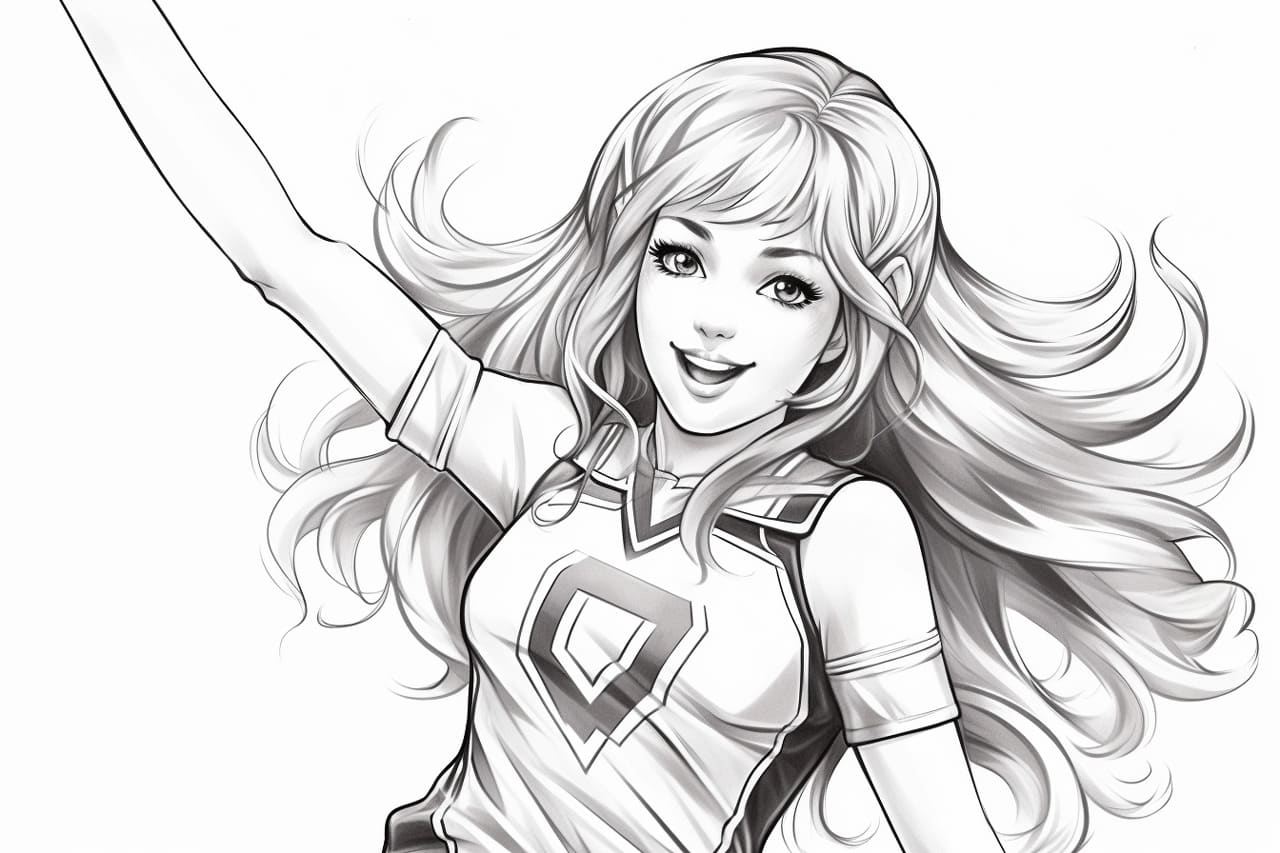
Welcome to this step-by-step guide on how to draw a cheerleader. Whether you’re an aspiring artist or simply looking to have some fun, this tutorial will teach you the techniques needed to create a lively and energetic cheerleader drawing. So grab your art supplies and let’s get started!
Materials Required
Before we begin, let’s gather the materials you’ll need for this drawing tutorial:
- Paper: You can use any type of paper you have on hand, but a thicker paper like sketch paper or drawing paper works best.
- Pencil: A regular graphite pencil will work fine. Make sure it’s sharp for clean lines.
- Eraser: Choose a kneaded eraser or a vinyl eraser to easily correct any mistakes.
- Markers or colored pencils (optional): If you want to add color to your drawing, have some markers or colored pencils ready.
Now that you have your materials ready, let’s dive into the drawing process.
Step 1: Body Proportions
Start by drawing a stick figure as a basic framework for the cheerleader’s body. Draw a vertical line for the spine, and then add circles for the head and hips. Connect these circles with a line for the shoulders and a longer line for the torso. Finally, sketch in lines for the arms and legs, positioning them to create a dynamic pose.
Step 2: Basic Shapes for the Head and Torso
Refine the stick figure by adding basic shapes to represent the head and torso. Draw an oval shape for the head, slightly wider at the bottom. For the torso, draw a rectangular shape that tapers downwards, following the lines of the stick figure.
Step 3: Arms and Legs
Now, it’s time to add some volume to the cheerleader’s limbs. Using basic shapes, sketch in the arms and legs. For the arms, draw elongated cylinders that connect to the shoulders, and for the legs, draw rectangles that attach to the hip area.
Step 4: Facial Features
Let’s add some expressions to our cheerleader’s face. Divide the oval head into quarters using horizontal and vertical lines. Using these guidelines, sketch in the eyes, nose, and mouth. You can also add some hair to give your cheerleader character.
Step 5: Outfit Details
Cheerleaders often wear uniforms with distinctive features. Start by drawing a neckline for the top of the uniform, and then sketch in the sleeves and the shape of the top. Add a pleated skirt by drawing a series of diagonal lines around the bottom area.
Step 6: Adding Pom-Poms
Cheerleaders are known for their pom-poms. Draw two circles near the waist area to represent the pom-poms. Then, using curved lines, add volume and texture to the pom-poms.
Step 7: Refining the Body
Now that we have the basic structure and outfit in place, it’s time to refine the body and add more details. Use your pencil to add contours and curves to the arms, legs, and torso, making them look more three-dimensional. Pay attention to the folds and creases on the uniform to give it a realistic appearance.
Step 8: Inking Your Drawing
Once you’re satisfied with the pencil sketch, go over the lines with a pen or marker to create a cleaner and more defined outline. You can erase any remaining pencil lines after the ink has dried. Inking your drawing also provides an opportunity to add more details, such as patterns on the uniform or extra strands of hair.
Step 9: Adding Color (Optional)
If you’d like to add color to your cheerleader drawing, now is the time! Choose your markers or colored pencils and carefully fill in the different areas of your artwork. Take note of light and shadow to add depth and dimensionality to your illustration.
Step 10: Final Touches
Now that you’ve completed the main drawing, take a moment to review your work. Adjust any lines or details that may need refinement. You can also add additional accents and highlights to make your cheerleader stand out even more.
Conclusion
Congratulations! You’ve successfully learned how to draw a cheerleader. By following these step-by-step instructions, you’ve created a dynamic and lively illustration of a cheerleader. Remember, practice makes perfect, so don’t hesitate to try drawing different poses and styles to further develop your skills. Keep up the great work, and happy drawing!