Welcome to this step-by-step guide on how to draw a stick! Despite its simplicity, mastering the art of drawing a stick can serve as a foundation for various other illustrations. So whether you’re a beginner or a seasoned artist, this tutorial will help you achieve a perfect stick drawing every time. Let’s get started!
Materials Required
To begin drawing a stick, you will need just a few basic materials. Gather the following:
- Paper: Choose a smooth surface that is suitable for drawing, preferably in a light color.
- Pencil: Opt for a mechanical pencil or a regular graphite pencil with a medium hardness (HB or 2B) for your initial sketch.
- Eraser: Keep a soft eraser handy to remove any unwanted lines or mistakes.
- Fine-tipped pen: You’ll use this for outlining and refining your stick drawing, so choose a pen with a fine point.
Now that you have your materials ready, let’s jump into the step-by-step instructions.
Step 1: Start with the Base Line
Begin by drawing a simple horizontal line across your paper. This line will serve as the base of your stick. Make it as long or as short as you desire, keeping in mind that a stick is generally tall and slender.
Step 2: Add the Vertical Line
From the center of the base line, draw a straight vertical line upwards. This line will represent the main body of the stick. It should be relatively longer than the base line, as a stick is usually vertical in shape.
Step 3: Shape the Base
At the bottom of the base line, draw two slanting lines that meet at a point with the vertical line. This shape will resemble an inverted “V” and act as the base of the stick, providing stability.
Step 4: Taper the Ends
Using the vertical line as your guide, gradually taper both ends of the stick. Start narrowing the lines as you move away from the base towards the top. Keep the lines parallel to maintain symmetry.
Step 5: Refine the Tapered Ends
Now, carefully round off the tapered ends of the stick. These rounded ends will give your stick a more natural appearance. Pay attention to keeping both ends symmetrical and proportionate.
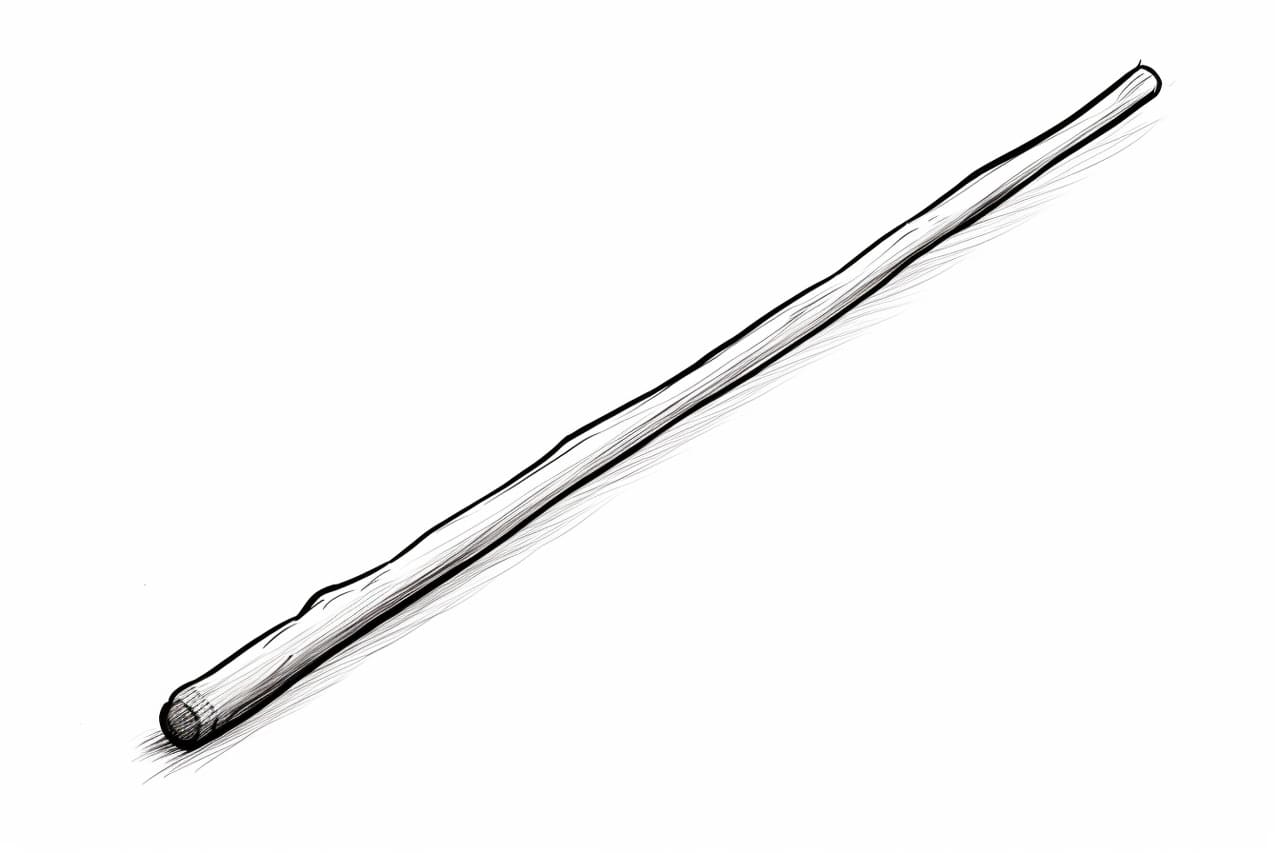
Step 6: Add Texture
To make your stick drawing more realistic, add some light texture to the surface. Draw faint horizontal lines across the length of the stick, following its shape. This texture will mimic the natural patterns found on a real stick.
Step 7: Finalize the Outline
Using a fine-tipped pen, trace over the refined lines of your stick drawing. Create a clean, bold outline that emphasizes the shape and form. Erase any remaining pencil marks to enhance the clarity of your illustration.
Conclusion
Congratulations on completing your stick drawing! With just a few simple steps, you have successfully created a realistic representation of a stick. Remember, practice makes perfect, so keep honing your skills, and don’t be afraid to experiment with different styles and techniques.
So go ahead and use this newfound knowledge to draw sticks in various scenarios, such as a forest scene or even as a prop for other drawings. The possibilities are endless! Enjoy the world of art, and keep exploring.