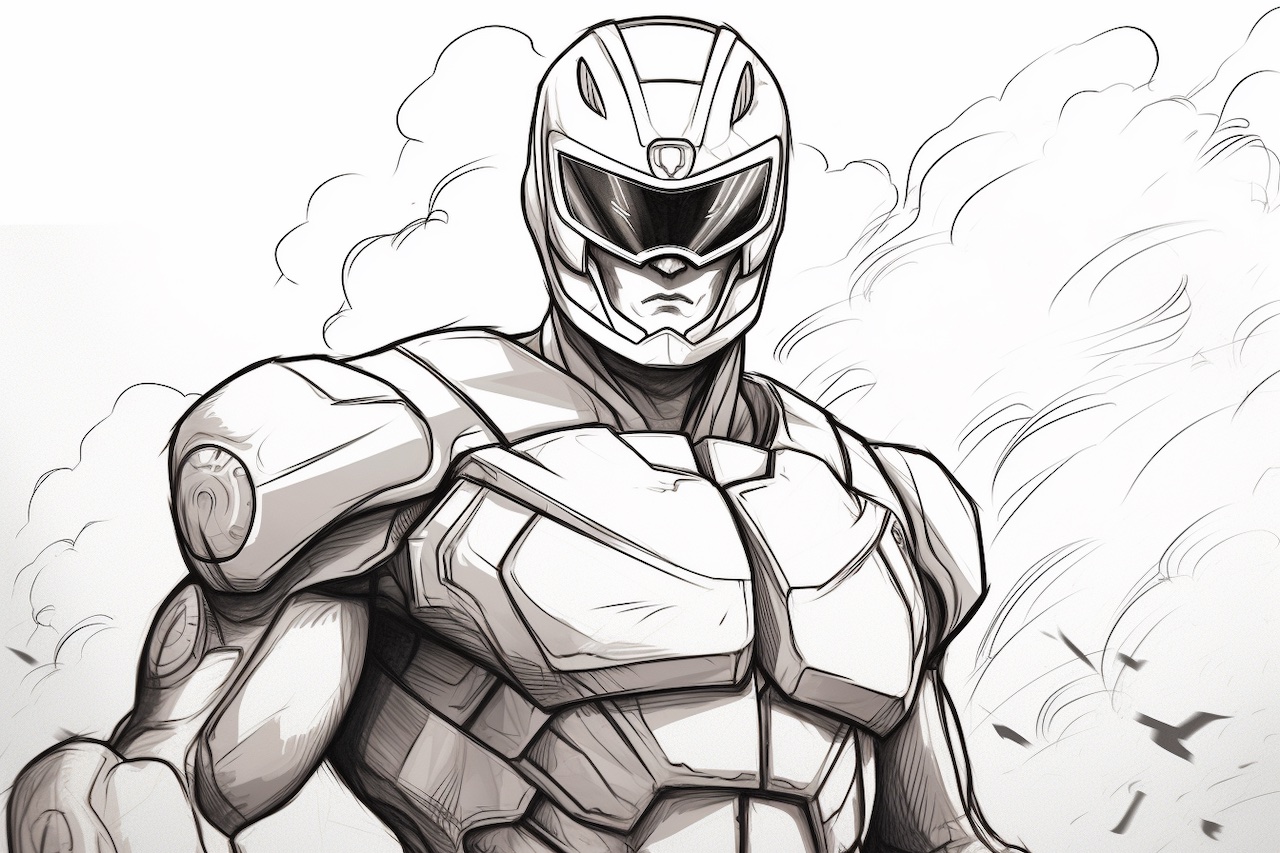
Do you love Power Rangers and want to learn how to draw your favorite character? Look no further! In this step-by-step guide, we will walk you through the process of how to draw a Power Ranger, from sketching the basic shapes to adding the final details. Whether you are a beginner or an experienced artist, we have you covered. So grab your pencils and let’s get started!
Materials Required
Before we dive into the steps, let’s make sure you have all the necessary materials at hand. Here’s what you’ll need:
- Drawing paper or sketchbook
- Pencils (HB, 2B, and 4B)
- Eraser
- Fine-tip black pen or marker
- Colored pencils or markers (optional)
Now that you’re prepared, let’s begin creating our Power Ranger masterpiece!
Step 1: Basic Shapes
Start by drawing a large oval in the center of your paper. This will be the Power Ranger’s head. Then, sketch a vertical line down the center of the oval to serve as a guideline. Next, draw a smaller oval shape below the head for the body. Connect the head and body with two lines to create the neck.
Step 2: Arms and Legs
From the body, extend two lines diagonally downwards on each side to create the arms. At the end of each line, draw small circles for the hands. For the legs, draw two lines extending downwards from the body, slightly angled outwards. Add circles at the bottom for the feet.
Step 3: Helmet and Mask
Now it’s time to focus on the head. Sketch the Power Ranger’s helmet by drawing two curves on either side of the oval head shape. Connect these curves with a line at the bottom. Within the helmet shape, draw the mask by adding two lines that come down from the sides of the helmet, curving slightly inward towards the nose area. Leave space for the eyes.
Step 4: Eyes and Mouth
Inside the mask, draw two oval shapes for the eyes. Then, add another smaller oval shape in the center of each eye for the pupils. For the mouth, draw a small curved line below the nose area.
Step 5: Body Armor
To create the Power Ranger’s body armor, draw two curved lines starting from the sides of the helmet and extending down to the shoulders. Connect these lines with a curved shape at the bottom to indicate the chest armor. Add details such as lines or shapes to enhance the design of the armor.
Step 6: Details and Belt
Now let’s add some details to make our Power Ranger come to life! Sketch the symbol or logo on the chest armor, using geometric shapes or unique designs. Then, draw the belt by adding a rectangle shape around the waist area. Add a buckle in the center and any other decorative elements you like.
Step 7: Finalize the Limbs
Go back to the arms and legs and add more definition. Sketch the muscles and joints, making them slightly thicker and more detailed. Add the gloves and boots by drawing curved lines around the hands and feet.
Step 8: Refine the Outlines
Using a fine-tip black pen or marker, carefully go over the main outlines of your drawing. Make sure to add bold and clean lines to define each part of the Power Ranger. Erase any unnecessary pencil lines once the ink is dry.
Step 9: Coloring (Optional)
If you want to add some color to your drawing, now is the time! Use colored pencils or markers to bring your Power Ranger to life. Start by coloring the helmet, body armor, and belt. Choose the colors that match your favorite Power Ranger character or create your own unique design.
Conclusion
Congratulations! You have successfully completed your Power Ranger drawing. By following these step-by-step instructions, you have learned how to sketch the basic shapes, add details, and finalize your artwork. Remember to practice regularly to improve your drawing skills and try different Power Ranger characters. Now go ahead and create your own Power Ranger team on paper!