Welcome to this step-by-step guide on how to draw a snow leopard. In this tutorial, we will explore the process of creating a realistic and captivating image of this magnificent creature. Whether you are a beginner or an experienced artist, this tutorial will provide you with clear instructions and helpful tips to bring your snow leopard drawing to life.
Materials Required
To get started, gather the following materials:
- Drawing paper
- Pencils (HB, 2B, and 4B)
- Eraser
- Blending stump
- Reference image of a snow leopard (optional but recommended)
Now that you have all the necessary materials, let’s dive into the step-by-step process of drawing a snow leopard.
Step 1: Sketch the Basic Shapes
Begin by lightly sketching the basic shapes that form the snow leopard’s body. Start with a large oval for the head, followed by a smaller oval for the body. Add guidelines to indicate the direction and balance of the snow leopard’s pose. Remember to keep these initial lines light, as they will be erased later.
Step 2: Outline the Head and Facial Features
Using a darker pencil (2B or 4B), carefully outline the head of the snow leopard. Pay attention to the shape of the forehead, cheeks, and jawline. Next, depict the eyes, nose, and mouth using precise lines and curves. Observe your reference image to capture the unique features of the snow leopard accurately.
Step 3: Add Details to the Face
Now it’s time to add more details to the snow leopard’s face. Focus on the eyes, as they are a key element in capturing the expression and personality of the animal. Start by outlining the shape and position of the eyes, including the eyelids and eyebrows. Then, add the intricate patterns and shading around the eyes, using short strokes to simulate fur.
Step 4: Define the Ears and Fur
Move on to defining the ears of the snow leopard. Pay close attention to their placement, size, and shape. Use short, curved lines to depict the inner details of the ears, such as folds and hairs. Afterward, start adding texture and definition to the snow leopard’s fur using feathery strokes. Gradually build up the layers, keeping in mind the direction of the fur and the shadows created by its overlapping strands.
Step 5: Outline the Body and Legs
With the head and face complete, move on to outlining the body and legs of the snow leopard. Pay attention to the curves and proportions of each section. Use your guidelines to ensure the proper alignment and balance of the snow leopard’s pose. Remember to keep the lines light during this stage, as they will be refined and enhanced later on.
Step 6: Add Fur Texture to the Body
Similar to the previous step, add texture and definition to the body of the snow leopard. Employ short, overlapping strokes to mimic the texture of the fur. Vary the pressure on your pencil to create depth and dimension. Observe your reference image to capture the patterns and variations in the fur accurately.
Step 7: Refine the Facial Features
Now that the body is taking shape, return to the snow leopard’s face and refine the details. Pay close attention to the shape and position of the eyes, nose, and mouth. Add more shading and depth to the eyes by darkening certain areas and leaving others lighter. Use your eraser to create highlights and capture the reflective quality of the eyes.
Step 8: Define the Tail and Paw
Move on to defining the snow leopard’s tail and paw. Pay attention to the curves and proportions of these appendages. Use short, curved lines to depict the details of the paw, such as the pads and claws. Focus on creating a sense of depth and dimension through shading and precise linework.
Step 9: Shade the Snow Leopard’s Body
With the outline of the snow leopard complete, focus on shading the body to add depth and realistic texture. Use a combination of light, medium, and dark tones to capture the lighting and shadows on the animal’s fur. Observe your reference image to identify areas of highlight and shadow, and carefully recreate them on your drawing.
Step 10: Finalize the Details
Lastly, take a step back and assess your drawing as a whole. Make any necessary adjustments to proportions, shadows, and highlights. Add any final details to enhance the realism and capture the essence of the snow leopard. Take your time with this step, as the finishing touches can truly make a difference in the final result.
Conclusion
Congratulations on completing your snow leopard drawing! By following this step-by-step guide, you have learned the process of creating a realistic and captivating image of this majestic creature. Remember, practice is key to improving your drawing skills, so keep experimenting and exploring different techniques. We hope you enjoyed this tutorial and found it helpful in your artistic journey.
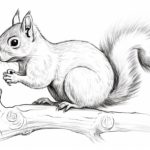
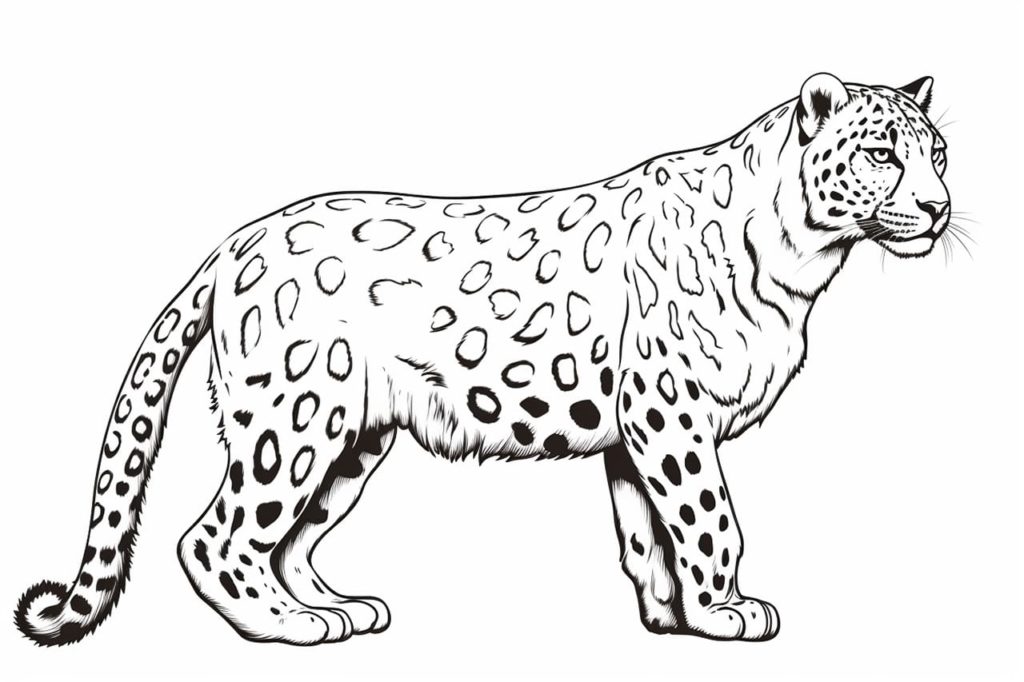
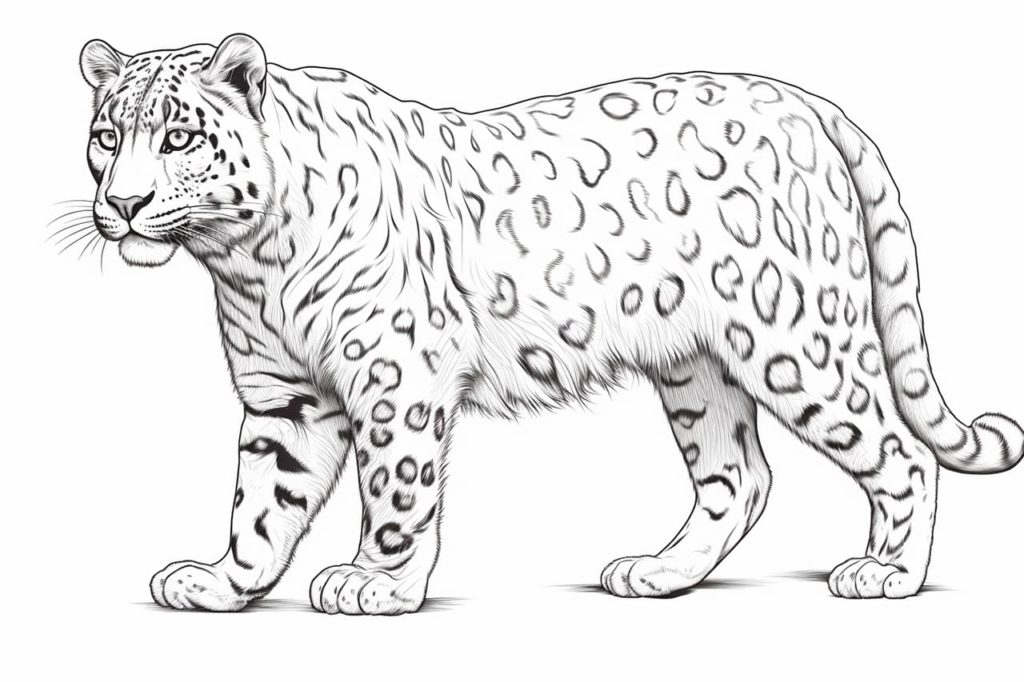
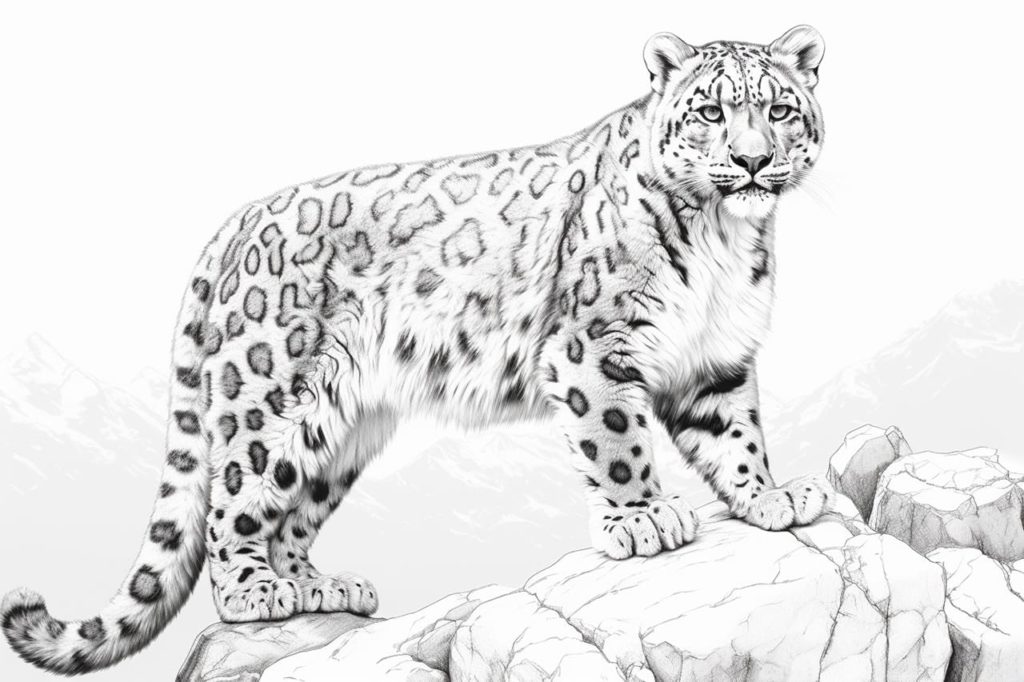
Gallery of Snow Leopard Drawings
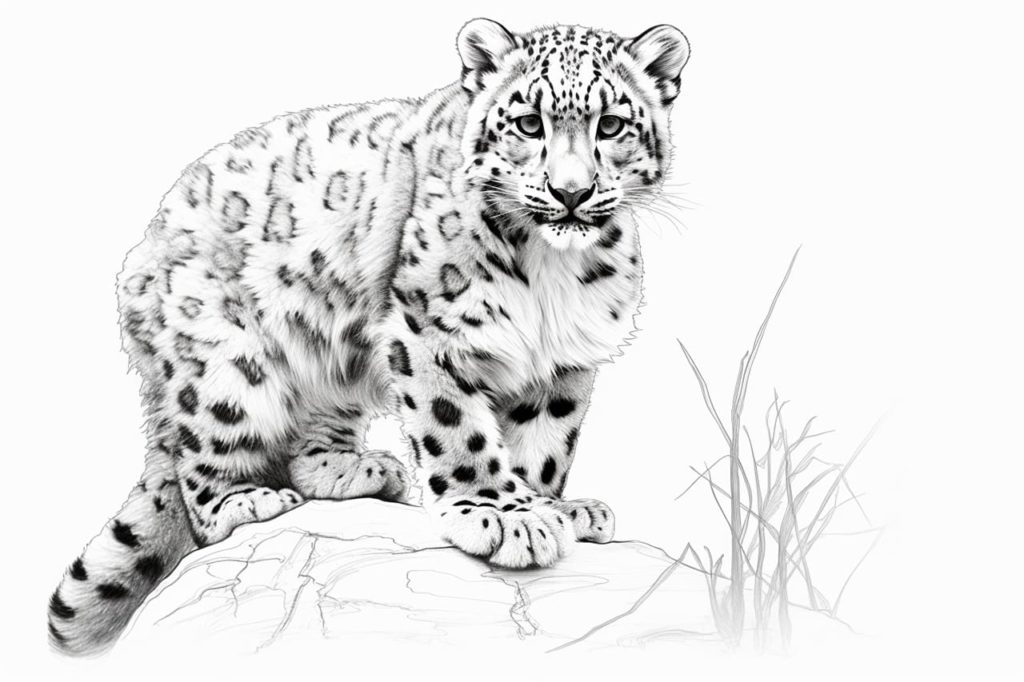
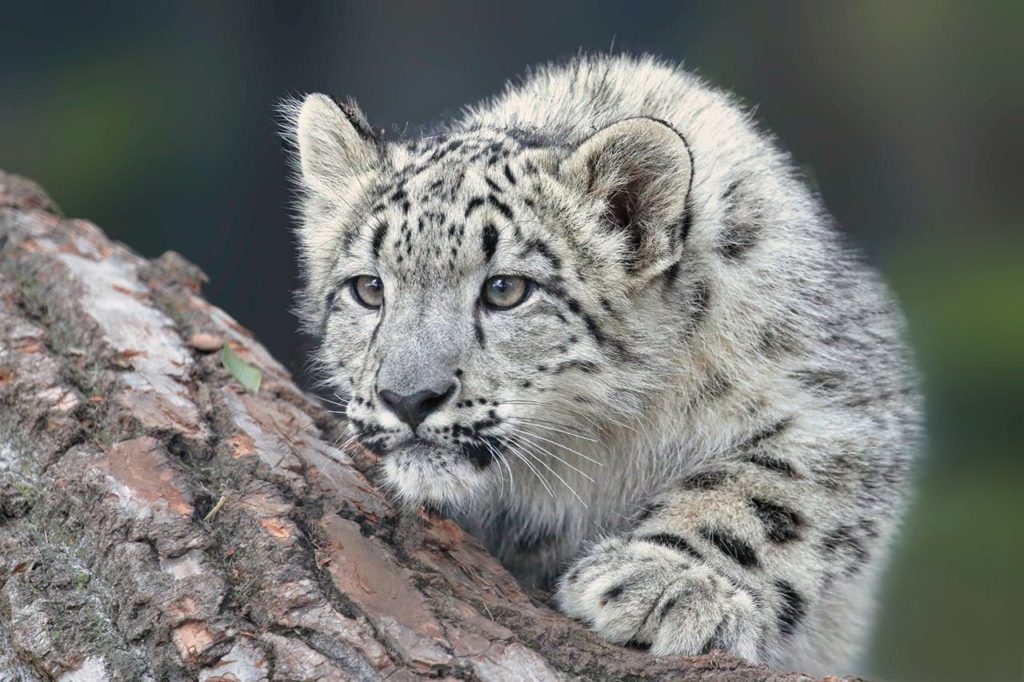
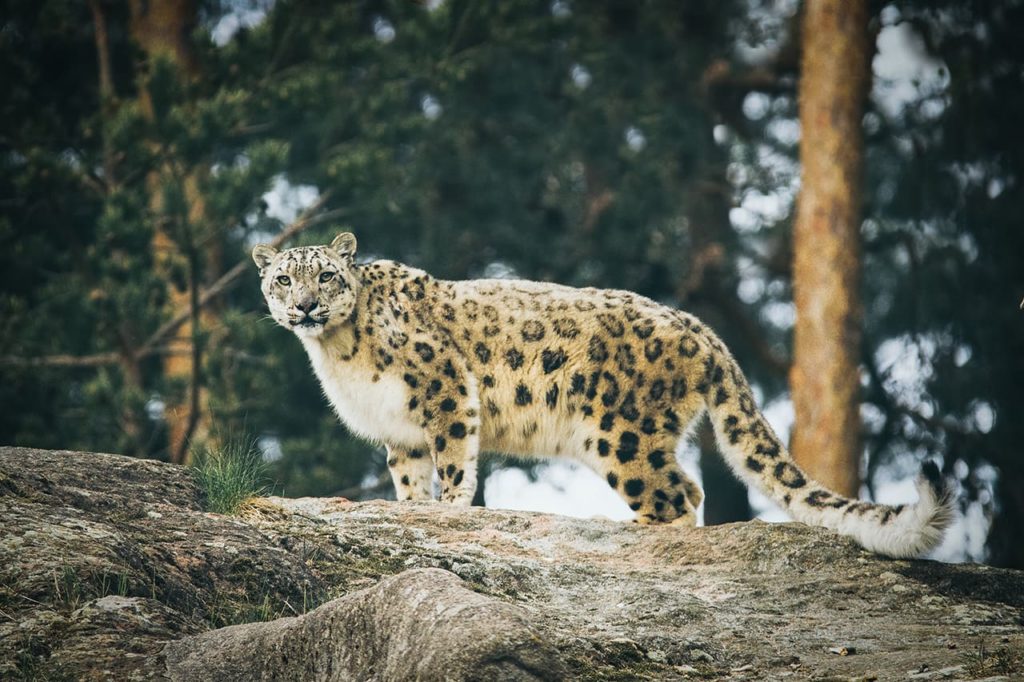
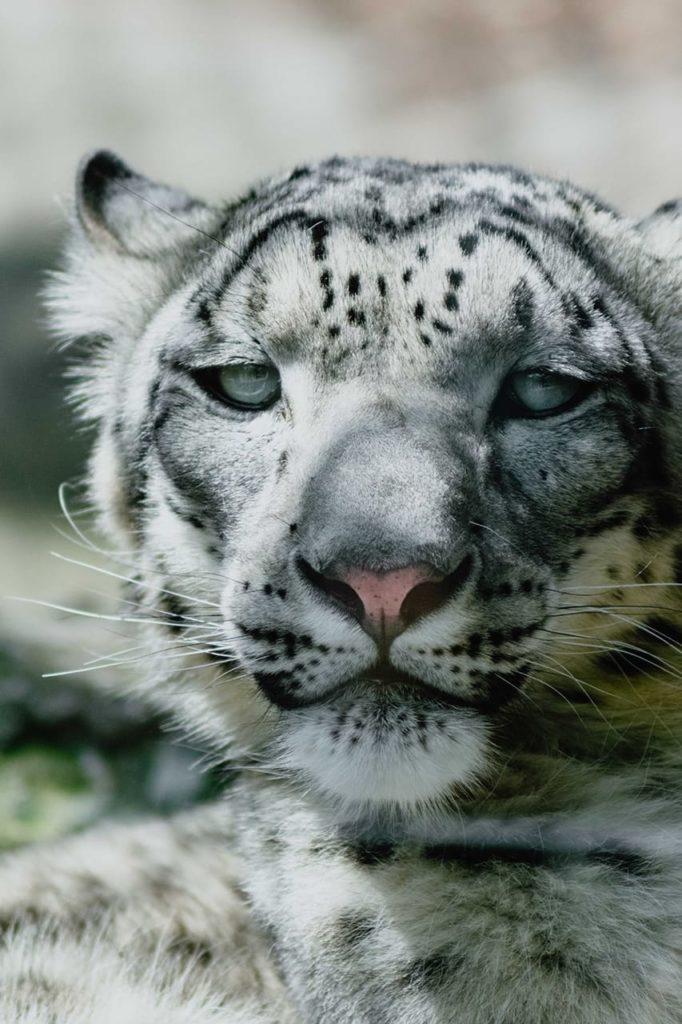
Reference Photos of a Snow Leopard