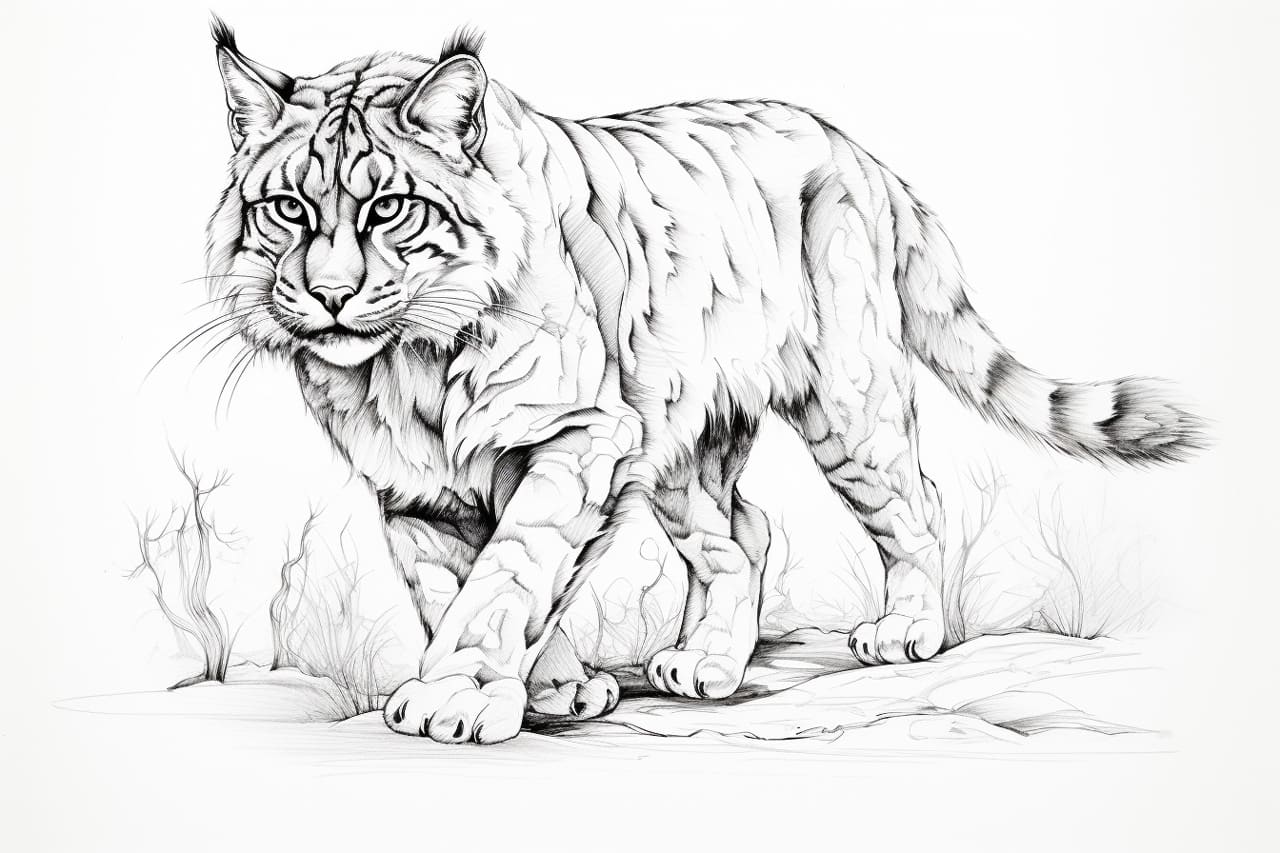
Welcome to this step-by-step guide on how to draw a wildcat! Whether you’re a beginner or an experienced artist, this tutorial will provide you with clear and concise instructions to help you capture the essence of this majestic creature. By following these steps, you’ll be able to create a realistic and captivating wildcat drawing in no time. So let’s get started!
Materials Required
To begin this drawing tutorial, gather the following materials:
- Pencil
- Eraser
- Drawing paper
- Fine-tip black marker or pen
- Colored pencils or markers (optional)
Now that you have your materials ready, let’s dive into the steps of drawing a wildcat.
Step 1: Start with Basic Shapes
Begin by lightly sketching the basic shapes that make up the wildcat’s head and body. Use simple circles and ovals to create a rough outline. The head should be slightly bigger than the body, as wildcats have a prominent, rounded face.
Step 2: Outline the Head and Face
Using the basic shapes as a guide, start refining the outline of the head. Draw the ears on top of the head, remembering that wildcat ears are typically pointy and erect. Pay attention to the placement and proportions of the eyes, nose, and mouth as well. Take your time with this step to ensure accuracy.
Step 3: Add Details to the Face
Now that you have the basic outline of the head, start adding details to the face. Draw the eyes, making them almond-shaped and intense. Add a small triangle for the nose and a line for the mouth. Don’t forget to portray the wildcat’s distinct facial markings, such as the stripes or spots around the eyes.
Step 4: Sketch the Body
Moving on to the body, use your initial outline as a guide to shape the wildcat’s torso and limbs. Take note of the muscular structure and proportions while sketching. Keep the lines light and loose, focusing on getting the basic body shape right before adding more details.
Step 5: Refine the Limbs and Tail
Refine the limbs by adding more definition and shape to them. Remember, wildcats are agile creatures, so the limbs should look strong and well-muscled. Pay attention to the angles and proportions of the legs. Add the tail, which is long and tapering, with a tuft of fur at the end.
Step 6: Enhance the Features and Fur
Now that you have the basic body structure in place, it’s time to enhance the features and add texture to the fur. Start by adding more details to the face, such as the whiskers and a furrowed brow. Then, with light, quick strokes, add fur texture to the body, paying attention to the direction and flow of the fur. Wildcats often have distinctive patterns on their fur, so try to replicate those markings.
Step 7: Finalize the Outline
With the basic features and fur in place, carefully refine and darken the outline of the wildcat. Take your time to ensure that the shape and proportions are accurate. Use a fine-tip black marker or pen for this step to make the lines more defined.
Step 8: Add Shadows and Highlights
To bring your wildcat drawing to life, add shading to create depth and dimension. Observe the light source in your reference image and use it as a guide to determine where the shadows and highlights fall. Use a range of lighter and darker tones to create contrast and realism. Take your time with this step, as shading can greatly enhance the overall appearance of your drawing.
Step 9: Optional: Add Color
If you prefer working with colors, now is the time to add them to your drawing. Use colored pencils or markers to carefully add color to the wildcat’s fur. Pay attention to the various shades and tones present in the reference image and try to replicate them as accurately as possible. Layer different colors to create depth and texture.
Conclusion
Congratulations! You have successfully learned how to draw a wildcat. By following the step-by-step instructions and utilizing your artistic skills, you have created a captivating and realistic representation of this magnificent creature. Remember to practice regularly to further enhance your drawing abilities. Enjoy the process and have fun exploring your artistic talents!


