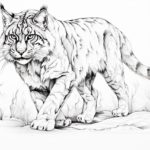
Welcome to this step-by-step guide on how to draw a beaver! Whether you’re a beginner or an experienced artist, this tutorial will help you capture the unique features of this magnificent creature. By following these instructions, you will be able to create your own realistic beaver drawing. So, grab your drawing materials and let’s get started!
Materials Required
Before we dive into the steps of drawing a beaver, let’s make sure you have all the necessary materials:
- Drawing paper: Choose a smooth and sturdy paper that can handle pencil and ink.
- Pencils: Have a range of pencils, from 2B to 6B, to create different shades and textures.
- Erasers: Keep both a kneaded eraser and a regular eraser for correcting mistakes.
- Fine-tip pens: Gel pens or fine-tipped markers will be useful for adding final details.
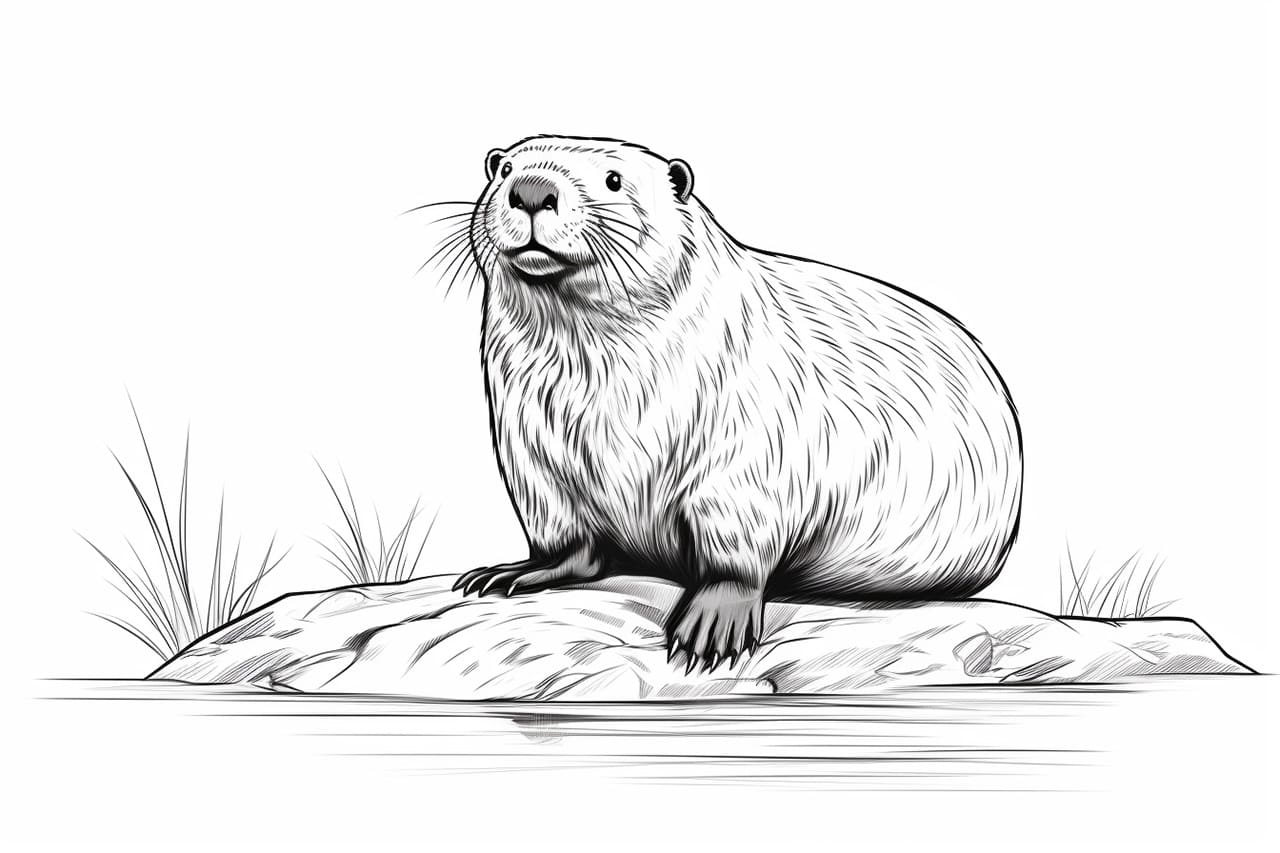
- Reference image: Find a clear photo or illustration of a beaver to use as a visual reference.
Once you have gathered these materials, find a comfortable and well-lit space where you can work on your drawing.
Step 1: Basic Shapes
To begin, let’s sketch out the basic shapes that will serve as the foundation for your beaver drawing. Start by lightly drawing a large oval shape for the beaver’s body. This will be the main structure of your drawing. Next, add a smaller oval shape on top of the body for the head. Make sure the head is slightly tilted, giving your beaver a more dynamic pose.
Step 2: Facial Details
Now that you have the basic shapes in place, let’s work on the beaver’s facial features. Add two small circles on the head to create the eyes. Beavers have small, rounded ears, so draw two curved lines on either side of the head. For the nose, draw a small, rounded triangle shape just below the eyes. Finally, add a small line for the mouth, slightly curved downwards.
Step 3: Body Proportions
In this step, we will focus on adding more details to the body of the beaver. Begin by drawing a curved line from the head to the body, which will give your beaver a clear neck. Next, sketch out two curved lines on either side of the body to indicate the beaver’s front legs. Remember to keep the shape of the beaver’s body rounded and plump. On the lower part of the body, draw two curved lines extending downwards for the hind legs.
Step 4: Tail and Back Legs
A beaver’s tail and back legs are distinct features that we will create in this step. Extend the curved lines you drew for the hind legs to create a large, paddle-shaped tail. This tail is an essential part of the beaver’s anatomy and helps them swim and communicate. Next, draw two curved lines extending from the bottom of the tail to create the beaver’s back legs.
Step 5: Fur Textures
Beavers are known for their thick and luxurious fur, so let’s add some texture to our drawing. Use short, curved lines to create the appearance of fur along the beaver’s body. Vary the length and direction of these lines to add depth and dimension. Pay extra attention to the head, ears, and tail, as these areas often have denser fur.
Step 6: Facial Expressions
Now that the basic structure of your beaver is complete, we can add some personality to its face. Experiment with different eye shapes and eyebrow positions to give your beaver a unique expression. Beavers have a friendly and curious look, so aim to capture that in your drawing. Add a few short lines around the mouth to create the appearance of whiskers.
Step 7: Refining the Details
It’s time to refine and add the finishing touches to your beaver drawing. Use a sharper pencil or fine-tip pen to outline the main features of your drawing, such as the eyes, ears, and mouth. Pay attention to small details like the shape of the beaver’s teeth and the patterns on their body. Erase any unnecessary guidelines and smudges to create a clean and polished look.
Step 8: Shading and Highlights
To bring your beaver drawing to life, add shading and highlights. Identify the main light source in your reference image and imagine how it would interact with the beaver’s form. Shade the areas that would naturally be darker, such as the underside of the body and tail. Use a blending tool or a soft tissue to smudge and blend the shading, creating a smooth transition between light and shadow. Finally, add some highlights to the beaver’s fur and eyes, emphasizing its texture and adding a spark of life to your drawing.
And there you have it! You have successfully drawn a beaver. Congratulations on your accomplishment! With practice and patience, you will continue to improve your drawing skills.
Conclusion
Drawing a beaver may seem challenging, but by breaking it down into step-by-step instructions, you can create a stunning representation of this incredible animal. Remember to take your time, observe your reference image closely, and enjoy the process of bringing your drawing to life. So, grab your pencils and start sketching your very own beaver masterpiece!