Welcome to this step-by-step guide on how to draw a bison! Whether you are an experienced artist or just starting out, this tutorial will help you capture the majestic beauty of this iconic animal. So grab your drawing materials and let’s get started!
Materials Required:
To successfully draw a bison, you will need the following materials:
- Paper: Select a medium-weight paper that is suitable for drawing. A sketchbook with smooth, white pages works well.
- Pencils: Pencils in various hardness grades, such as HB, 2B, 4B, and 6B, will give you a range of tones.
- Eraser: A good quality eraser will help you correct any mistakes and create highlights.
- Blending tool: You can use a blending stump, tortillon, or even a soft cloth to blend and smooth out your shading.
- Reference image: Find a high-quality reference image of a bison to use as a guide. This could be a photograph or a detailed drawing.
Now that you have gathered your materials, let’s begin drawing a bison!
Step 1: Sketch the Basic Shapes
Start by lightly sketching the basic shapes that make up the bison’s body. Begin with a large oval shape for the body and add a smaller circle for the head. Place the head slightly above and to the side of the body, as if the bison is looking to the side. Then, draw a long, curved line for the back and a shorter line for the belly.
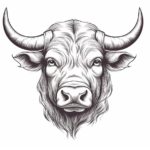
Step 2: Define the Head
In this step, we will focus on detailing the bison’s head. Add two small circles for the eyes, positioning them towards the front of the head. Add a curved line for the snout, and sketch the shape of the ears on either side of the head. Take your time to ensure that the proportions and placement are accurate.
Step 3: Refine the Body
Next, refine the shape of the body by adding more curved lines to indicate the contours of the bison’s back, shoulders, and hindquarters. Pay attention to the muscle structure and curves that give the bison its distinct appearance. Take your time with this step, as it forms the foundation for the details to come.
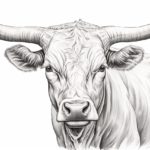
Step 4: Add Details to the Face
Now, it’s time to add more details to the bison’s face. Sketch the shape of the snout, paying attention to its structure and proportions. Add small ovals for the nostrils, and carefully define the mouth and chin. Use short, curved lines to indicate fur texture on the face and around the neck. Take reference from your chosen image to ensure accuracy.
Step 5: Draw the Horns
One of the distinguishing features of a bison is its large, curved horns. Draw these horns by starting with a curved line on each side of the head, above the eyes. Then, add more curved lines to create the intricate shape of the horns. Take your time with this step, as the horns can vary in shape and size depending on the bison’s gender and species.
Step 6: Refine the Body Fur
In this step, we will focus on adding texture and detail to the bison’s fur. Start by lightly shading the body and gradually add more depth and darkness to create the illusion of fur. Use short, curved lines to mimic the direction of the fur growth. Take your time and build up the shading gradually, paying attention to the reference image for guidance.
Step 7: Enhance the Details
Now that the basic structure and fur texture are in place, it’s time to enhance the details. Use darker pencil grades to add shadows and definition to the bison’s facial features, such as the eyes, mouth, and nose. Shade the horns to add depth and dimension, and refine the fur texture by adding darker and lighter areas as needed.
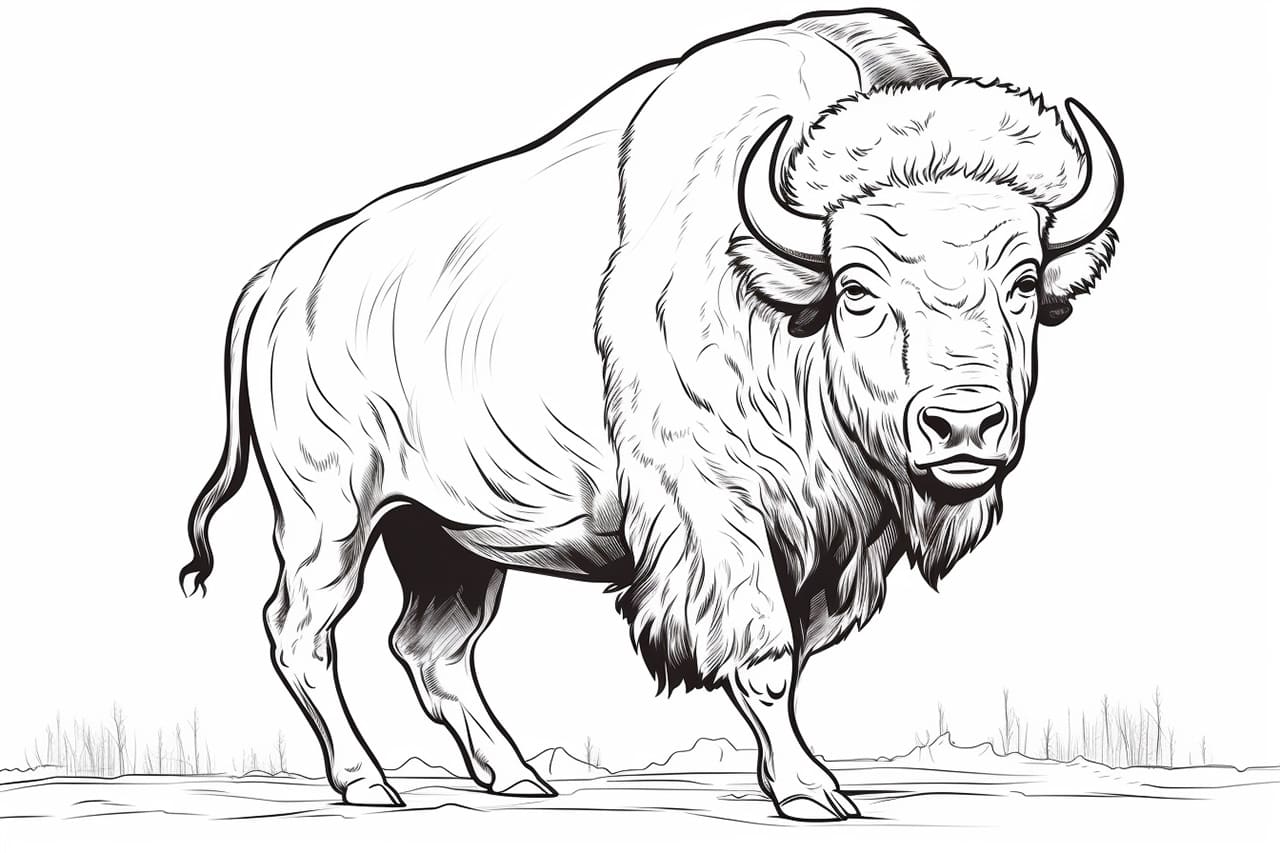
Step 8: Finalize the Drawing
In this final step, take a step back and assess your drawing. Look for any areas that need further refinement or adjustments. Erase any remaining construction lines or unwanted marks. Add any final touches to enhance the overall appearance of your drawing. This is the time to make any necessary corrections before considering your drawing complete.
Conclusion
Congratulations on completing your bison drawing! By following these step-by-step instructions, you have learned how to capture the beauty and essence of this incredible animal on paper. Remember, practice makes perfect, so keep honing your skills and exploring new subjects. Happy drawing!