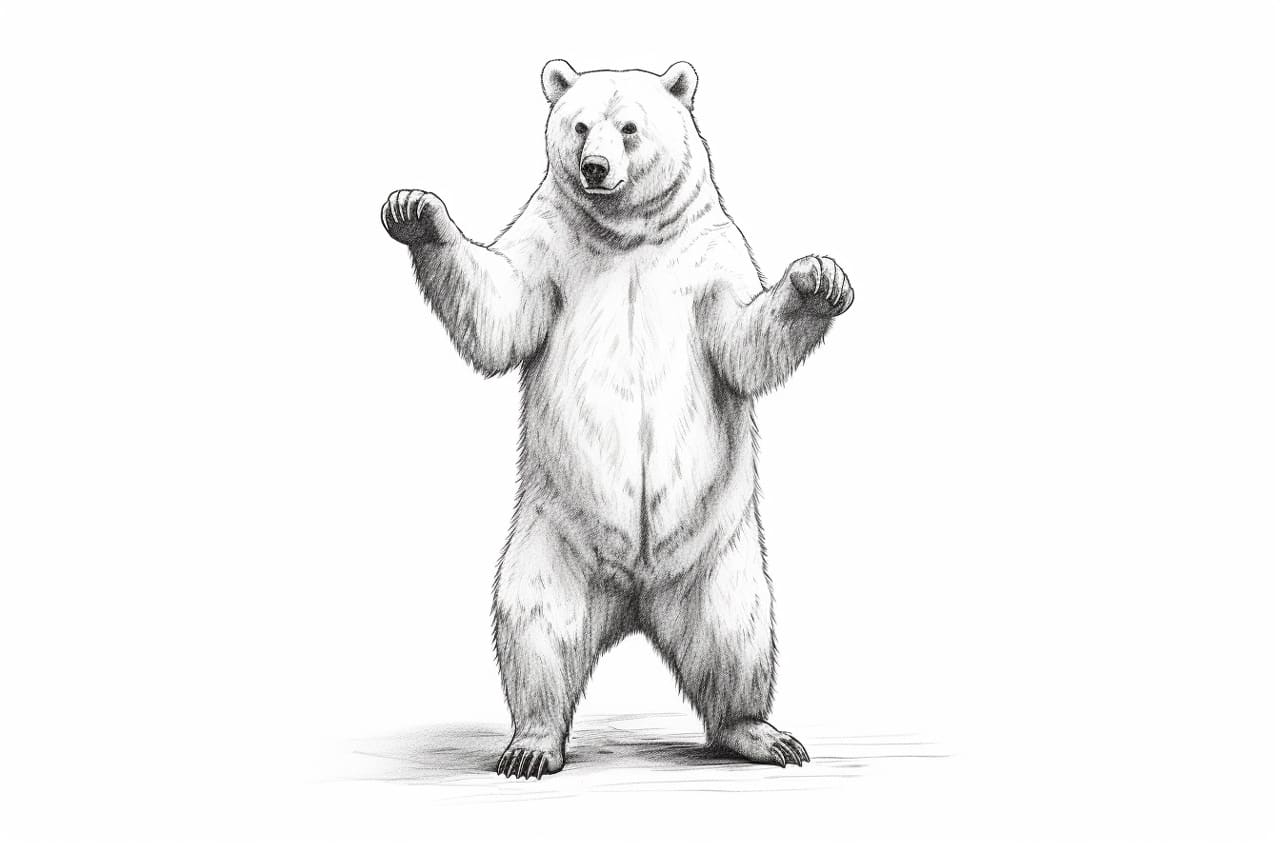
Welcome to this step-by-step guide on how to draw a bear standing up! In this tutorial, we will cover the process of creating a realistic bear drawing using simple and easy-to-follow instructions. Whether you are a beginner or an experienced artist, this guide will help you capture the strength and beauty of these magnificent creatures on paper.
Materials Required
Before we begin, let’s gather the materials you will need:
- Paper: Use a smooth, heavyweight drawing paper that can handle pencil and erasing.
- Pencils: Have a range of graphite pencils with different lead hardness, such as 2B, 4B, and 6B.
- Eraser: A kneaded eraser works best for this type of drawing, as it can be shaped and will not leave residue.
- Blending tools: Use blending stumps or tortillons to smooth and blend the graphite.
Now that you have your materials ready, let’s dive into the steps!
Step 1: Observe and Sketch Basic Shapes
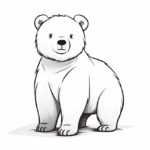
Start by observing the reference image or real-life bear and pay attention to its basic shapes. Bears have a distinctive bulky body with a large head and rounded ears. Begin sketching light and loose lines to define these basic shapes and proportions. Remember, this is just a rough outline, so don’t worry about details at this stage.
Step 2: Outline the Body Structure
Using a darker pencil, refine the outline of the bear’s body structure. Start by sketching the head, neck, and shoulders. Then, gradually work your way down to outline the back, hind legs, and tail. Use light and gentle strokes to create a sense of fur and muscle definition. Keep referring to your reference image to ensure accuracy.
Step 3: Add Facial Features
Now, let’s add the bear’s facial features. Start by sketching the eyes, which are usually small and round. Draw a small, triangular-shaped nose below the eyes, and two short lines for the mouth. Pay attention to the placement and size of these features, as they contribute to the bear’s expression.
Step 4: Define the Ears and Eyes
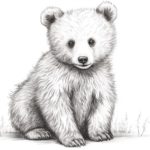
Focus on adding details to the bear’s ears and eyes. Bears have rounded ears with fur, so make sure to indicate the fur texture while drawing them. For the eyes, darken the pupils and add highlights to create a sense of depth. Remember to leave a small highlight in the eyes to bring them to life.
Step 5: Refine the Body and Limbs
Now, let’s refine the body and limbs of the bear. Add more details to the chest and abdominal area to create a sense of volume and fur texture. Gradually work your way down to the hips, legs, and paws. Pay attention to the muscle structure and joints, as they play a crucial role in capturing the bear’s powerful stance.
Step 6: Add Fur Texture
One of the key elements in drawing a realistic bear is capturing its fur texture. Using short, curved strokes, carefully layer the graphite to create the appearance of fur. Start with lighter strokes and gradually build up the darkness and intensity. Focus on adding depth and dimension to the bear’s body by paying attention to the direction and flow of the fur.
Step 7: Enhance the Details
Now that the basic structure and fur texture are in place, it’s time to enhance the details. Pay attention to the bear’s claws, adding them with short, curved lines. Add more depth to the eyes by darkening the eyelids and adding more highlights. Take your time to refine the fur texture and ensure a sense of realism.
Step 8: Refine and Erase
Take a step back and assess your drawing so far. Now is the time to make any necessary adjustments and refine the details. Use an eraser to lighten any unnecessary lines, correct any mistakes, or create highlights. Take your time during this stage to ensure that your bear drawing is as accurate and realistic as possible.
Step 9: Final Touches
Congratulations, you’re almost done! In this final step, take some time to refine and add any finishing touches to your bear drawing. Pay attention to the overall composition and make any necessary adjustments. Add darker tones to areas that require more depth and dimension. Use your blending tools to smooth and blend the graphite for a polished finish.
Conclusion
Drawing a bear standing up may seem like a daunting task, but by following these step-by-step instructions, you can capture the majesty of these creatures on paper. Remember to observe and study bear anatomy, paying attention to their body structure and fur texture. With practice and patience, you will be able to create stunning bear drawings that showcase their strength and beauty.
So, grab your pencils and paper, and let’s get started on your bear drawing journey!