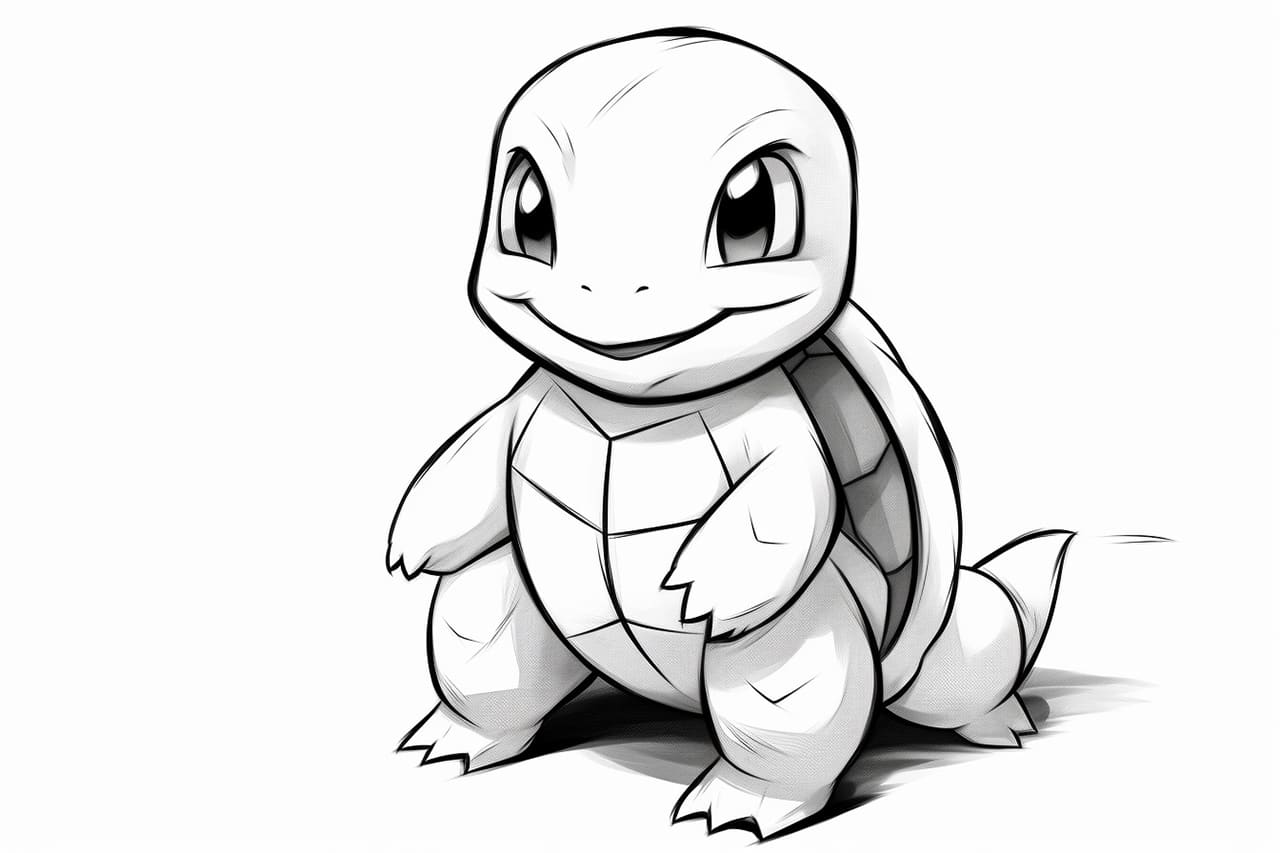
Welcome to this step-by-step tutorial on how to draw a Squirtle, the adorable Water-type Pokémon! Whether you’re an aspiring artist or want to have fun, this guide will help you create your own Squirtle masterpiece. So grab your drawing materials, and let’s get started!
Materials Required
Before we begin, ensure you have the following materials handy:
Step 1: Basic Shapes
To start, let’s create the basic framework of Squirtle. Begin by drawing a large circle toward the top half of your paper. This will be Squirtle’s head. Then, add a smaller circle to the bottom right of the head for the body. Connect the two circles with two curved lines, forming Squirtle’s neck.
Step 2: Eyes and Mouth
Next, let’s draw Squirtle’s facial features. On the upper half of the head, draw two large oval shapes for the eyes. Leave a small gap between them. Inside each eye, draw a smaller oval and shade it in, leaving a small white highlight for a sparkle effect. At the bottom of the head, draw a curved line for Squirtle’s mouth, slightly smiling.
Step 3: Shell
Now it’s time to draw Squirtle’s iconic shell. Starting from the top of the body, draw a curved line that covers a portion of the body’s left side. Then, curve the line down and to the right, forming the top part of the shell. Continue the line downward and slightly to the left to create the bottom part of the shell. Finally, draw a smaller curved line inside the shell to divide it into two halves.
Step 4: Limbs
Let’s add some limbs to Squirtle! Starting from the bottom left of the body, draw a curved line downward for the left arm. Then, draw two short lines at the end of the arm, forming Squirtle’s fingers. Repeat this process on the right side, slightly overlapping the body. For Squirtle’s legs, draw two curved lines extending from the bottom of the body, adding shorter lines at the end for feet.
Step 5: Tail and Details
To complete Squirtle’s body, draw a small curved line at the back of the body, forming the tip of the tail. Add a few small curved lines on Squirtle’s belly to suggest its shell’s texture. Indicate Squirtle’s nostrils as tiny dots on each side of the face. You can also add a few lines on Squirtle’s arms and legs to create a sense of depth.
Step 6: Finalize the Outline
Now that you have the basic structure in place, it’s time to refine and finalize your Squirtle drawing. Go over your sketch, erasing any unnecessary lines and making sure all the proportions look accurate. Refine the shape of Squirtle’s head, shell, limbs, and facial features. Make any necessary adjustments until you’re satisfied with the overall appearance.
Step 7: Add Color (optional)
If you want to bring your Squirtle drawing to life, grab your colored pencils or markers and start adding color! Squirtle’s body is primarily light blue, and its shell is usually a darker shade of blue or brown. Don’t forget to leave a small white highlight in each eye. You can also use different shades of blue to add depth and shading to the drawing.
Conclusion
Congratulations! You have successfully learned how to draw a Squirtle. You’ve created your Squirtle artwork by following these step-by-step instructions and using your creativity. Remember, practice makes perfect, so keep drawing and exploring your artistic skills. Have fun and enjoy the process!