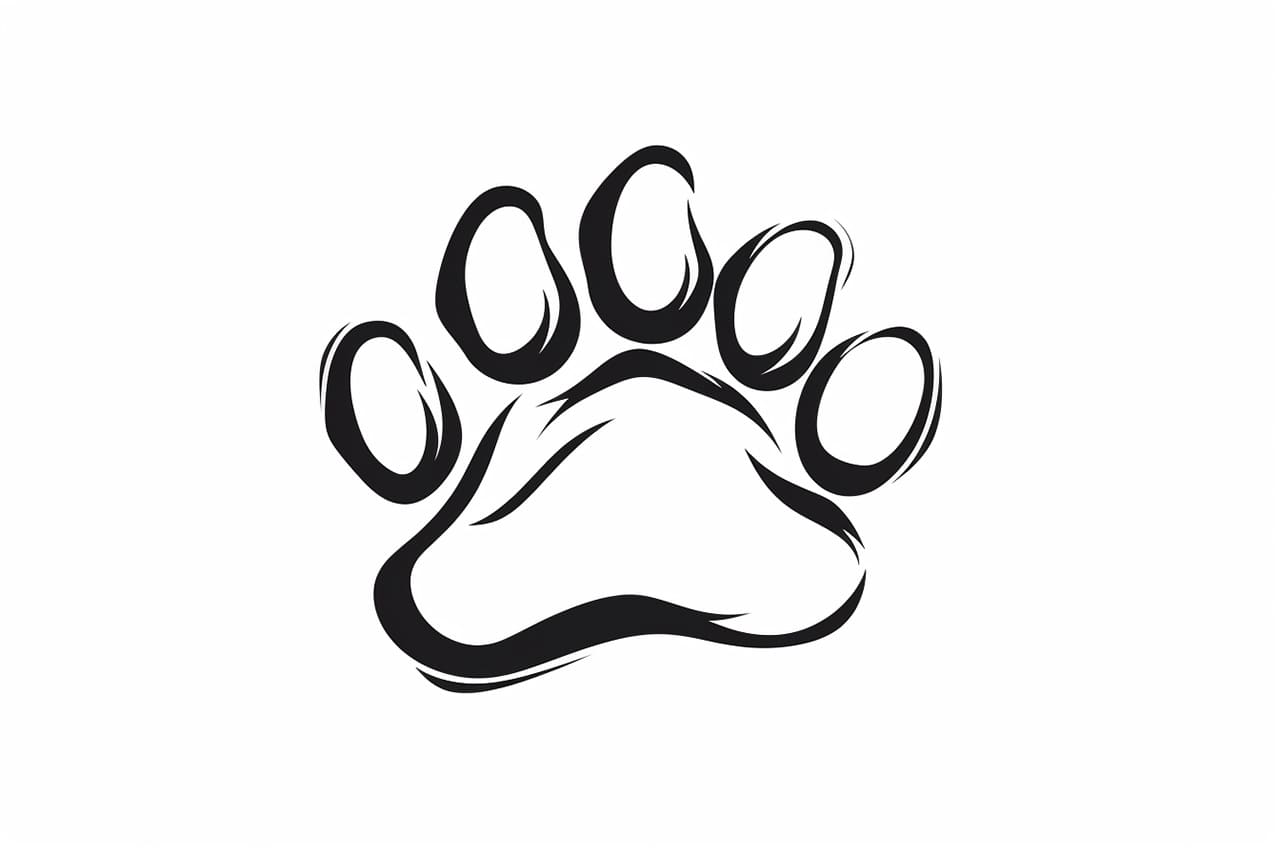
Are you interested in learning how to draw a dog paw? Drawing animals can be a rewarding and enjoyable hobby, and a dog paw is a great place to start. In this step-by-step tutorial, we will guide you through the process of drawing a realistic and detailed dog paw. Whether you are a beginner or an experienced artist, follow along and soon you’ll be creating beautiful drawings of dog paws.
Materials Required
Before we begin, gather the following materials:
- A pencil – Choose one with a medium hardness, like a 2B or HB.
- Eraser – Select a kneaded eraser for easy removal of mistakes.
- Drawing paper – Pick a smooth surface paper that is suitable for pencil drawings.
- Reference image – Find a clear picture of a dog paw to use as a guide.
Now, let’s get started!
Step 1: Draw the Basic Outline
Start by lightly sketching the basic outline of the dog paw. Draw a slightly curved line in the center of your paper to represent the main pad. Then, add two smaller curved lines on each side to create the side pads. Keep the lines light and loose, as we will refine them later.
Step 2: Add the Toes
Next, draw the toes of the dog paw. Dogs usually have four toes, so make four small curved lines below the main pad. These lines should curve slightly upwards, mimicking the shape of the toes. Pay attention to the size and spacing of the toes, as it can vary depending on the breed of the dog.
Step 3: Define the Pads
Now, let’s add detail to the dog paw by defining the pads. Start with the main pad in the center and draw curved lines within it to represent the texture. These lines should follow the shape of the main pad and slightly curve towards the center. Repeat this process for each side pad, drawing curved lines within them as well.
Step 4: Refine the Toes
Refine the shape of the toes by adding more detail. Draw curved lines on each toe to indicate the presence of individual pads. These lines should follow the curve of each toe, creating a realistic texture. Remember to keep the lines light and smooth, as we will darken them later for a more defined look.
Step 5: Add the Claw
To complete the dog paw, draw a small curve at the tip of each toe to represent the claw. The location and size of the claw can vary, so refer to your reference image for guidance. Keep the curves simple and subtle to maintain a natural look.
Step 6: Darken and Refine
Now that the basic structure of the dog paw is complete, it’s time to darken and refine the lines. Use your pencil to go over the sketch, applying more pressure to create darker lines. Pay attention to the curves and details, gradually building up the shape and texture of the paw. Don’t rush this step; take your time and make sure the lines are clean and precise.
Step 7: Erase and Finalize
Once you are satisfied with the overall shape and details, use your eraser to gently remove any stray lines and smudges. Take care not to erase the lines you want to keep. This step will help clean up the drawing and give it a polished look.
Conclusion
Drawing a dog paw may seem challenging at first, but with practice and patience, you can create a realistic and detailed representation. By following these step-by-step instructions, you’ve learned how to draw a dog paw from scratch. Remember to gather the necessary materials, use a reference image, and take your time during each step. With dedication and practice, you’ll be able to draw dog paws with confidence and precision.
So, grab your pencil and start sketching! With each drawing, you’ll continue to improve your skills and capture the essence of these adorable paws.


