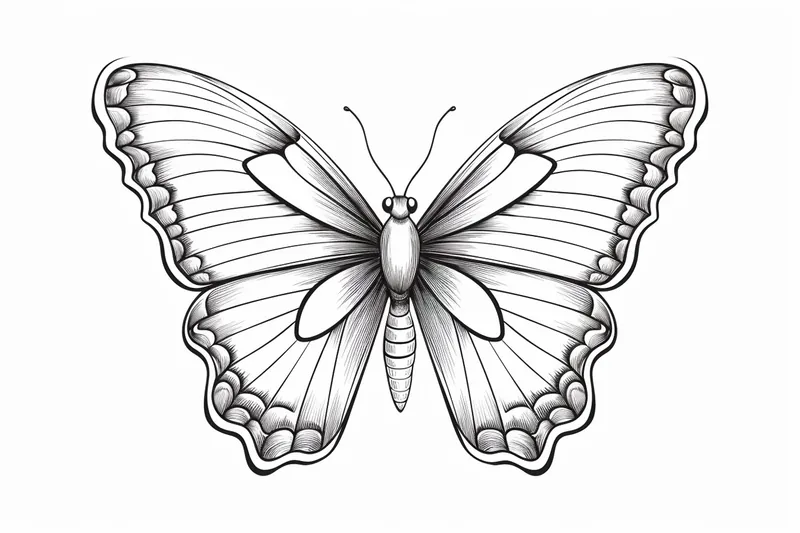
How to Draw a Small Butterfly
Learn how to draw a small butterfly in this step-by-step tutorial. From sketching the body to adding details and colors, create a beautiful butterfly drawing with ease.
Materials You'll Need
- Pencil
- Paper
- Eraser
Butterflies are among the most enchanting and delicate creatures in nature, celebrated for their vibrant patterns and graceful flight. Drawing a small butterfly not only lets you appreciate the intricate details of its wings and body, but also gives you the opportunity to capture its gentle beauty on paper. Whether used as a decorative element in journals, greeting cards, or as a standalone piece of art, a small butterfly drawing can add a touch of elegance and whimsy to your creative projects. Learning how to draw a small butterfly can deepen your understanding of symmetry, texture, and color blending, making it a rewarding subject for artists of all ages.
This tutorial is designed for artists at any skill level, from beginners eager to practice basic shapes and line work, to more experienced artists looking to refine their skills in detailing and shading. We'll cover each step clearly, breaking down the process so you can confidently follow along, even if you're new to drawing. Understanding how to draw a small butterfly will help you build foundational drawing skills, such as observing proportion and mastering gentle curves. You'll also get to experiment with techniques like layering colors and adding subtle patterns to make your butterfly look realistic and lively.
Remember, drawing is as much about enjoying the creative process as it is about the final result. Don't worry if your first attempt isn't perfect—practice will help you improve and develop your own style. Grab your materials and get ready to discover how to draw a small butterfly step by step. Let's embark on this artistic journey together and see your unique butterfly take flight!
Materials Required
Before we begin, gather the following materials:
- Drawing paper
- Pencil (preferably a mechanical pencil or a set of drawing pencils)
- Eraser (preferably a kneaded or vinyl eraser)
- Fine-tip markers or pens (optional for outlining)
- Colored pencils or markers (optional for adding color)
Now that we have our materials ready, let's dive into the step-by-step process of drawing a small butterfly.
Step 1: Sketch the Body and Head
Start by lightly sketching the body and head of the butterfly using a pencil. The body consists of a long, thin shape with a slight curve. The head is a small oval shape attached to the front of the body.
Step 2: Add Antennae and Eyes
Next, draw two thin, curved lines on top of the butterfly's head to represent the antennae. At the end of each antenna, draw a small oval shape to indicate the eyes.
Step 3: Create the Wings
Now it's time to draw the wings of the butterfly. Each wing consists of two curves that meet at a point near the body. Start by drawing one curve extending outward from the top of the body, then draw another curve starting from the bottom of the body. Repeat this step on the opposite side to complete both wings.
Step 4: Add Patterns to the Wings
To make your butterfly drawing more interesting, add patterns to the wings. You can create patterns with lines, dots, or any other design you like. Be creative and experiment with different patterns on each wing.
Step 5: Outline the Drawing
Once you are happy with the sketch, go over the main lines of your drawing with a fine-tip marker or pen. This will make the lines more defined and help your drawing stand out.
Step 6: Erase Excess Lines
Carefully erase any unnecessary pencil lines to clean up your drawing. Make sure to use a light touch so you don't smudge the ink from the pen or marker.
Step 7: Add Details
Now it's time to add some details to your butterfly drawing. Add small lines and shapes to the body and head to give them more definition. You can also add additional patterns or designs to the wings if desired.
Step 8: Color the Drawing (Optional)
If you want to add color to your butterfly drawing, grab your colored pencils or markers. Begin by lightly coloring the wings in your chosen colors. Blend different shades together to create a smooth transition between colors. You can also add shading and highlights to give your drawing more depth and dimension.
Step 9: Finalize Your Drawing
Once you are satisfied with your drawing, take a step back and evaluate the overall composition. Make any necessary adjustments or additions to enhance the final result. Pay attention to the proportions, details, and overall balance of your artwork.
Congratulations! You have successfully completed your small butterfly drawing. With practice, you will be able to draw butterflies with ease and confidence.
Tip: To enhance your small butterfly drawing, focus on the wing shapes and symmetry by starting with light pencil outlines. Use a soft pencil (like a 2B) to sketch the basic structure, ensuring both wings mirror each other. Pay special attention to the curves; butterflies often have elegant, flowing lines that can be captured by using gentle, sweeping strokes. Once you're satisfied with the outline, switch to a finer pen or darker pencil for detailing, emphasizing the intricate patterns and veins in the wings. Finally, experiment with blending colored pencils or watercolors to achieve a vibrant, lifelike finish—layering colors will add depth and dimension to your butterfly, making it truly pop!
Conclusion
In this step-by-step tutorial, we have learned how to draw a small butterfly. By following these instructions and using your creativity, you can create stunning butterfly drawings that captivate viewers. Remember to have fun and experiment with different colors, patterns, and designs. Let nature be your inspiration. Happy drawing!
Fun Facts About Small Butterfly
- The smallest butterfly in the world is the Western Pygmy Blue, with a wingspan of just 12–20 mm.
- Small butterflies often use their tiny size to hide from predators among leaves and flowers.
- Many small butterflies, like the Lycaenidae family, have iridescent scales that reflect light, creating brilliant colors.
- Some small butterflies form mutualistic relationships with ants, which protect them in exchange for sugary secretions.
- Small butterflies can complete their entire life cycle in just a few weeks.
- Despite their delicate appearance, small butterflies can migrate long distances.
- Some small butterfly species mimic the appearance of toxic insects to avoid being eaten, a phenomenon called Batesian mimicry.
- Small butterflies play a crucial role in pollination, helping many wildflowers reproduce.
- The caterpillars of some small butterflies are masters of camouflage, blending in perfectly with their host plants.
Suggestions for Scenes and Settings for Small Butterfly Drawings
- [A small butterfly perched delicately on the edge of a blooming wildflower](https://yonderoo.com/how-to-draw-a-wildflower/).
- A tiny butterfly fluttering above dewdrops on a fresh morning leaf.
- A whimsical scene with a butterfly resting on a stack of vintage books or an open journal.
- A butterfly landing on a child's fingertip, capturing a moment of gentle curiosity.
- [Butterflies in a magical night garden, surrounded by glowing mushrooms and twinkling fireflies](https://yonderoo.com/how-to-draw-a-firefly/).
- A small butterfly amidst a patch of clover and grass, blending naturally into its environment.
- A butterfly silhouetted against a sunset sky, with vibrant colors reflecting off its wings.
- A group of tiny butterflies forming a heart shape as they fly together above a meadow.
- A butterfly exploring a teacup or sitting on the rim, adding charm to a cozy kitchen scene.
- A close-up of a butterfly's wings, focusing on their intricate patterns and colors.