How to Draw a Wildflower
Learn how to draw with this step-by-step tutorial.
Materials You'll Need
- Drawing paper
- Pencil (HB or 2B)
- Eraser
- Colored pencils
- Markers
- Watercolor paints
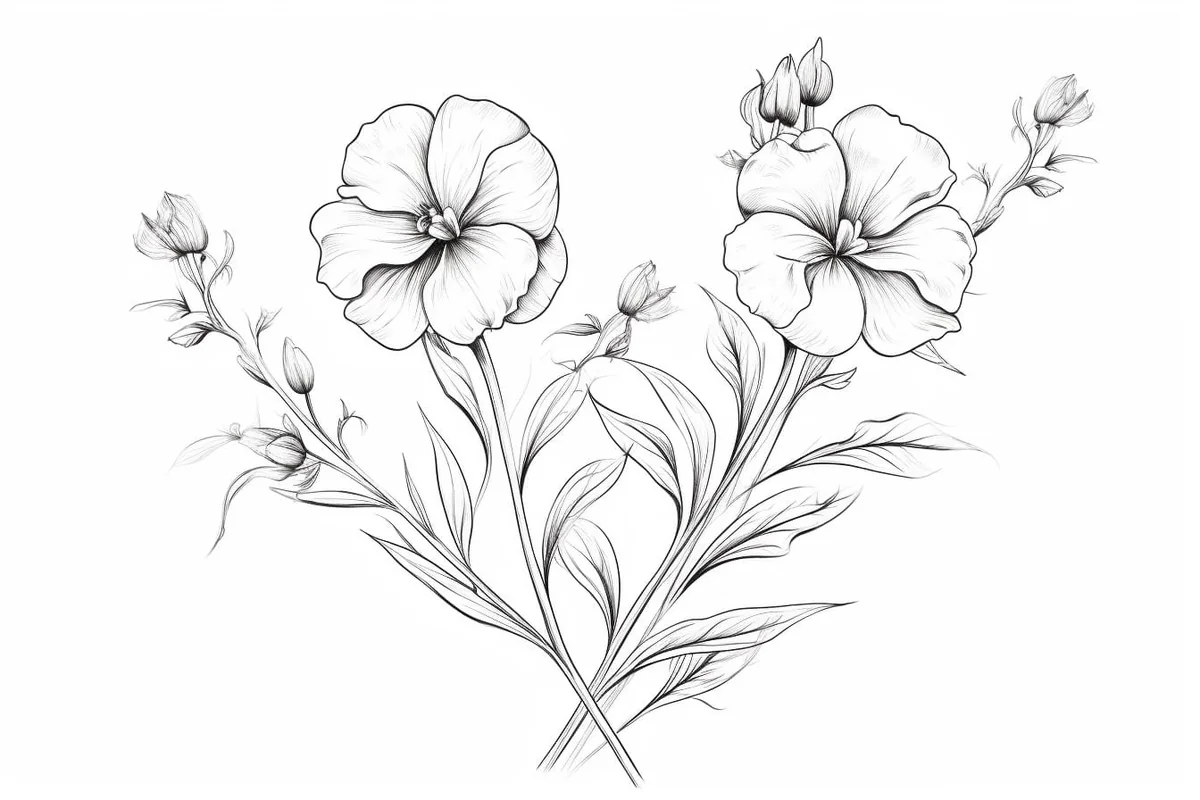
Wildflowers, with their delicate petals, flowing stems, and vibrant colors, bring an air of whimsy and natural beauty to any piece of art. Whether they grow freely in meadows, alongside quiet forest paths, or in charming wild gardens, wildflowers are a joy to observe and even more delightful to draw.
Unlike traditional garden flowers, wildflowers come in an endless variety of shapes and forms, making them a fantastic subject for artists of all levels. Whether you're sketching a single blossom or creating a field of blooms, learning how to draw wildflowers will enhance your ability to capture organic, flowing, and natural shapes in your artwork.
In this step-by-step tutorial, we will break down the process of how to draw a wildflower into simple and easy-to-follow instructions.
Materials Required:
-
Drawing paper
-
Pencils (preferably graphite)
-
Fine-tipped markers or pens (optional)
-
Colored pencils or watercolors (optional)


Step 1: Choose your reference image
Begin by selecting a reference image of the wildflower you wish to draw. This could be a photograph, a picture from a book, or even a real-life specimen. Make sure the image is clear and has enough detail to provide you with a good understanding of the flower's structure and features.
Step 2: Sketch the basic outline
Using a light pencil, start sketching the basic outline of the wildflower. Begin with a simple oval or circle shape to represent the flower's center. Then, gradually add petals around the center shape, paying attention to their size and placement. Don't worry about getting it perfect in the beginning; this is just a rough sketch to establish the overall shape.
Step 3: Define the petals
Now that you have the basic outline, it's time to define the petals. Take a closer look at your reference image and carefully observe the shape and texture of each petal. Using light, curved lines, start adding more detail to the petals, making sure they flow naturally from the center. Remember to keep your pencil strokes light and loose to allow for adjustments later on.
Step 4: Add the center details
Next, shift your focus to the center of the flower. Wildflowers have various types of centers, such as stamens, pistils, or distinctive patterns. Study your reference image closely to capture these details accurately. Use short, delicate lines and gentle shading to bring out the intricate features of the center.
Step 5: Refine the outline
Once you're satisfied with the placement and shape of the petals and center, it's time to refine the outline of the wildflower. Erase any unnecessary lines and adjust the curves and proportions where needed. This step is crucial for achieving a clean and polished drawing.
Step 6: Add shading and texture
To give your wildflower drawing depth and dimension, it's important to incorporate shading and texture. Observe the lighting direction in your reference image and use a range of pencil strokes, such as hatching and cross-hatching, to create shadows and highlights. Pay attention to the areas where the petals overlap, as they often cast subtle shadows on one another. Use your eraser to lighten certain areas and enhance the contrast.
Step 7: Optional: Ink it or add color
If you prefer a more defined look or want to experiment with color, this step is for you. Using fine-tipped markers or pens, carefully trace over the final lines of your drawing. This technique can add boldness and clarity to your artwork. Additionally, if you want to add a touch of vibrancy, you can use colored pencils or watercolors to bring your wildflower to life. Experiment with different techniques to find one that suits your artistic style.
Tip: When drawing wildflowers, focus on capturing the unique shapes and textures that make each bloom distinct. Begin with light pencil sketches to outline the basic forms, paying attention to the varying sizes and angles of petals and leaves—no two flowers are exactly alike! For added realism, use a combination of shading techniques, such as cross-hatching and stippling, to depict the delicate textures of petals and the softness of stems. Consider using colored pencils or watercolors to achieve vibrant hues, layering colors to create depth and dimension. Finally, don't forget to incorporate the surrounding environment—sketching small blades of grass or hints of other plants can ground your wildflower in its natural habitat, enhancing the overall composition.
Conclusion
Drawing a wildflower allows you to explore the delicate beauty of nature and express your creativity at the same time. With the step-by-step instructions provided in this tutorial, you'll be well-equipped to create a stunning representation of your chosen flower. Remember to be patient with yourself, as practice is key to improving your artistic abilities. So go ahead, pick up your pencils, and let the beauty of wildflowers inspire your next masterpiece!