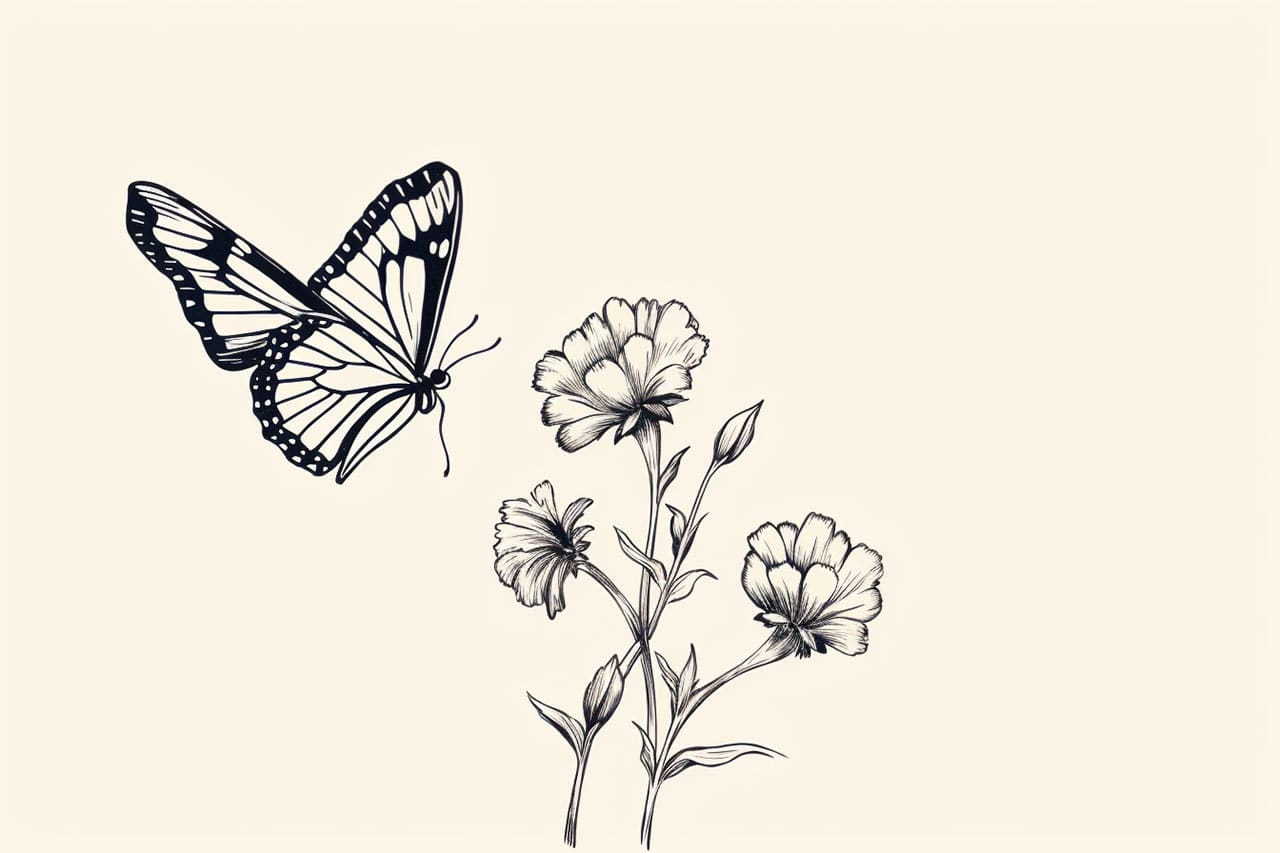
As an expert artist and drawing instructor, I will guide you through the process of how to draw flying butterfly that looks both realistic and beautiful. In this step-by-step tutorial, I will provide clear and concise instructions to help you create your own masterpiece. So, let’s get started!
Materials Required
Before we dive into the drawing process, make sure you have the following materials ready:
- Drawing paper – preferably with a smooth surface.
- Pencil – a medium or soft grade pencil will work best.
- Eraser – a kneaded eraser is recommended for easy corrections.
- Fine-tip black pen – for outlining and adding details.
- Colored pencils or markers – to add vibrant colors to your butterfly (optional).
- Reference photo – you can find many flying butterfly images online or use a book as a reference.
Now that you have all the necessary materials, let’s begin the drawing process.
Step 1: Sketch the Basic Shapes
Start by lightly sketching the basic shapes of the butterfly. Begin with an oval shape for the body and add a larger oval above it for the head. Then, draw two long and slim ovals on either side of the body for the upper wings. Finally, add two smaller and slightly curved ovals below the body for the lower wings.
Step 2: Outline the Wings
Using the basic shapes as a guide, start outlining the wings of the butterfly. Pay attention to the shape and curves of each wing. Remember, butterflies have delicate and intricate patterns, so take your time and be patient.
Step 3: Add Details to the Wings
Once you have outlined the wings, it’s time to add some details. Start by drawing lines within the wings to create the veins. These veins give the wings a realistic and three-dimensional look. Don’t worry about being too precise; just follow the curves of the wings.
Next, add some small circular shapes within the wings to represent the scales. Butterflies have tiny scales on their wings, which give them their vibrant colors and patterns. By adding these scales, you can truly bring your butterfly to life.
Step 4: Draw the Body and Antennae
Now let’s focus on the body and antennae of the butterfly. Draw a long and narrow shape for the body, connecting the head and the lower part of the butterfly. Remember, the body should be slightly curved to give it a natural look.
For the antennae, draw two thin and elongated shapes on top of the head. Add small lines at the tips of the antennae to represent the segments.
Step 5: Refine and Add Details
Take a step back and evaluate your drawing so far. Now is the time to make any necessary adjustments and refine the overall appearance of your butterfly. Erase any unnecessary lines or shapes and make sure all the proportions look correct.
After refining the drawing, you can add more details to make your butterfly even more realistic. You can add tiny hairs on the body, extra textures to the wings, or even draw some flowers or leaves around the butterfly to create a natural setting.
Step 6: Color Your Butterfly (Optional)
If you want to add color to your drawing, now is the time to grab your colored pencils or markers. Butterflies come in a variety of colors, so feel free to choose any combination that you like. Remember to start with lighter colors and gradually build up the layers for a smoother look.
Color the body with shades of brown or black, and use vibrant and contrasting colors for the wings. You can also experiment with blending different colors together to create unique effects.
Conclusion
Congratulations! You have successfully learned how to draw a flying butterfly. By following these step-by-step instructions, you have created a beautiful and realistic artwork. Remember to practice and have fun with your drawings. With time and dedication, you will continue to improve your skills.
So, gather your materials and let your creativity soar as you draw stunning butterflies that are ready to take flight!

