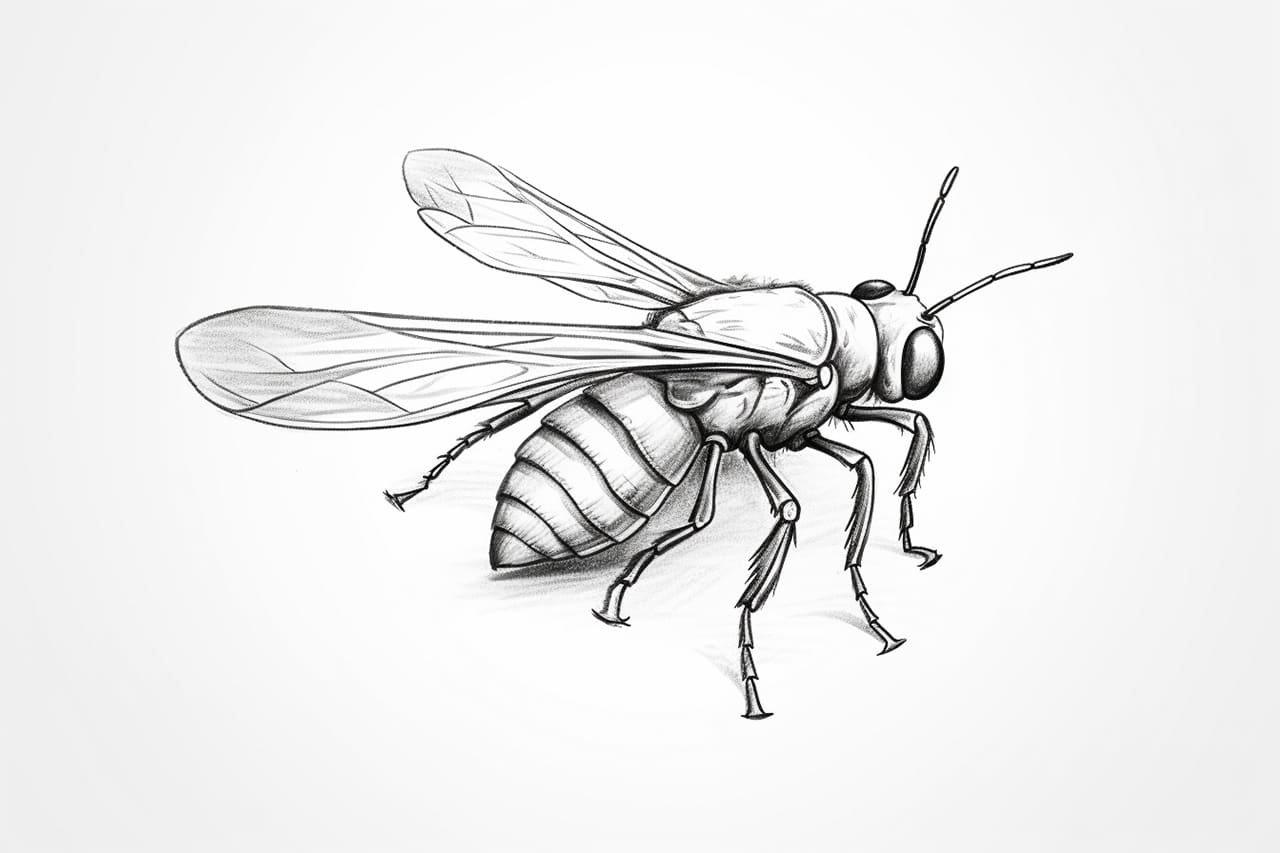
Have you ever been enchanted by the sight of a firefly lighting up the night sky? These small, magical creatures are a delight to observe, and now you have the opportunity to capture their beauty on paper. In this step-by-step guide, we will explore how to draw a firefly in a clear and concise manner. Whether you are a seasoned artist or just starting your artistic journey, this tutorial will provide you with the necessary guidance to create a stunning depiction of this fascinating insect.
Materials Required
Before we begin, it’s important to gather all the materials you will need for this drawing tutorial. Don’t worry, you won’t need anything too fancy or expensive. Here’s what you’ll need:
- Pencil: To sketch out the initial outline of your firefly.
- Paper: A smooth-surfaced paper that is suitable for drawing and shading.
- Eraser: To correct any mistakes or lighten certain areas.
- Fine-tipped pens: Optional, for outlining and adding details with precision.
- Colored pencils or markers: Optional, for adding color to your drawing.
Now that you have all your materials ready, let’s dive into the step-by-step process of drawing a firefly.
Step 1: Sketch the Basic Shape
Begin by lightly sketching the basic shape of the firefly. Fireflies are typically small and have an elongated body. Start with a circle for the head and draw a slightly curving line downwards to indicate the body. Keep the lines loose and light as you want to be able to adjust and refine them later.
Step 2: Add Wings and Tail
Next, draw two sets of wings extending from the upper part of the firefly’s body. Firefly wings are delicate and translucent, so keep that in mind while drawing. The wings should be longer than the body and have a slight curve to them. Additionally, add a thin, elongated tail at the end of the body.
Step 3: Refine the Shape
Take a closer look at the shape you have sketched so far and make necessary adjustments. Smooth out any rough edges and ensure the proportions are accurate. Fireflies come in various species, so you can be creative with the shape and size of the body and wings, but try to maintain a realistic representation.
Step 4: Outline the Firefly
Once you are satisfied with the basic shape, use a fine-tipped pen or a darker pencil to outline the firefly. This will help define the edges and create a more polished look. Take your time and be patient while outlining, as precision is key.
Step 5: Add Details
Now it’s time to add some intricate details to your firefly. Draw small, segmented lines along the body to represent the exoskeleton. You can also add small dots or patterns to the wings to mimic the natural markings on a firefly’s wings. These details will bring your drawing to life and add authenticity.
Step 6: Shade and Add Depth
To add depth and dimension to your firefly, lightly shade the areas where shadows would naturally fall. Pay attention to the curvature of the body and wings, and use your pencil to create gradual transitions from light to dark. This shading will give your drawing a three-dimensional look.
Step 7: Color Your Firefly (Optional)
If you prefer a colored drawing, now is the time to add some vibrant hues to your firefly. Use colored pencils or markers to carefully color the body, wings, and tail. Fireflies are known for their glowing yellow-green light, so consider using these tones to highlight their enchanting glow.
Step 8: Final Touches
Take a step back and assess your drawing as a whole. Are there any areas that need refinement? Are there any details you would like to add or adjust? Use an eraser to lighten any unnecessary lines or shading and make any final touches to your drawing until you are completely satisfied with the result.
Conclusion
Congratulations! You have successfully learned how to draw a firefly. By following these step-by-step instructions, you have created a stunning representation of this captivating creature. Whether you choose to keep your drawing in black and white or add some vibrant colors, your firefly artwork is sure to mesmerize anyone who sees it. Keep practicing and exploring your artistic abilities, and soon you’ll be able to create even more remarkable drawings.


